Author Archives: nigelashton

Spaced Out

No, not describing the time it has taken since our last post (although that would also apply), but the fact that we managed to meet up in person in a larger room and correctly distanced.

As the last meeting was at the beginning of March, this meant 6 months since our previous get-together and clearly some modelling has been done in the intervening period.

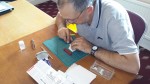
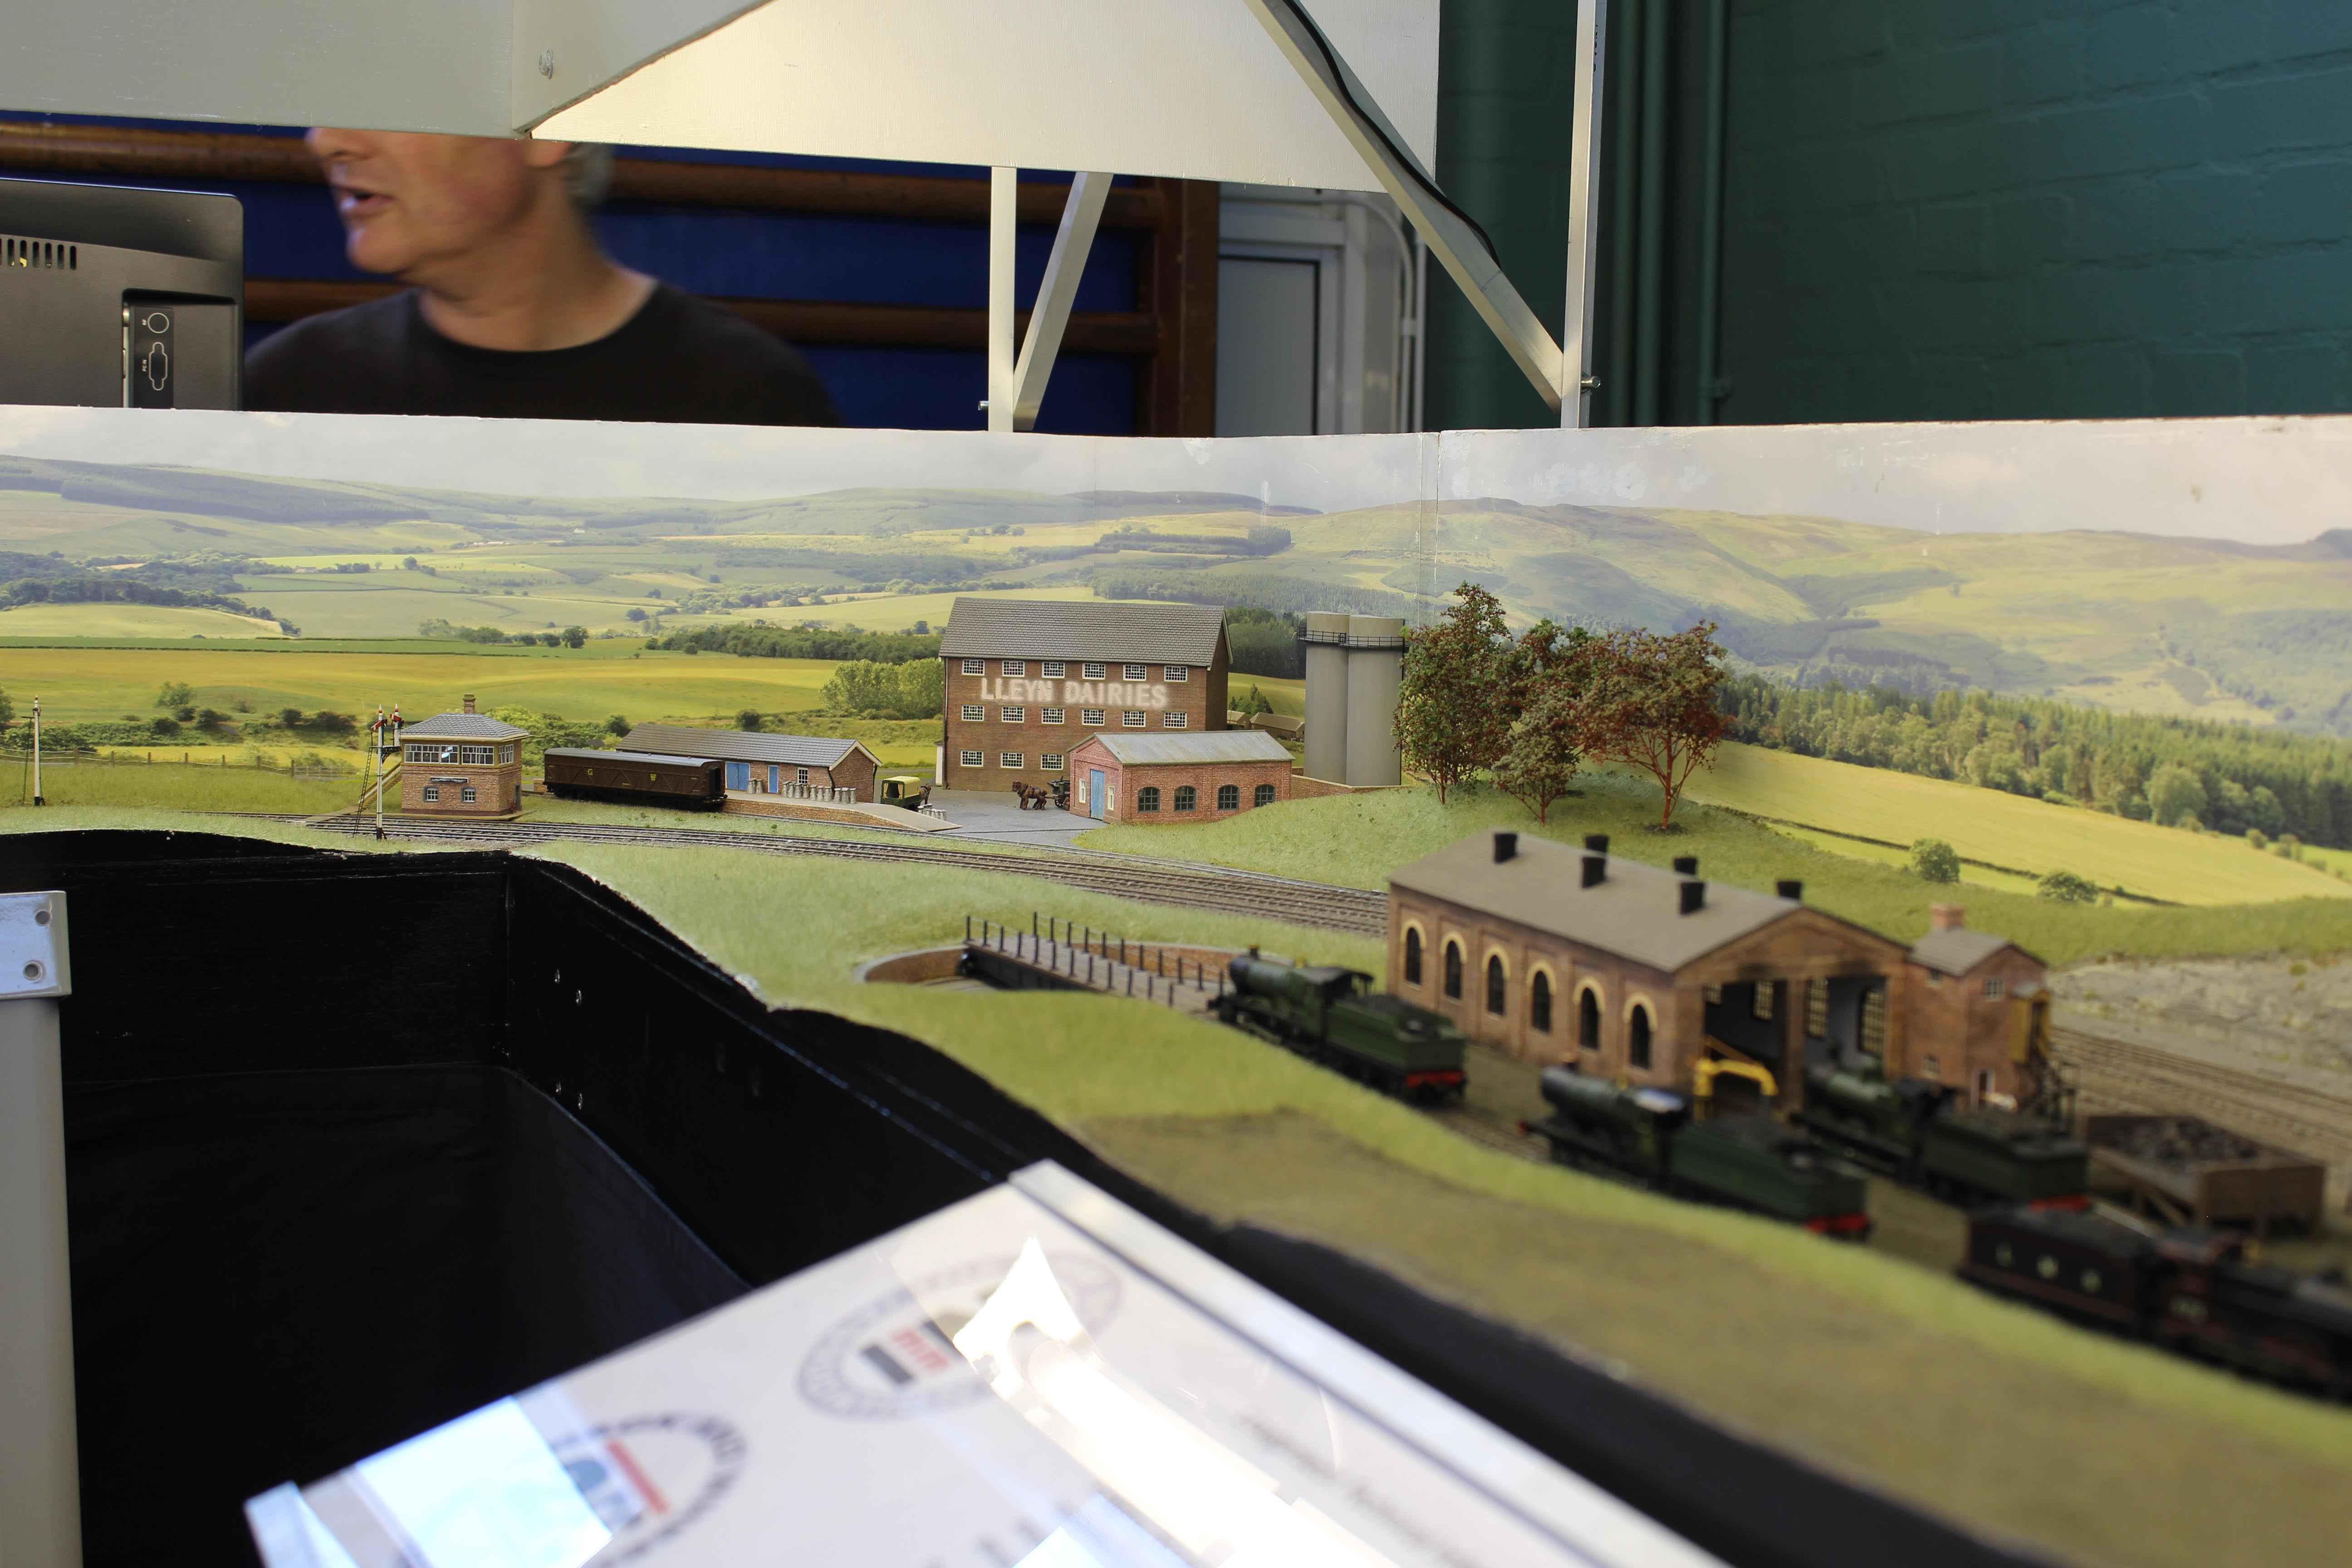
Gareth, Dave, Simon, Alan and Nigel started and Peter joined soon after this picture was taken. The extra space allowed a degree of latitude with face coverings at the allotted work stations, but we masked up when moving around or getting a tad closer to peer at various models.

Dave described a flexible chassis he was working on with fine piano wire as springing while Peter has been making further progress with Radio control.

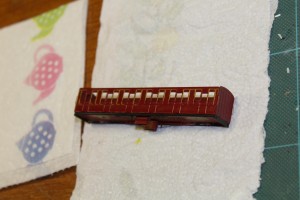
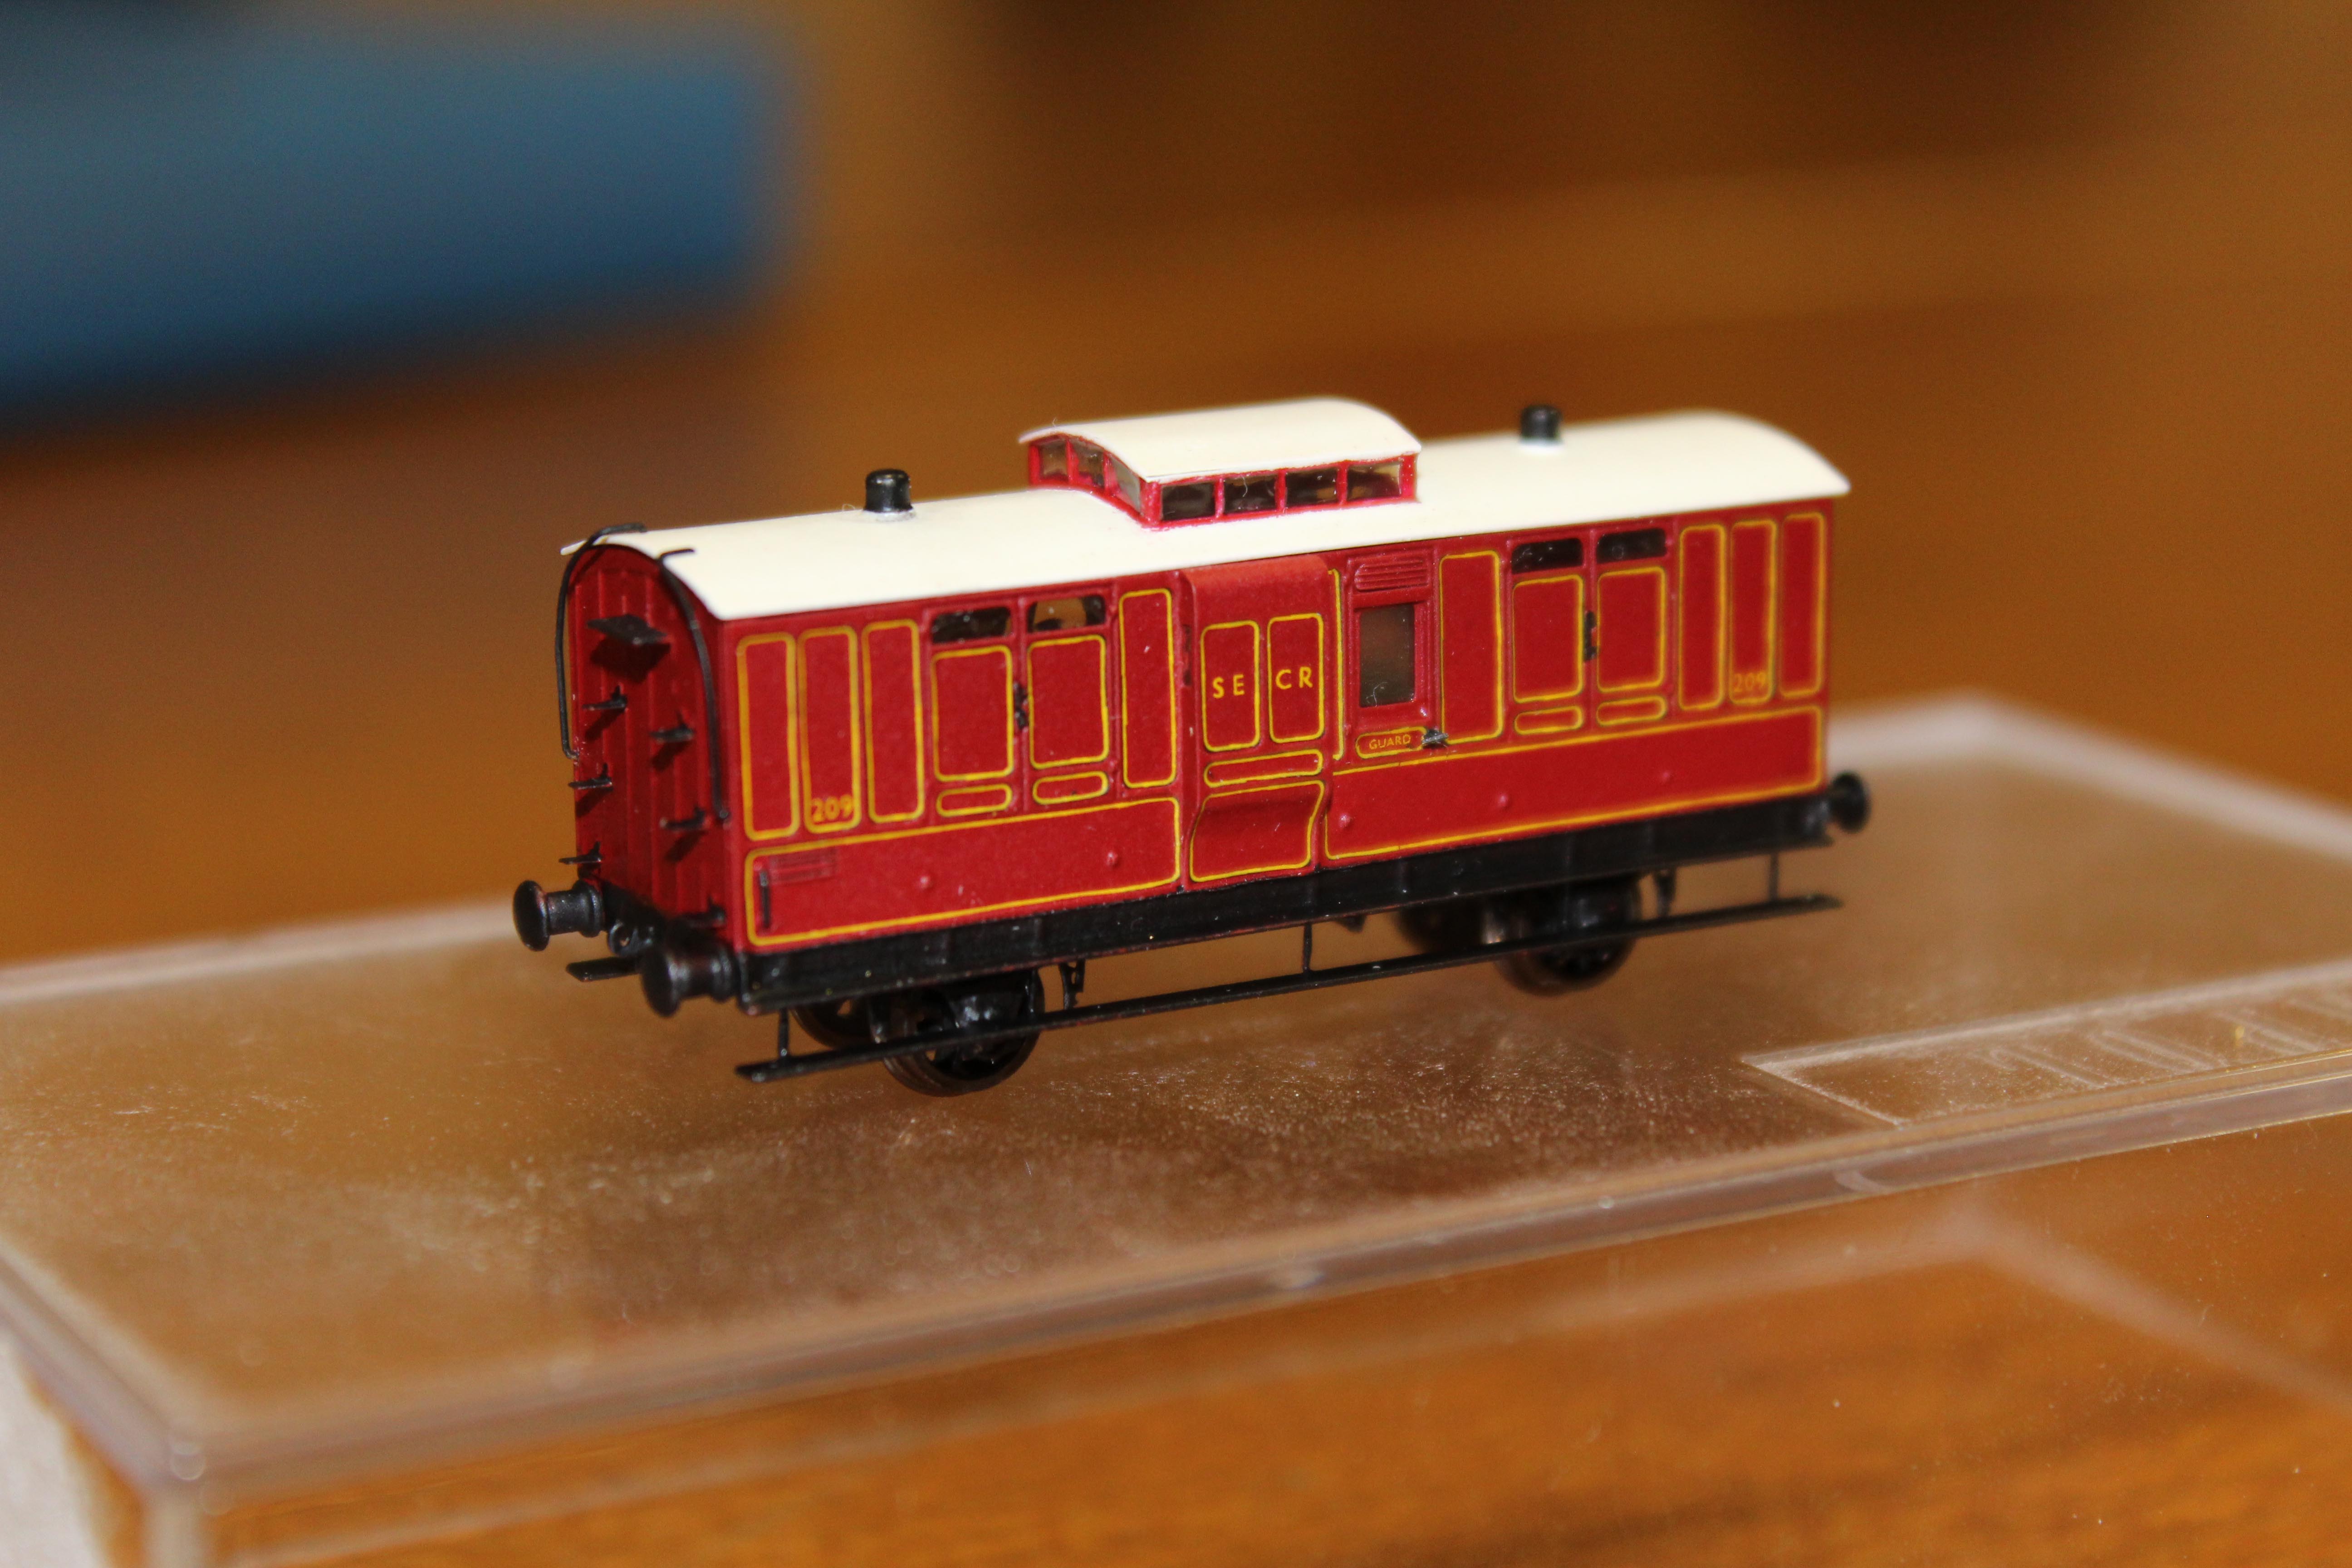
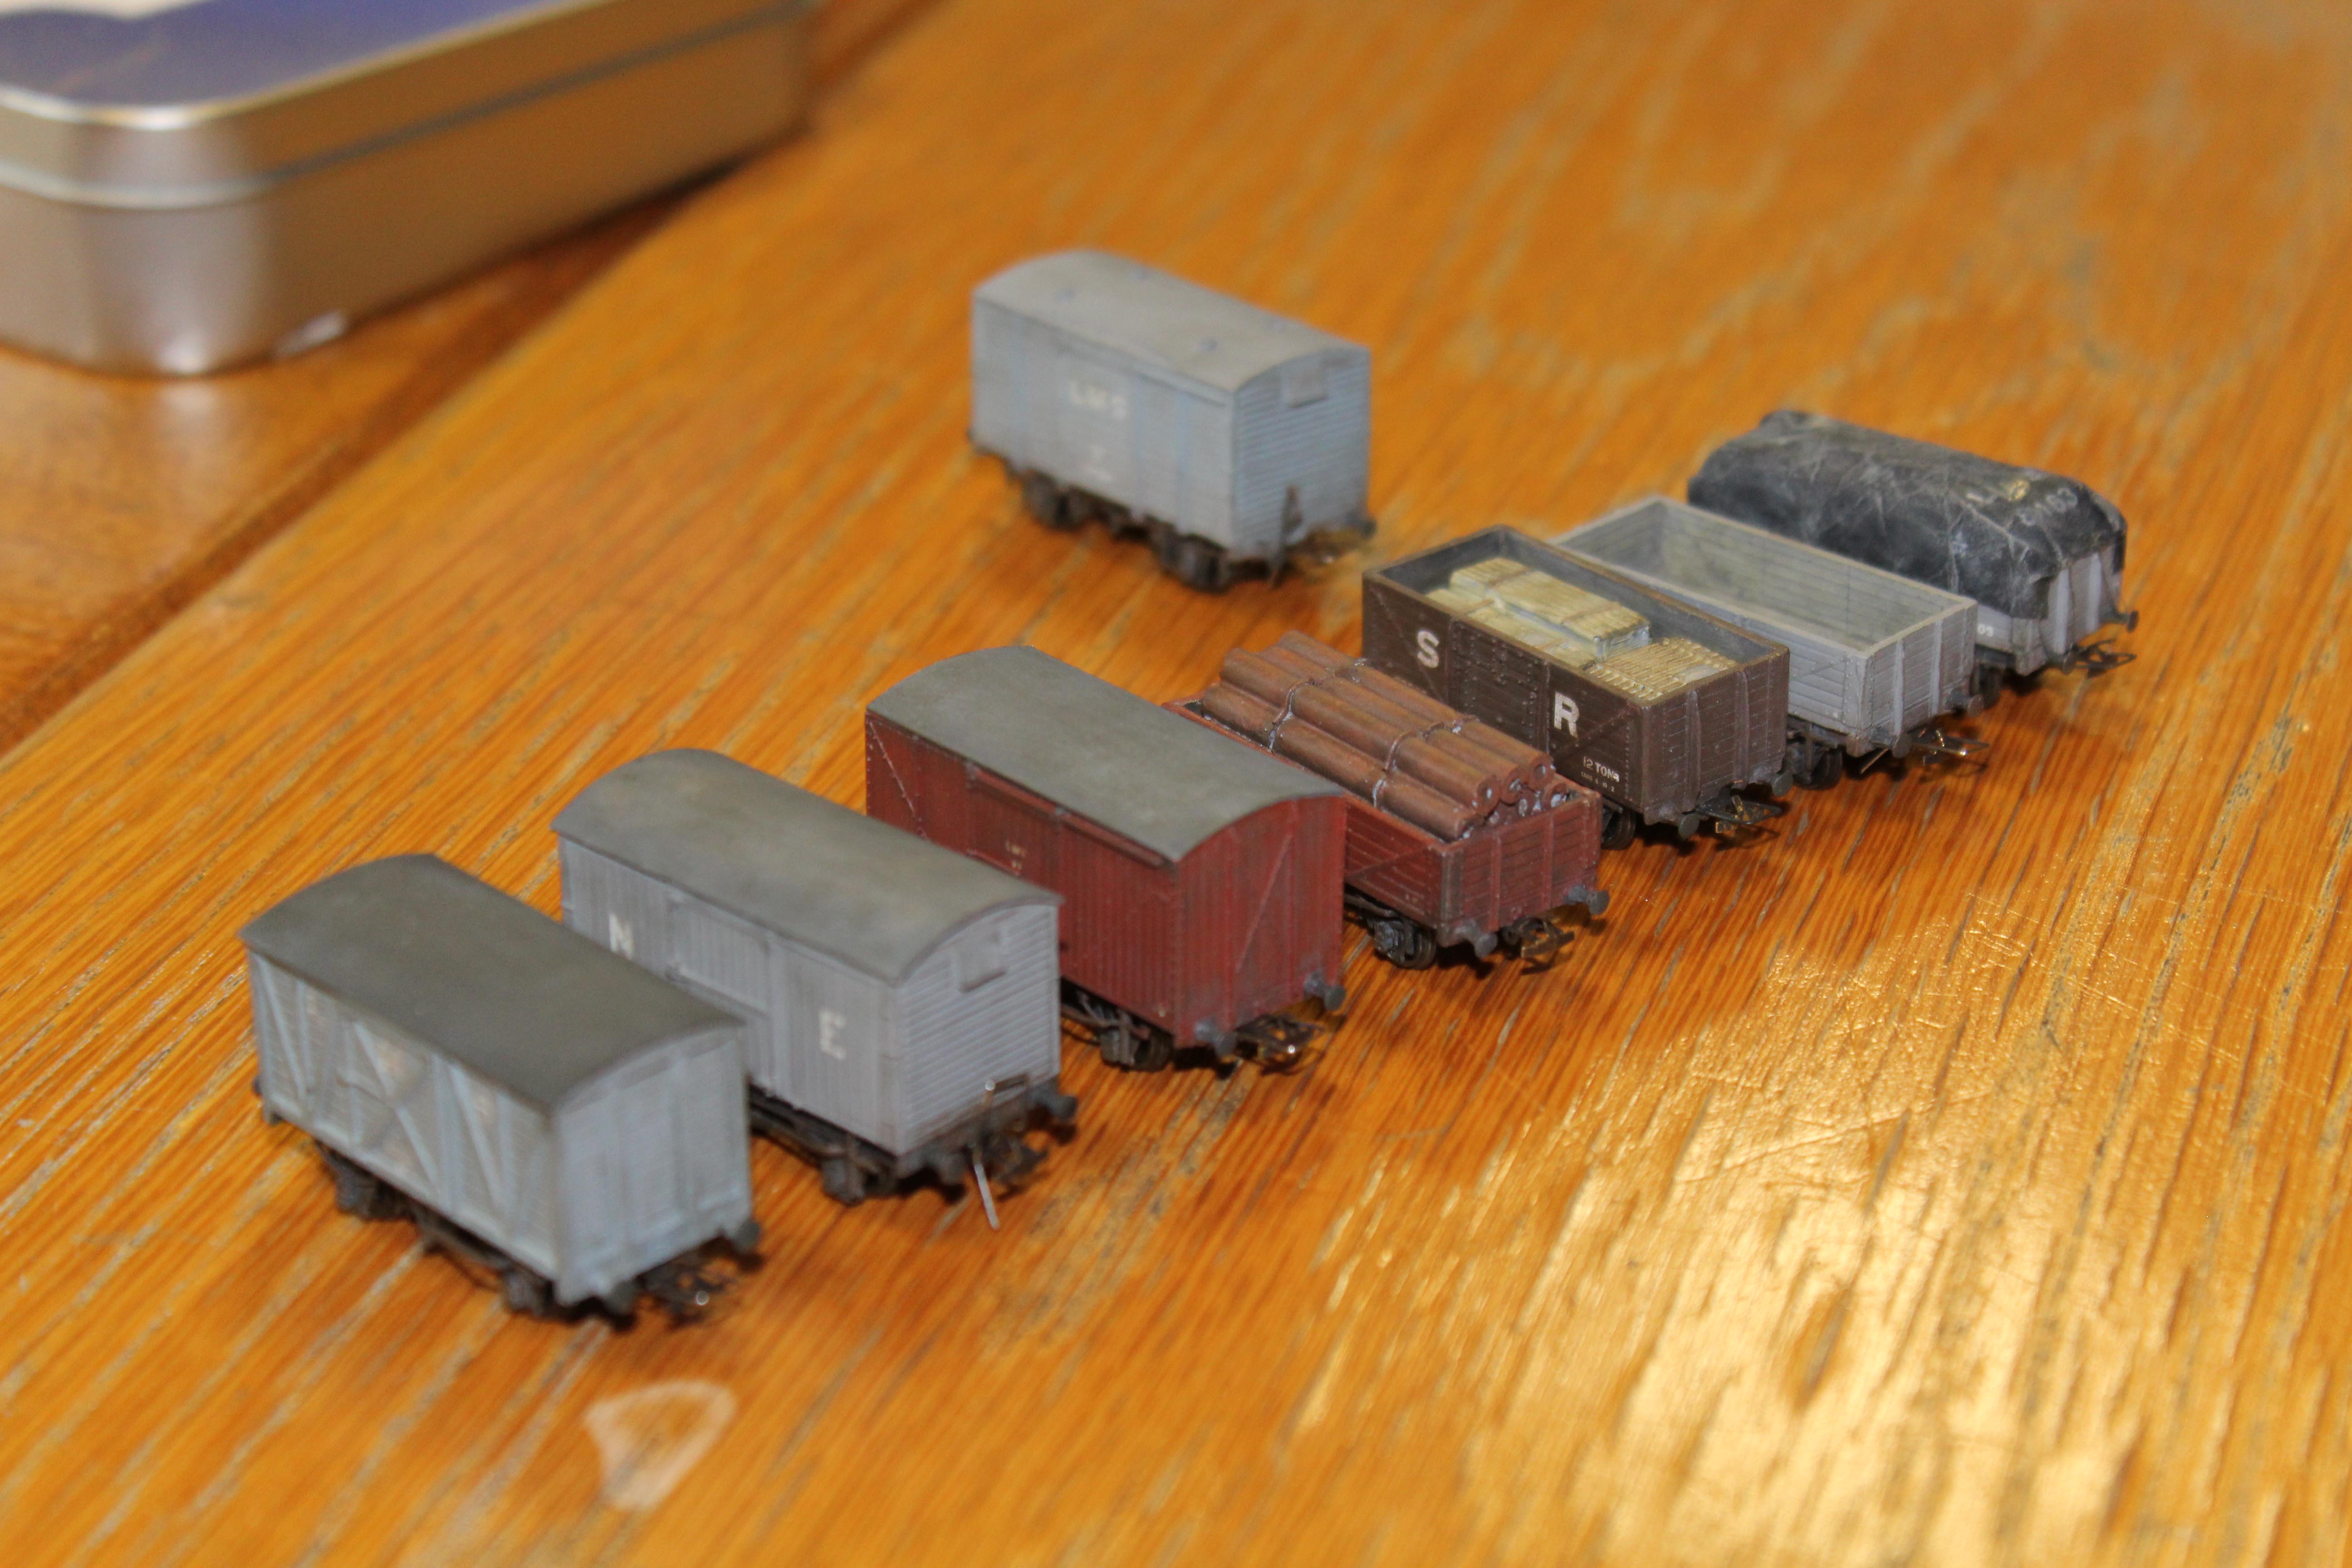
Simon has been busy with more wagons while Gareth has been his usual creative self with a couple of SECR’s finest.
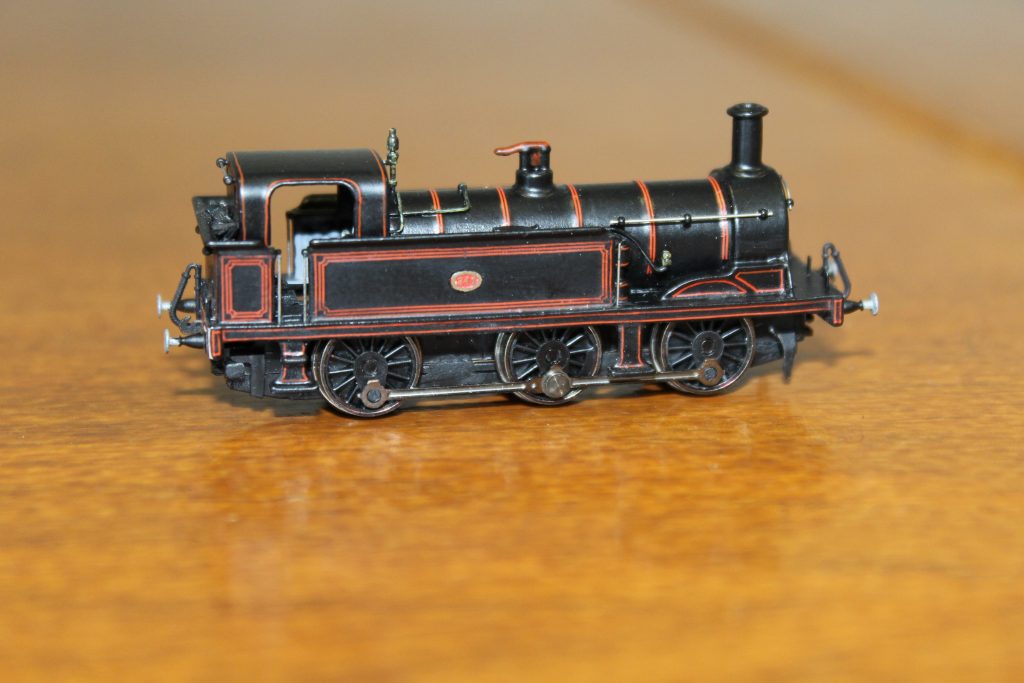
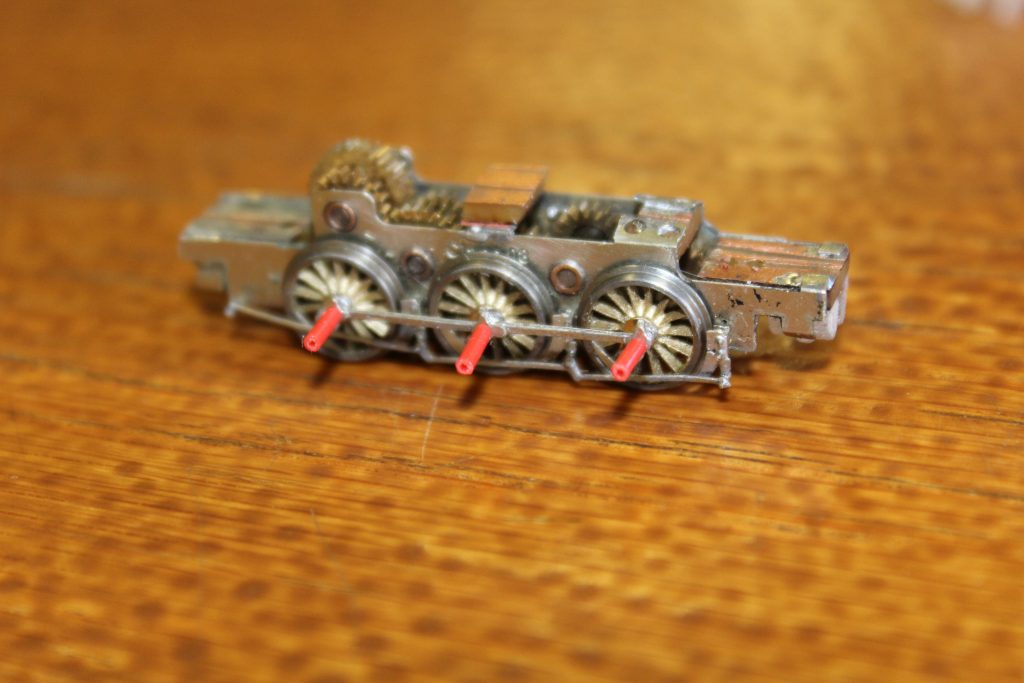
Alan has been building the Association 08 shunter kit and was discussing refinements with Nigel. Everything lined up but needed a tad more play in the axles to get a free running chassis, so more a bit of fine tuning.
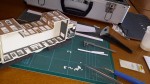
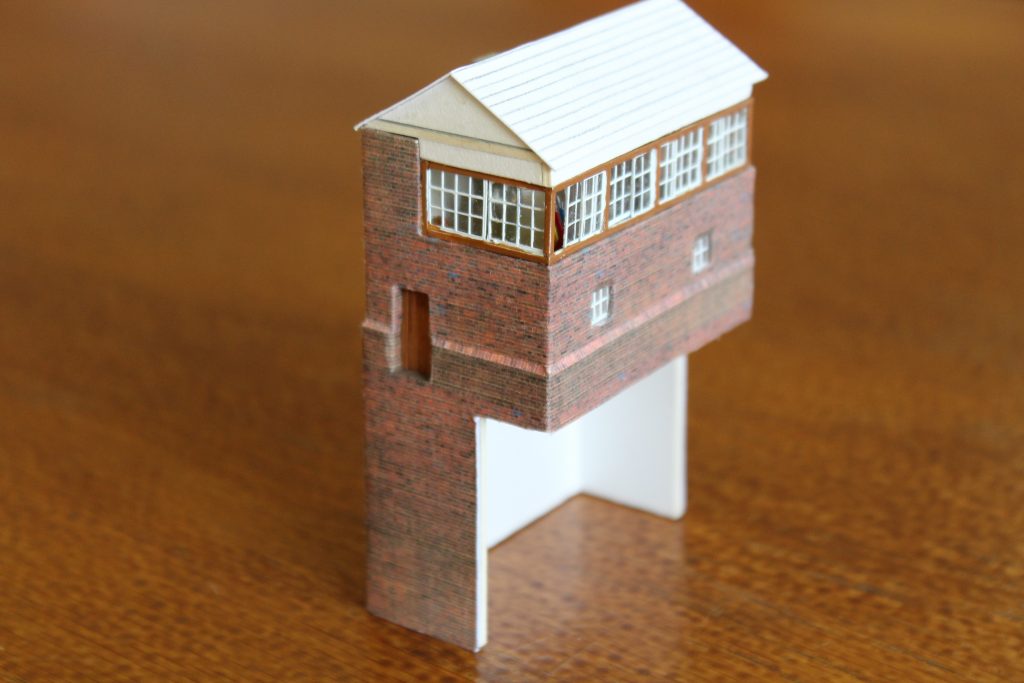
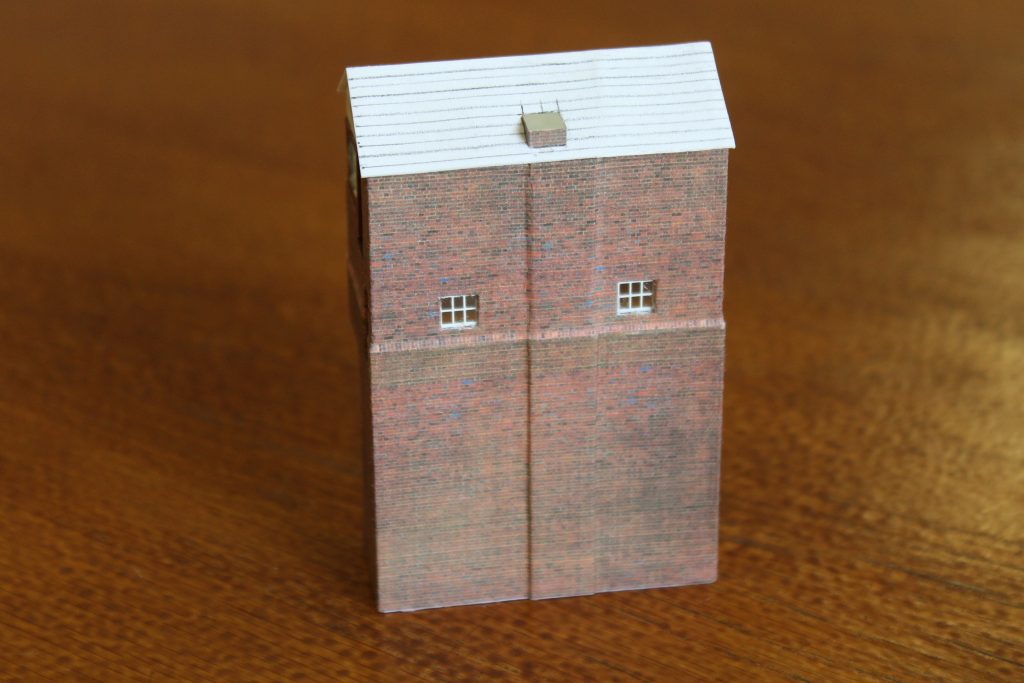
Nigel has been busy with Drws y Nant and had the signal box with him ostensibly to make some slates. However the general chat meant no progress was made there.
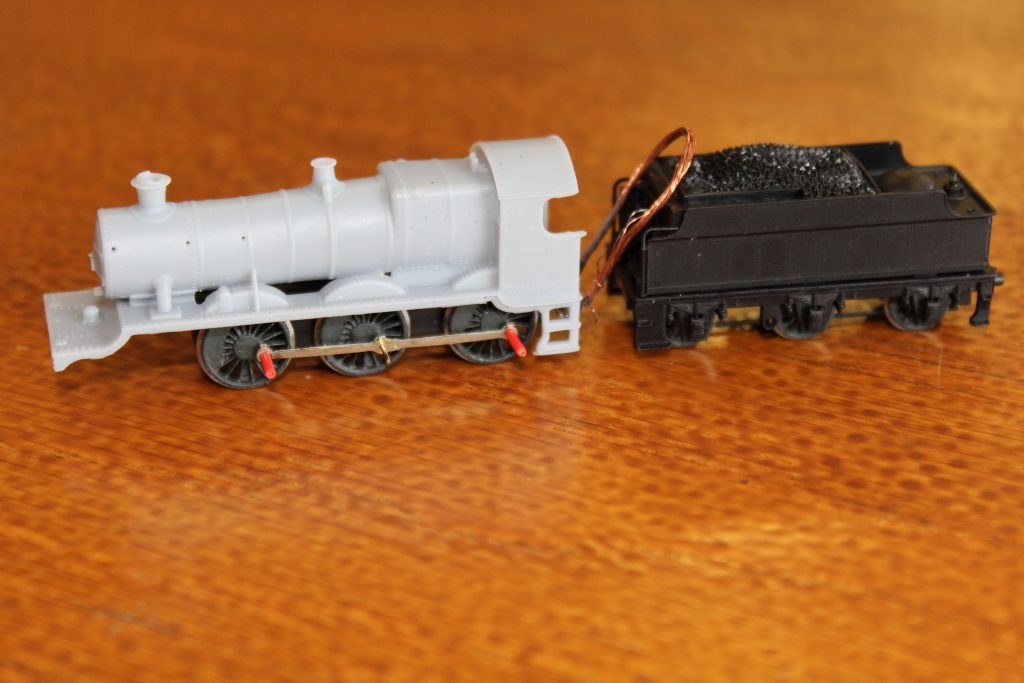
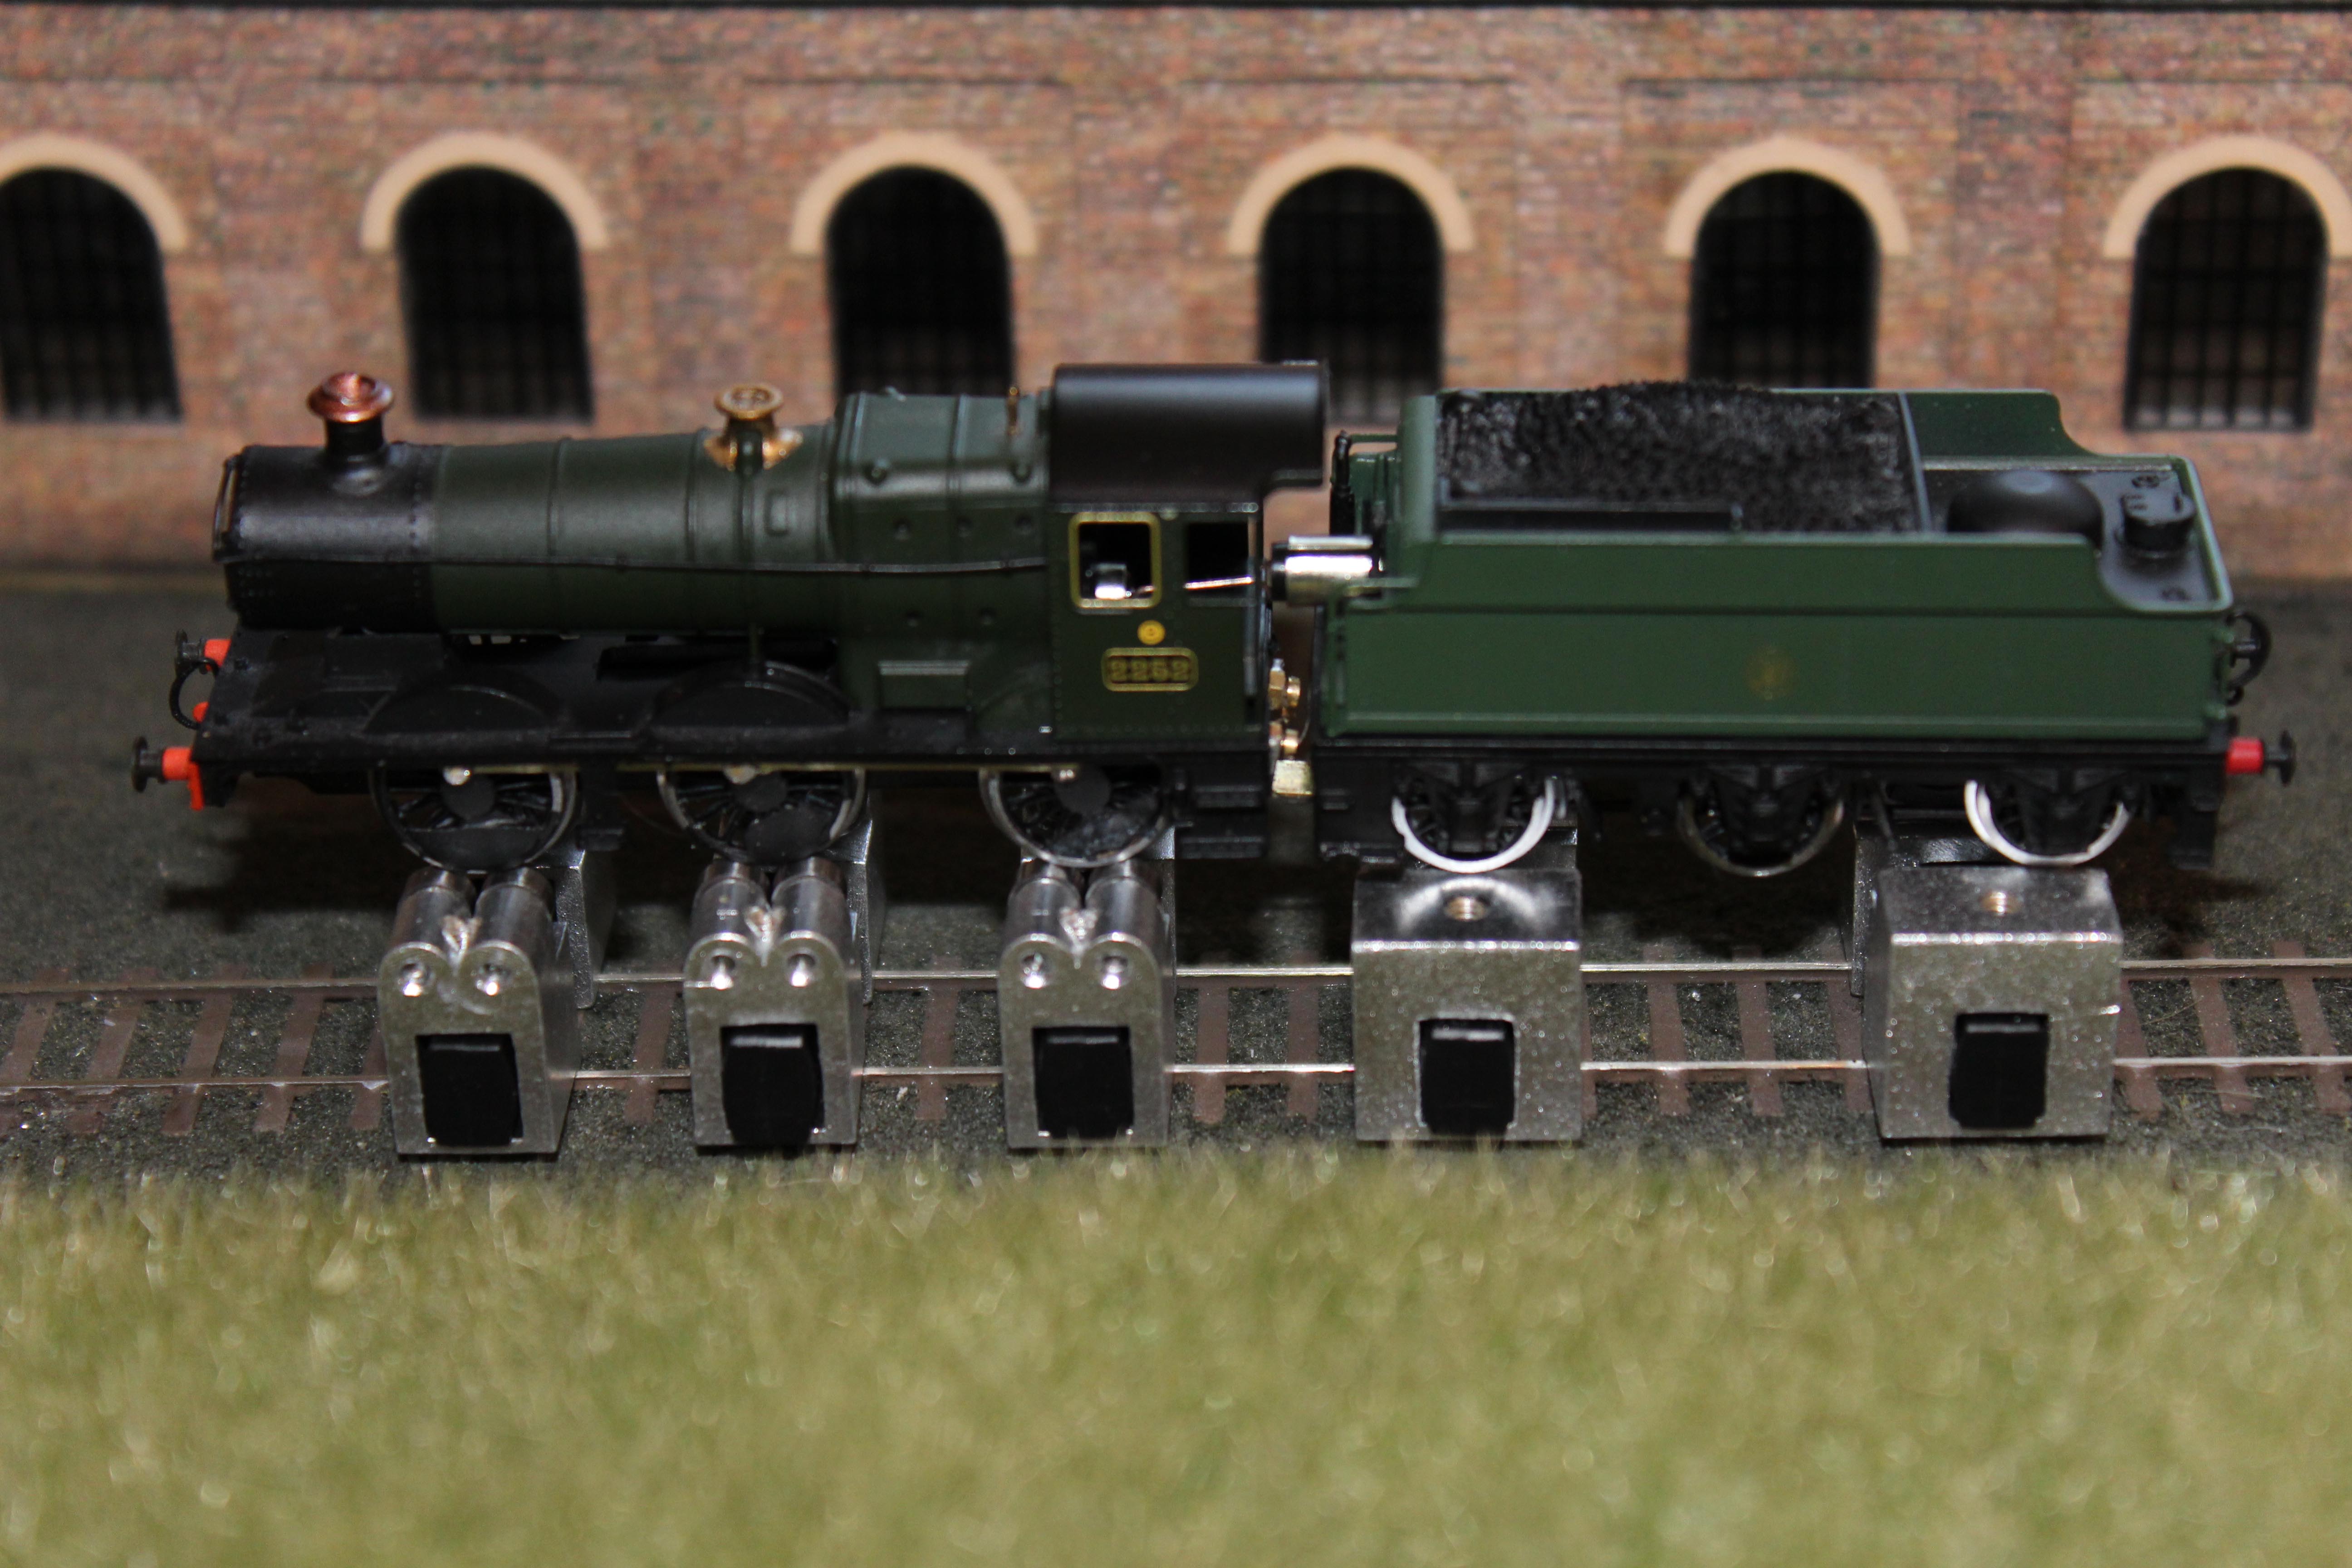
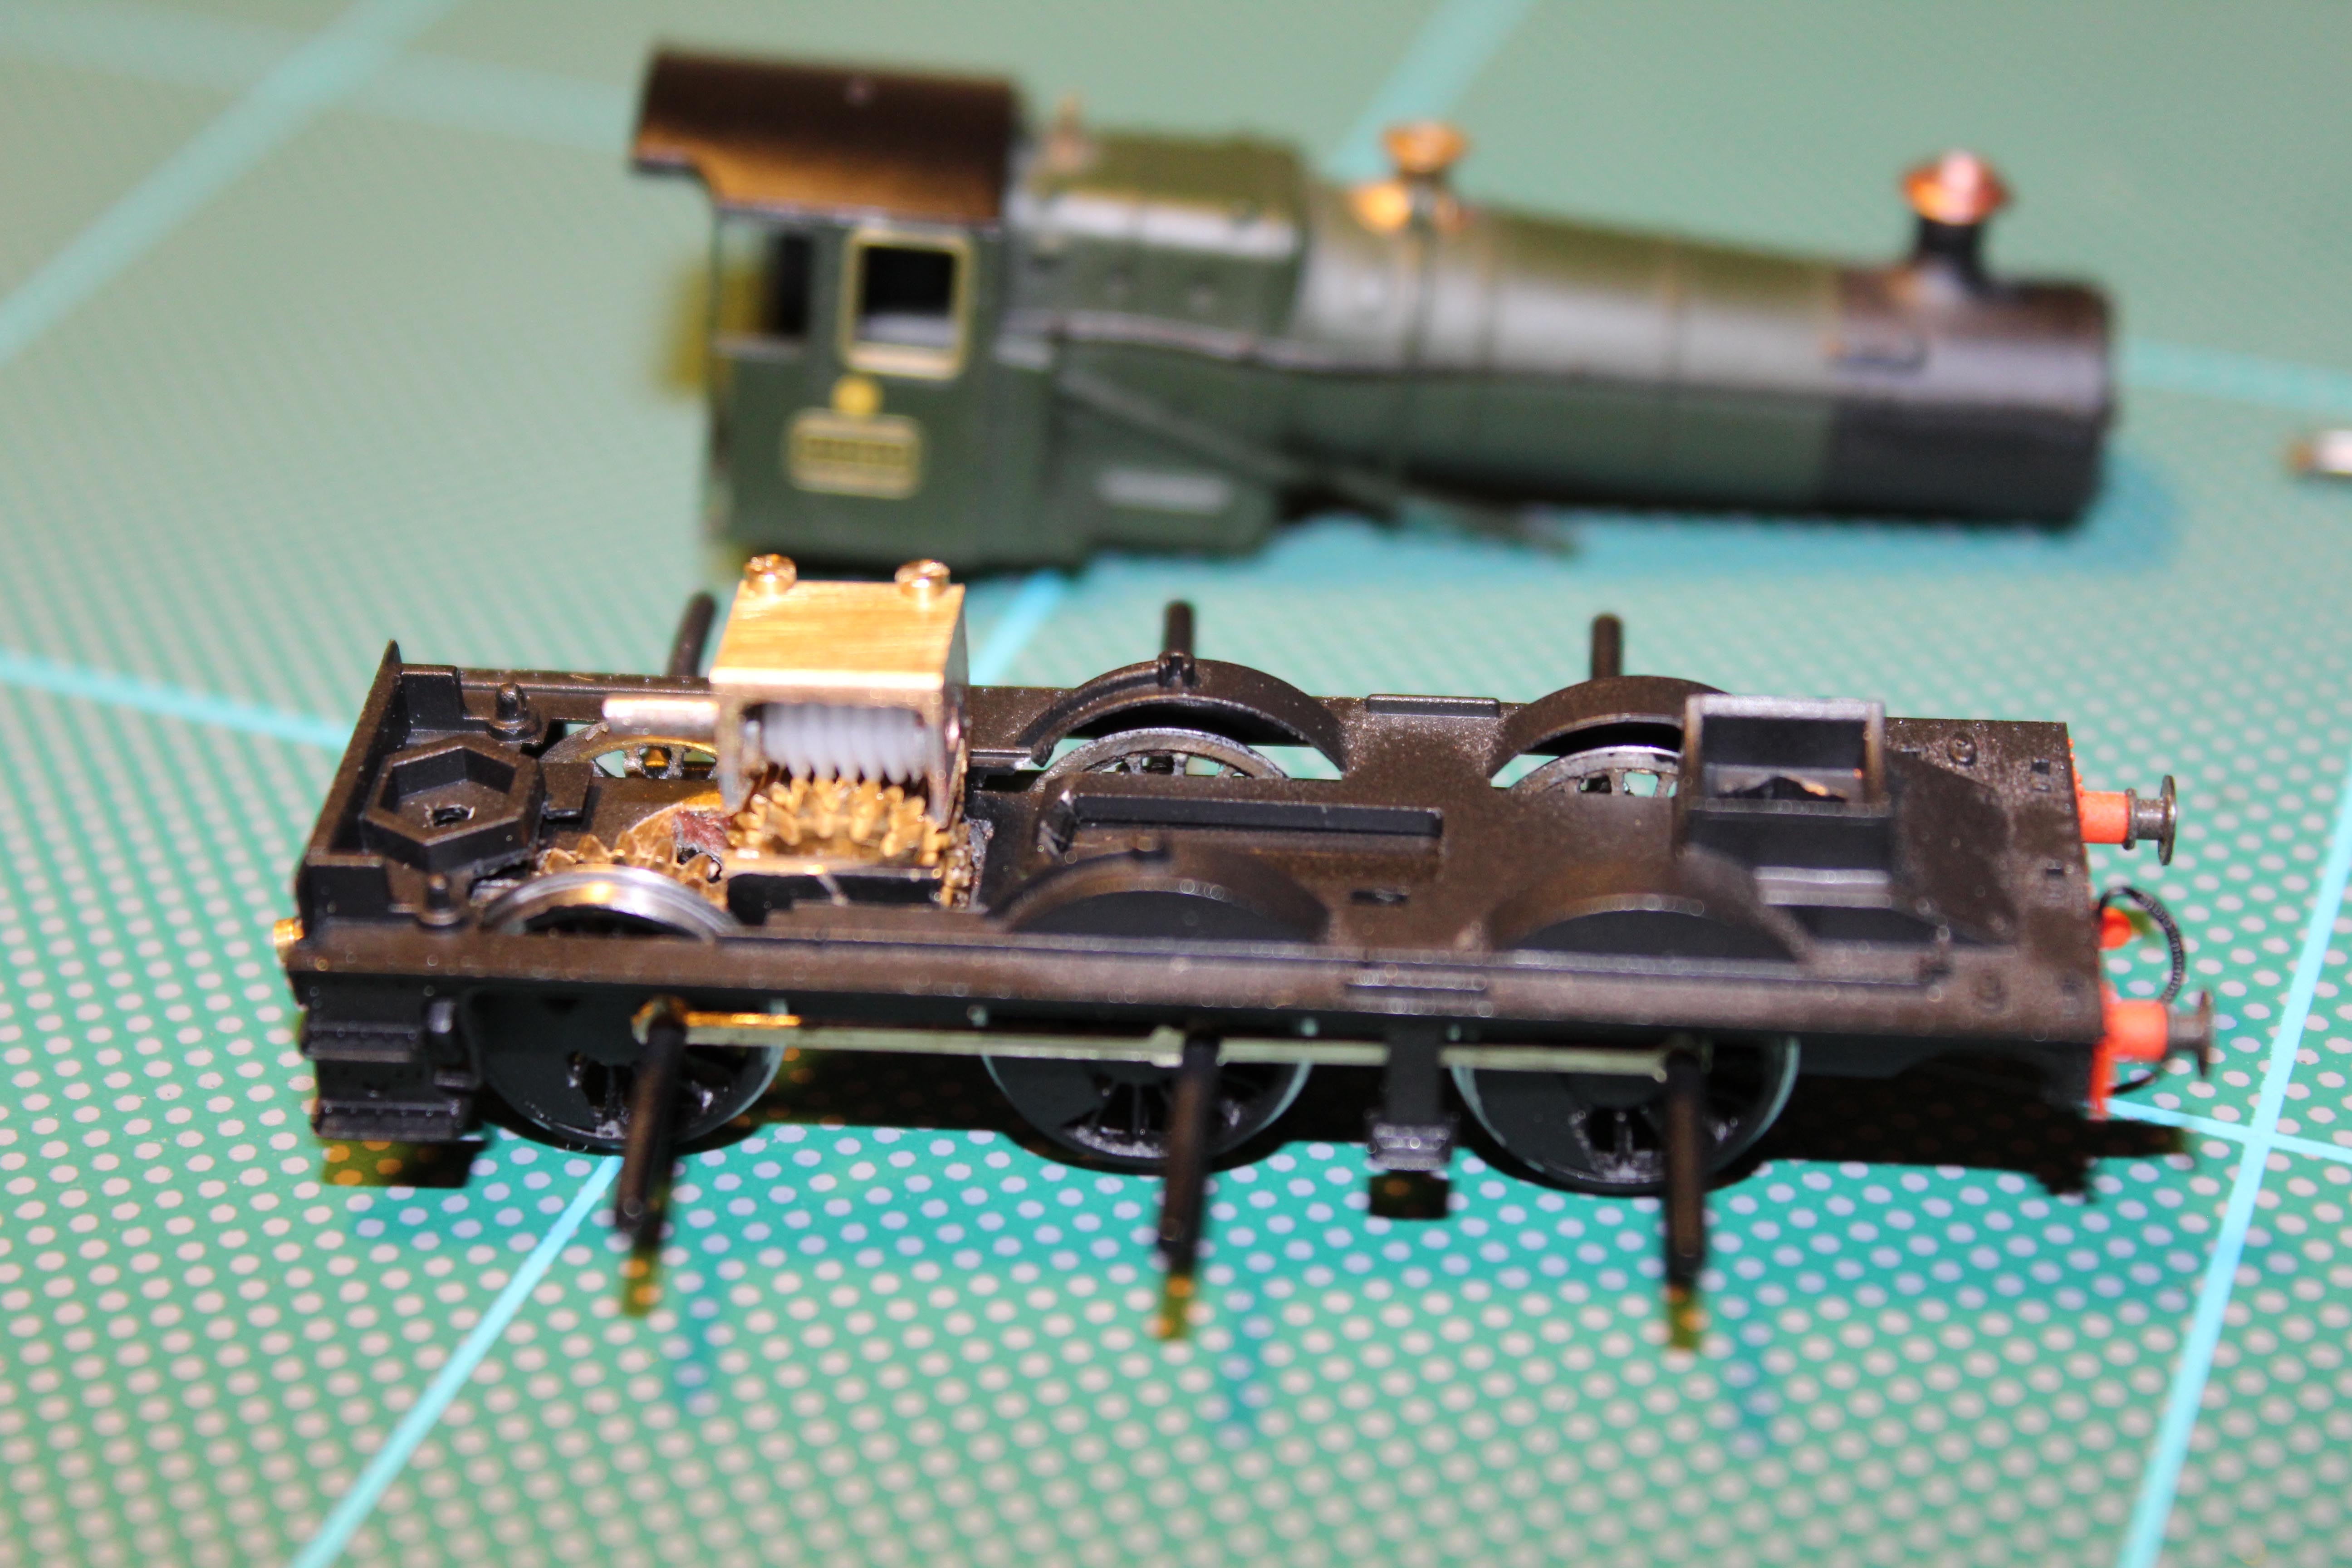
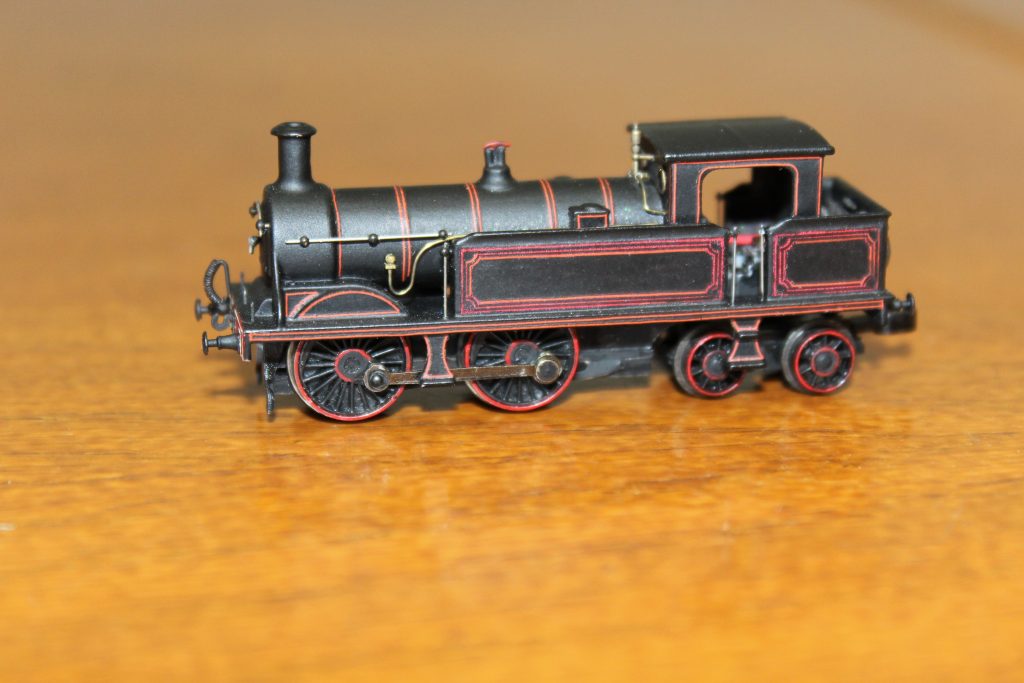
The GWR Mogul is a 3D print from Atso Cad on top of one of the Association milled brass Manor chassis. Compare this to the scratch built version from a few years ago and it is a lot crisper. At least the running qualities will be predictable.
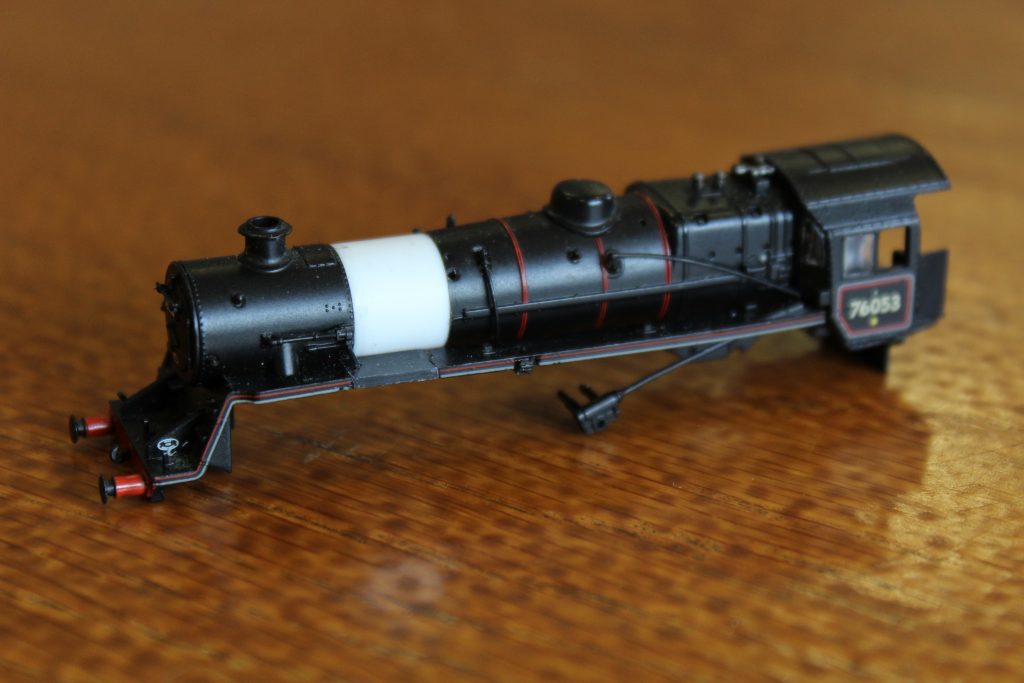
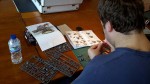
Also photographed was a cut and stretched 4MT 4-6-0 body created from a spare 2-6-0 item which Gareth donated to Nigel a while ago. Counter trades this month included some Farish spoke Wagon wheels.

All in all a successful session with lots of ideas exchanged and plenty of room to stay safe.


Back Together Again

Thanks to Richard’s nifty etch bits, my Britannia is back together in its improved form.

The wheel weights were added and the wheels painted (Tamiya Nato Black if you’re intersted). Then all the gears and chassis bits were checked to function with the replacement coupling rods being sloppy enough to avoid hindering the gears.

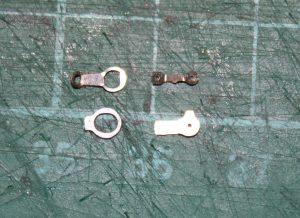
The connecting rods have huge ends and we had the idea to cut these off and splice on  closer to scale big ends (bottom row in this picture). The original parts are on the left, replacements on the right. The return cranks are also much smaller shown in the top row.

brit-rods


So after several bouts of dismantling, fettling and re-fitting the Brit has been re-wheeled, re-rodded, renumbered and renamed and looks much more becoming. After the completion of my Duke named Mercury, I decided to call the Britannia the same name. This was a Western Region machine and it didn’t have the replacement smoke deflectors, so was a good choice all round. Cabside number transfers and new etched nameplates were from Fox.

So the front bogie is Richard’s etch with Association wheels, the drivers are Association, while the rear truck and tender wheels are self-turned on the lathe. They are mostly hidden so the slightly thicker treads won’t be noticed. I may well change the tender wheels when Association spoked wheels with the extended axles become available.

So here we have a picture of the completed model on Llangerisech, well over weight for the line, but this is where Rule One applies. Like the Blue Pullman, and the Western (currently being re-named and re-numbered as well to become Western Explorer), I had the OO versions as a kid. In fact, along with the 3MT tank and the HST, I have now pretty much got everything from my childhood replicated in much finer 2mm form now.

mercury2

img_0899web-2000x1333


So here we have the finished article. The signalman with the tablet pouch and hoop is the delightful item from Modelu. I can even claim that the 3D printed people are Cambrian!


Meeting Update

Last Saturday saw some of us in our usual venue in the council building in Uckfield for our monthly meeting. Although we were a little down on numbers, we still had five of us discussing projects and ideas while doing some model making. Gareth was doing more coach lining and apparently managed sufficient corners to match the previous two months’ efforts. Calculations revealed that the coach rake should be finished some time in late 2017 at the current rate!

Dave was working on some wagon chassis, using his self-built RSU while David was working on some DG couplings. We admired David’s completed Langley horse-drawn vehicles and although I didn’t get a shot, these did appear on the Kent and Essex group blog recently. Seeing them in the metal revealed even more detail.

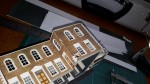
I was replacing the quoins on the station building for Llangerisech. The earlier ones were cut from self adhesive paper using the Robo cutter, but had a habit of peeling off and looked a little too mint. So I used the cutter again to cut strips of the same width, but then could fold the paper and cut the strips evenly to length with a scalpel. These strips can then be glued on in alternating patterns using decent glue so they won’t peel. A little weathering will highlight the morter courses. The plan is also to do some elements of interior detail so that doors can be left open.

Conversation revolved around Scouts, future exhibitions, using acrylic paint on FUD 3D prints as enamel is tricky, and the changing face of commercial exhibitions. I also gave an update to Guy about the new cassette system on Llangerisech as he missed the previous meeting, so I have included a couple of shots of this too.

Oh and Guy was doing some unfathomable Warhammer thing that was given to him by his brother……


Last of the Year

Today we held the last Wealden area group meeting for 2014. As meetings are on the 4th Saturday of the month, the theoretical December meeting always clashes with Christmas. So the next meeting will split the difference and be held on the 10th January then we revert to the 4th weekend in February. With us so far?? Good – I’ll continue.

We had a good turn out with Richard, Dave, Gareth, Bob, David and myself present with a few items being worked on.

Topics of conversation included the Arnold 5BEL (Richard and Gareth already gloating in posession),the state of the Brighton Line, through tickets and forthcoming exhibitions.

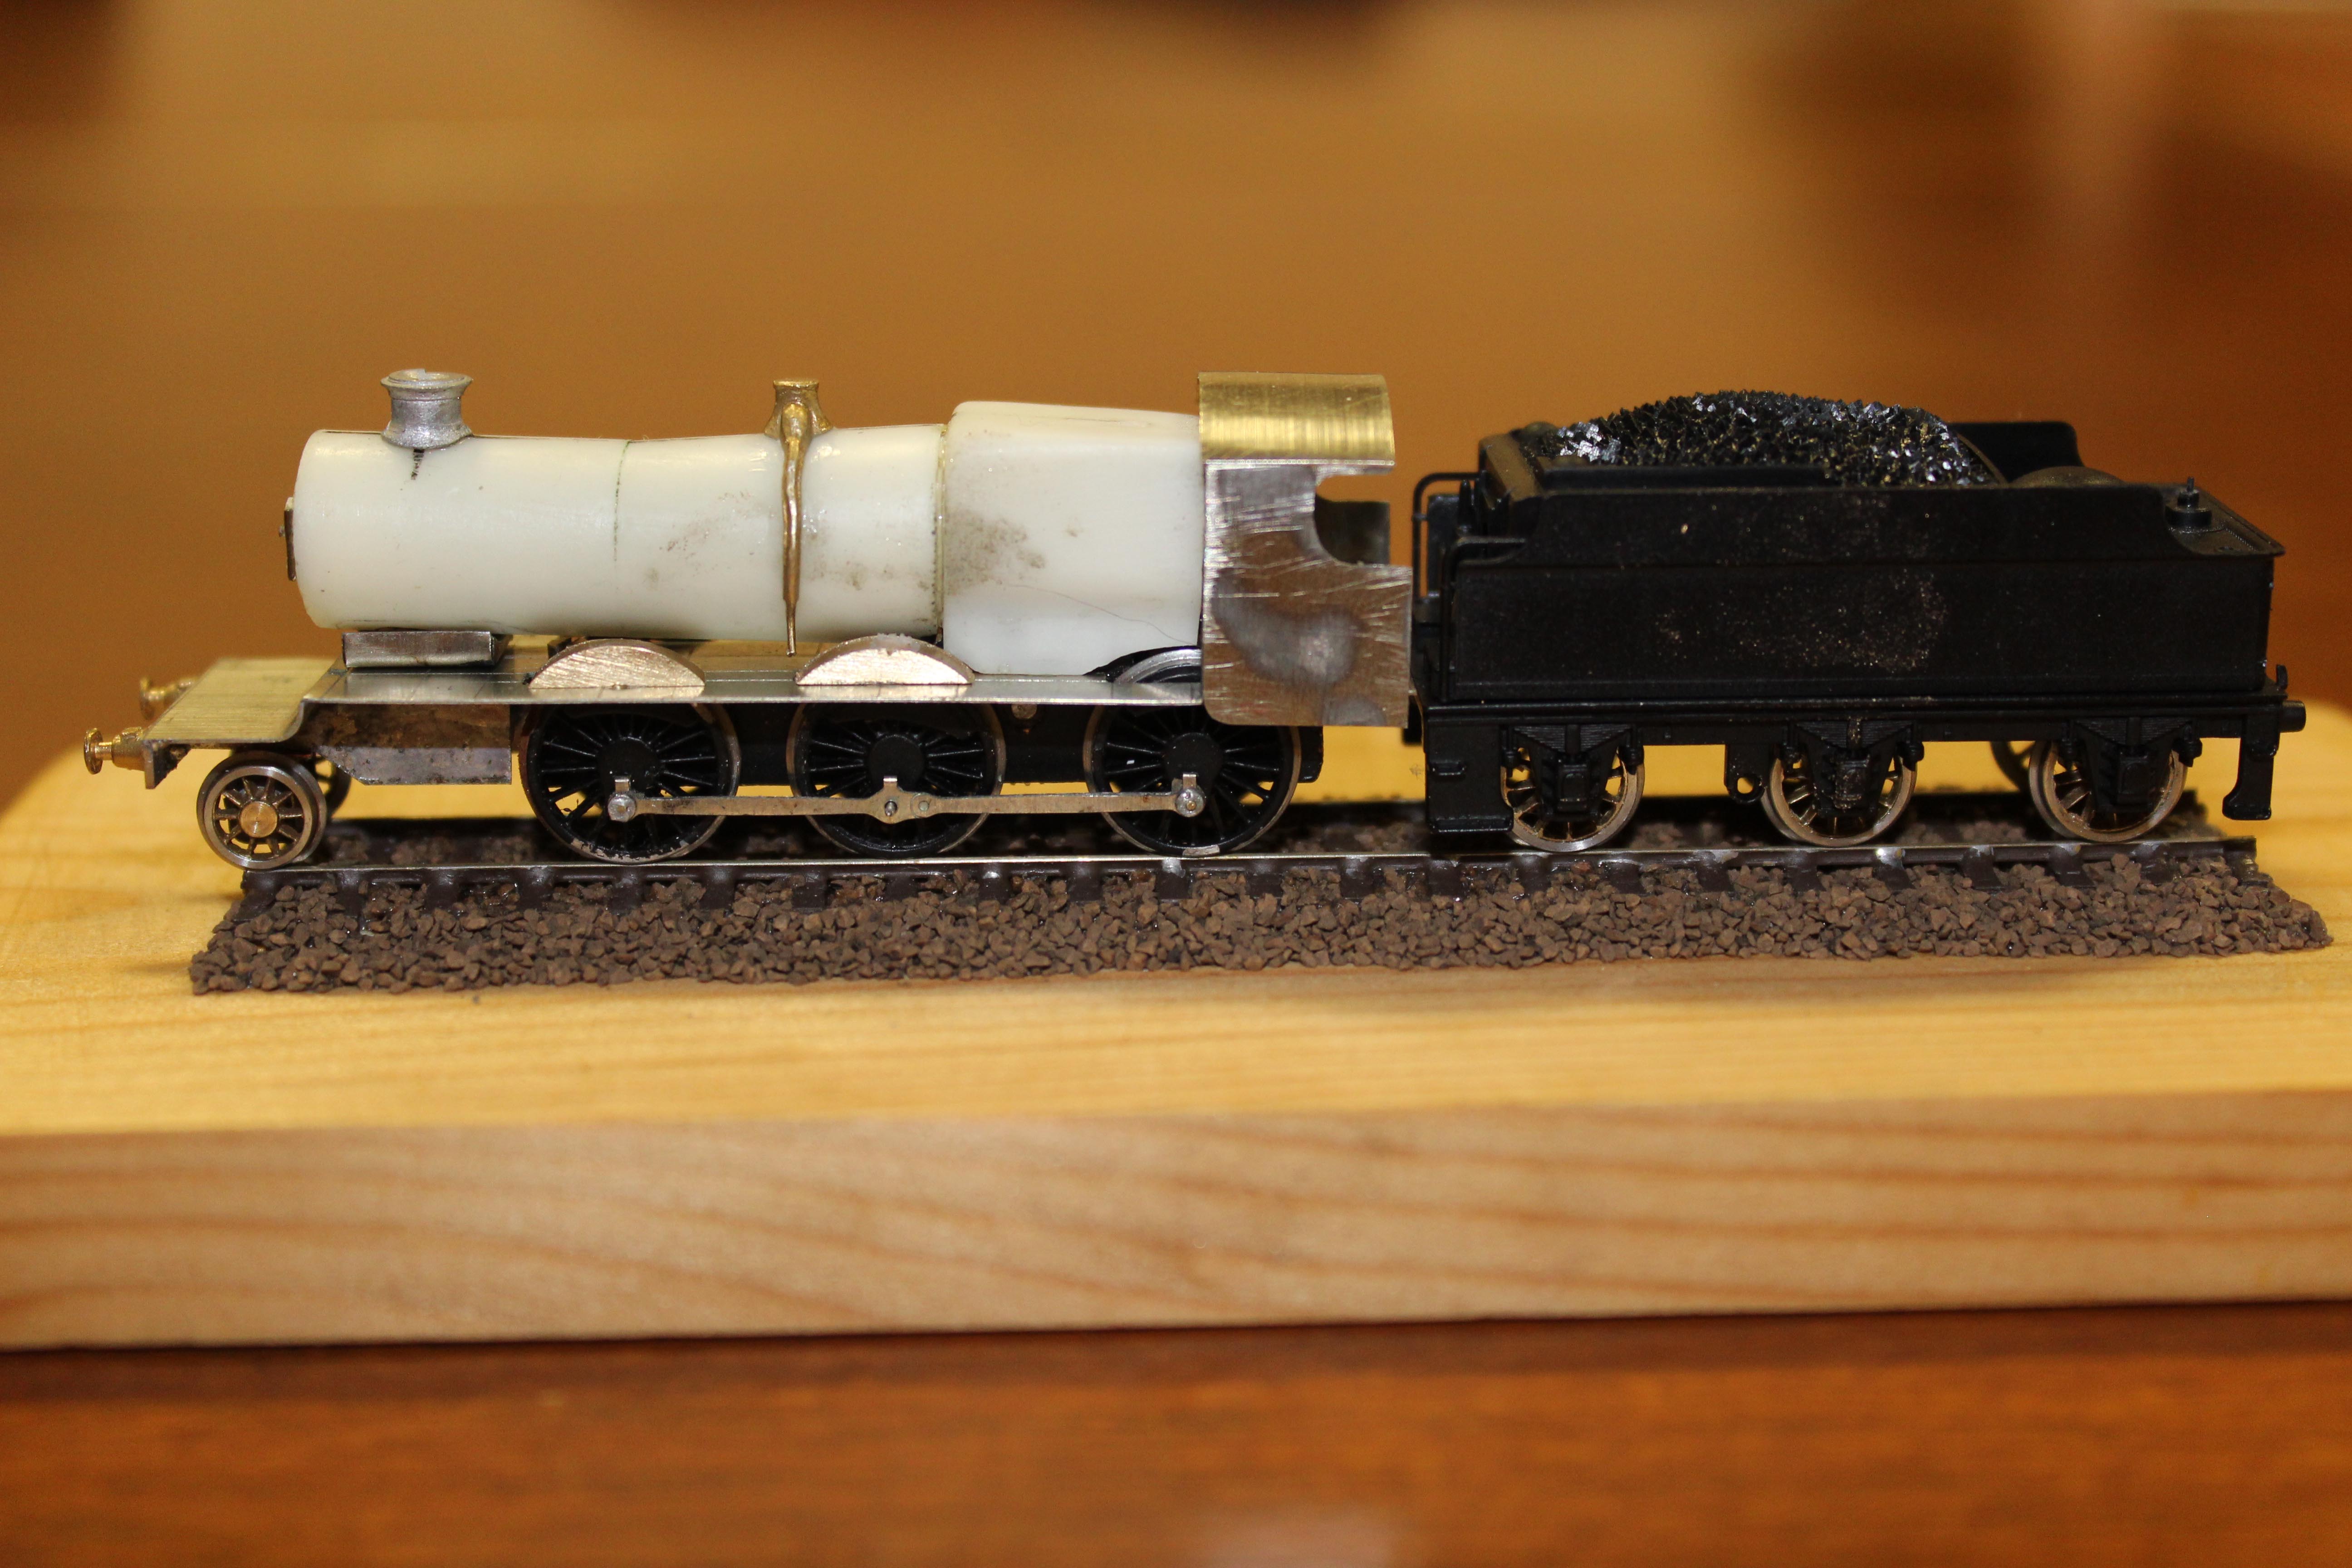
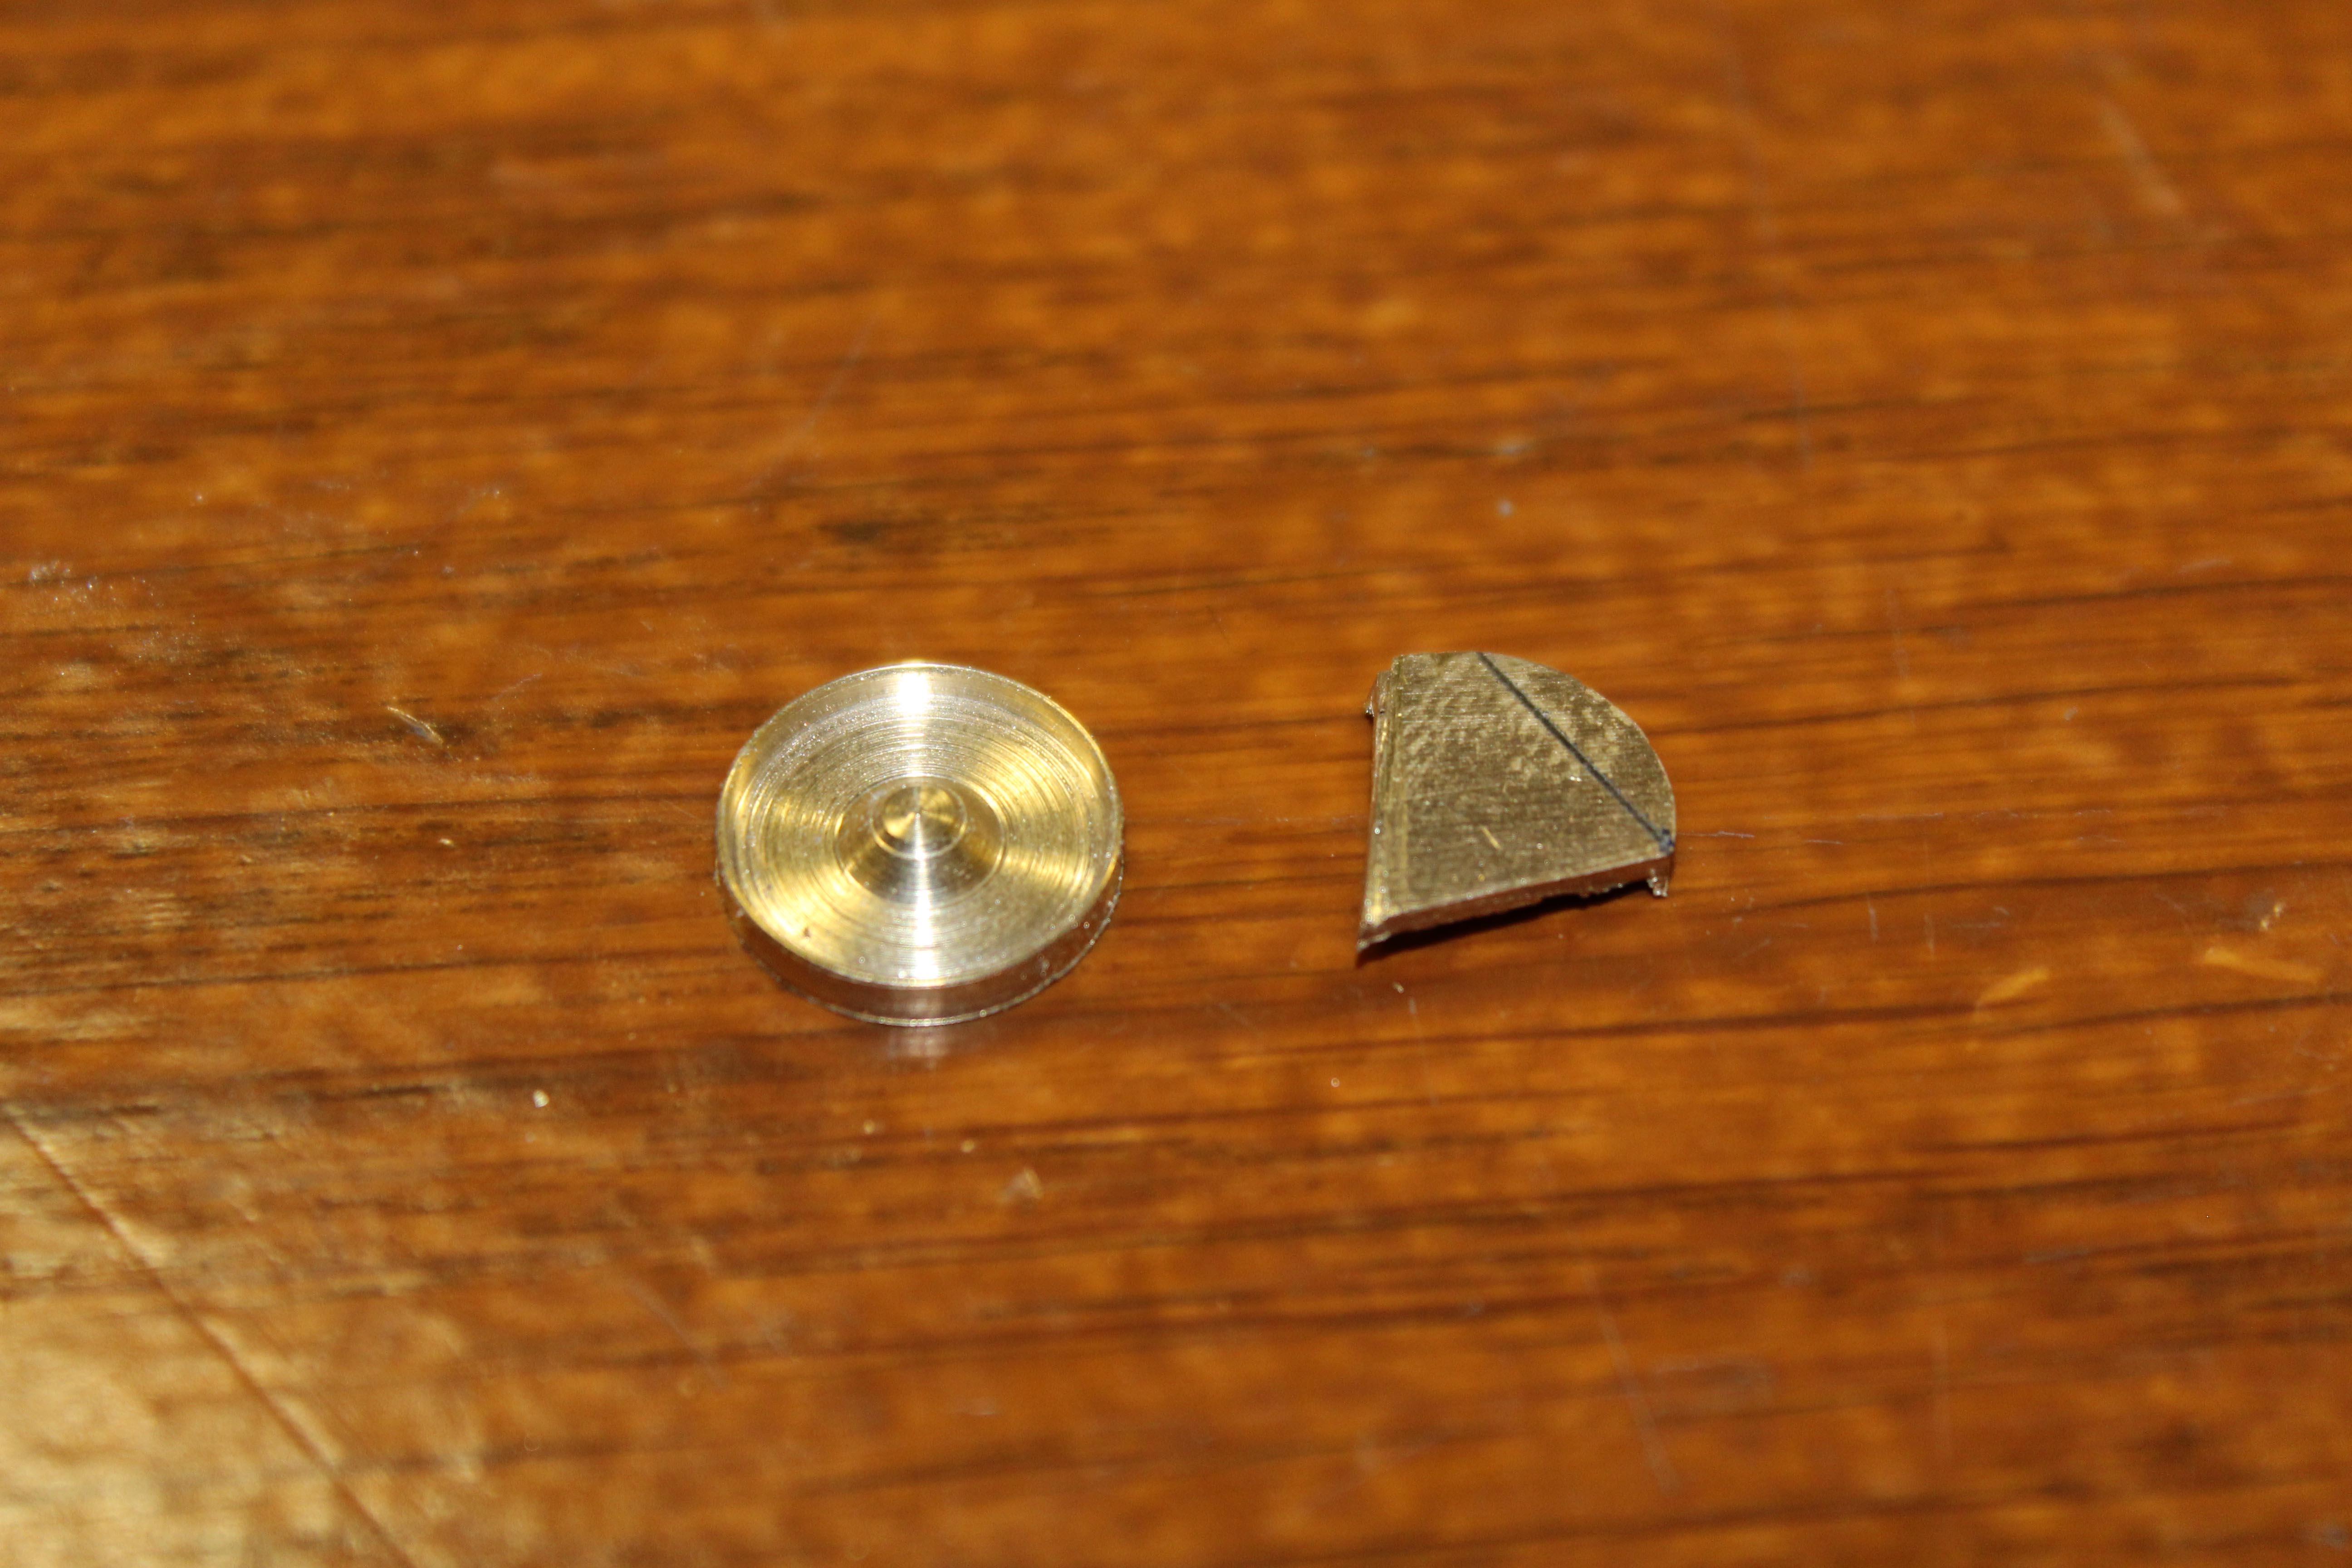
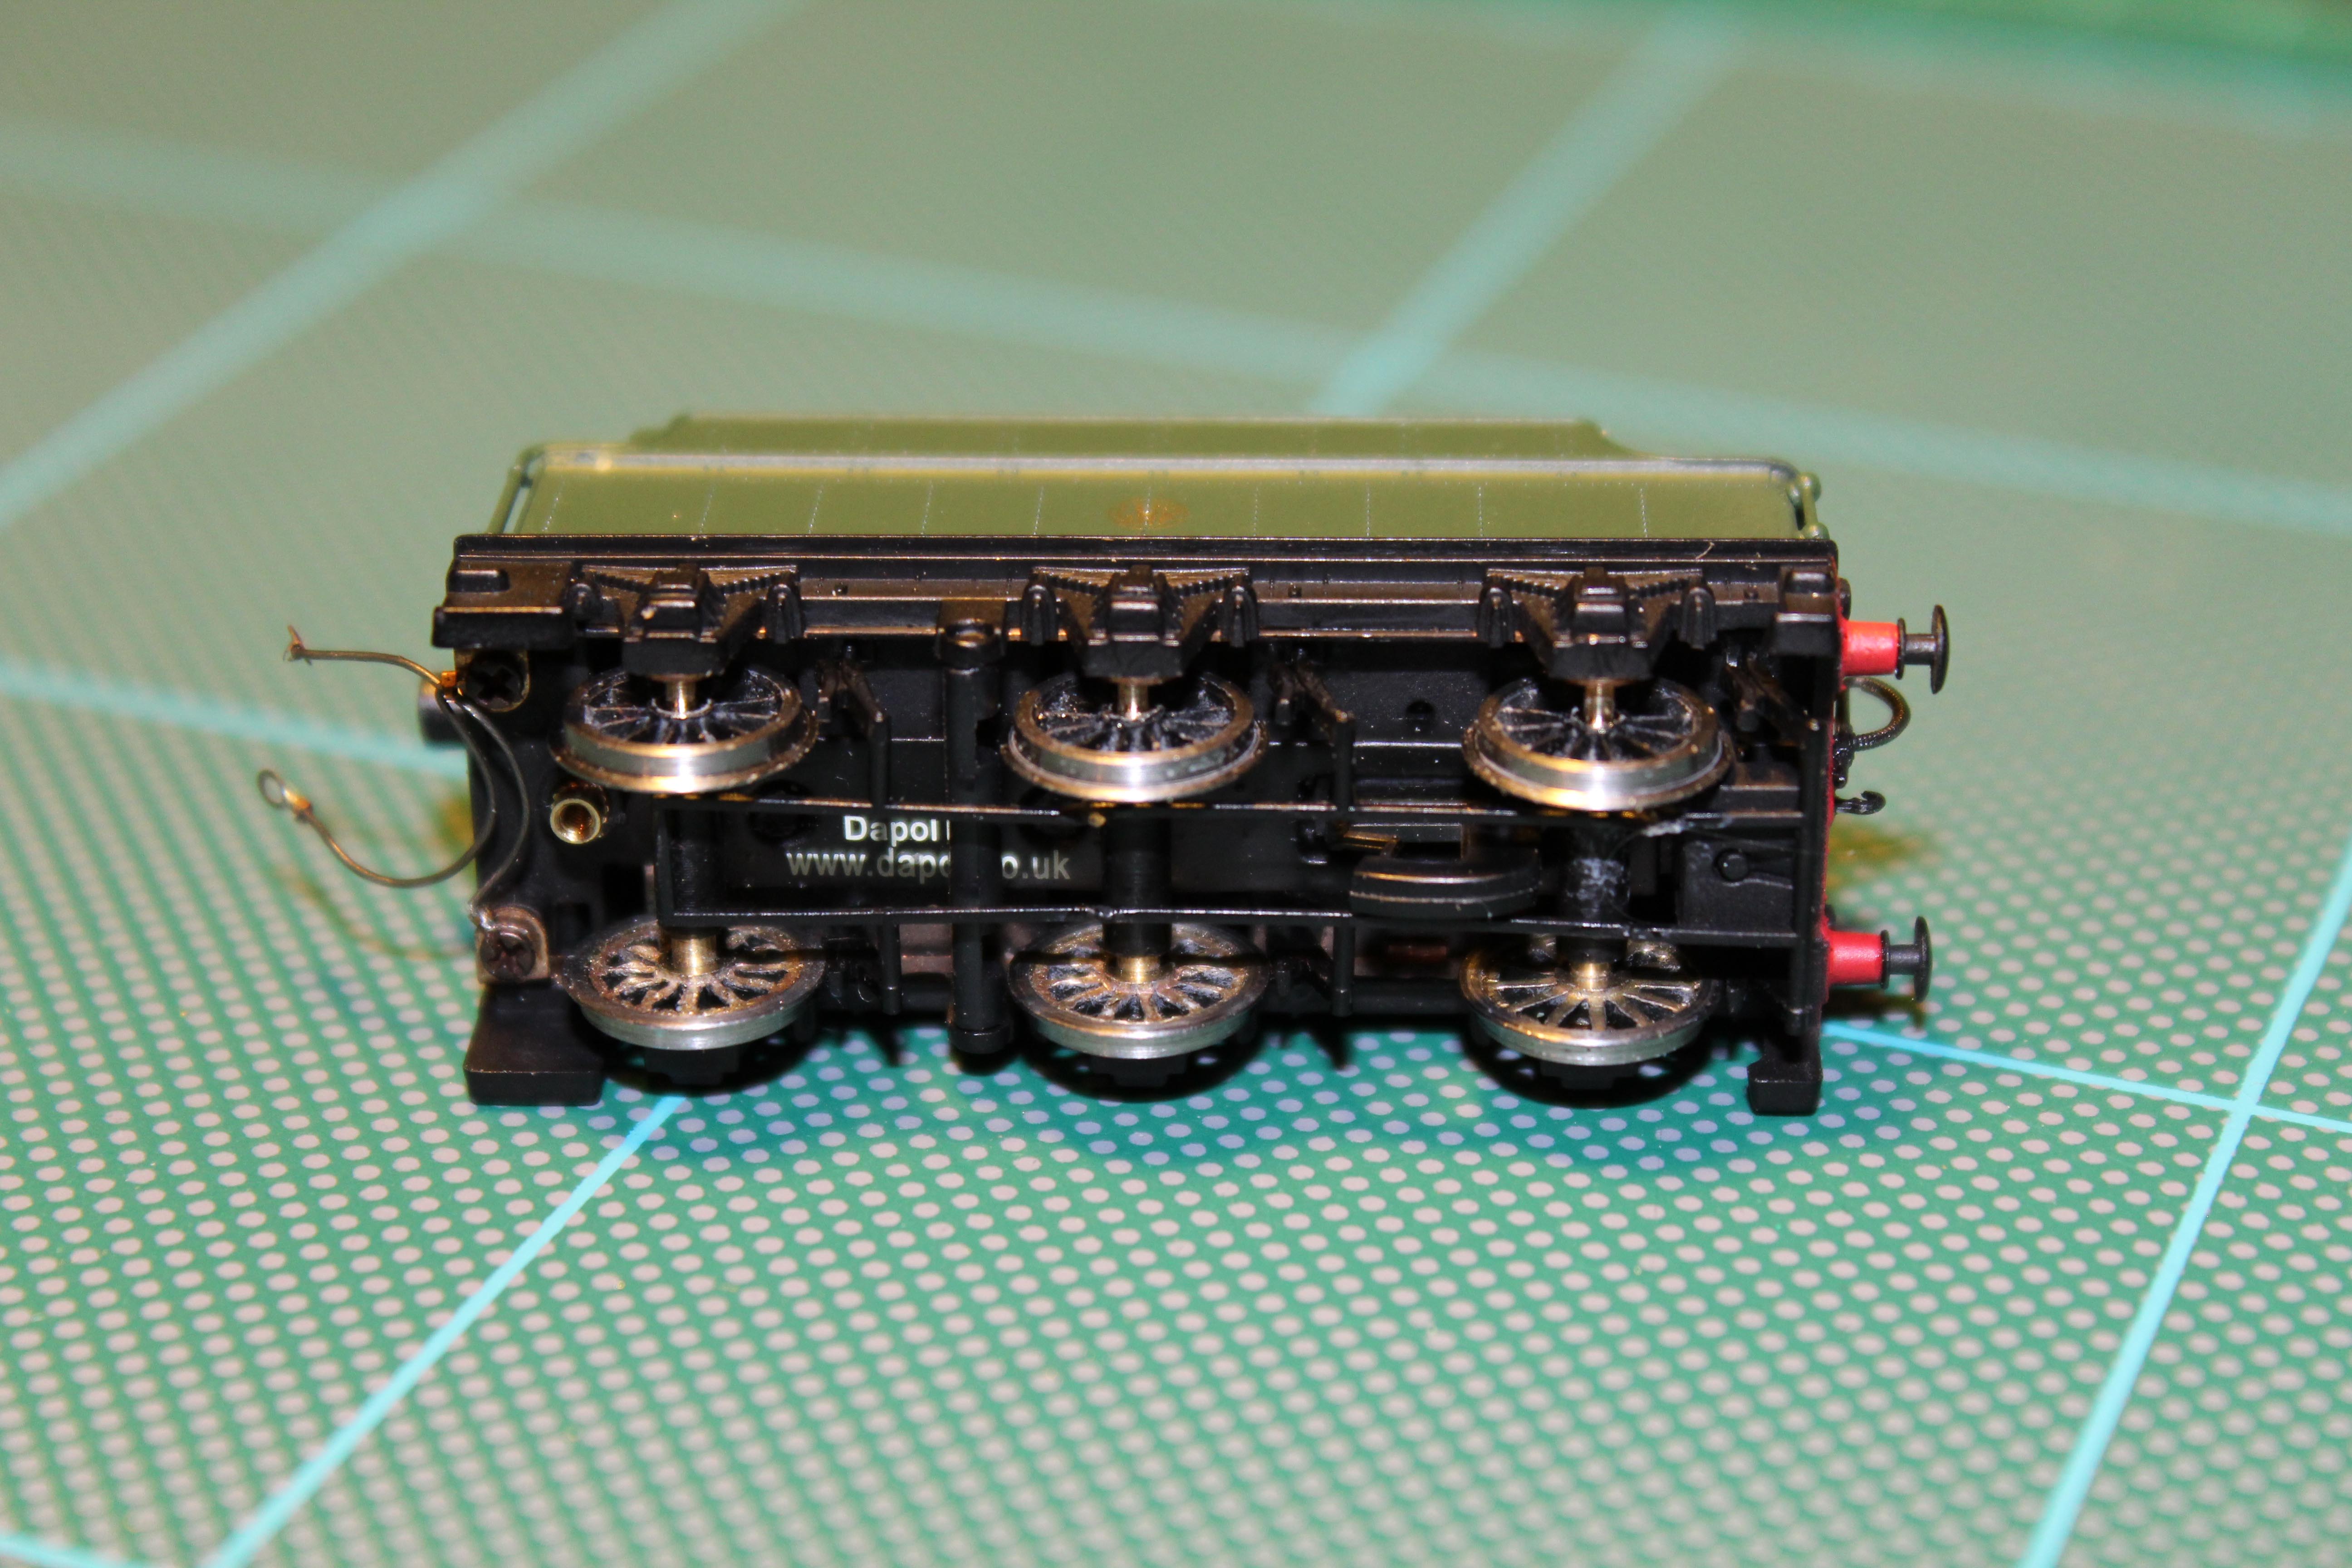
Projects being developed included my GWR Mogul, with the splashers being added. I had already turned some cups on the lathe and cutting the splashers out of the circular cups was done during the meeting. The pictures show the machined disc and the last splasher being cut from its partner. The boiler and firebox are cast resin while the cab and footplate are nickel silver all to fit over one of my Manor chassis kits with suitable afjustments. The tender is one of the Dapol items avaiable from the Asssociation shop.

Gareth was lining out one SECR carriage, with another finished one on show for inspiration. As ever, Gareth’s modelling quality exceeds virtually anything else designed to run on 9mm gauge track. I’m itching to change the wheels to 2FS one day…..

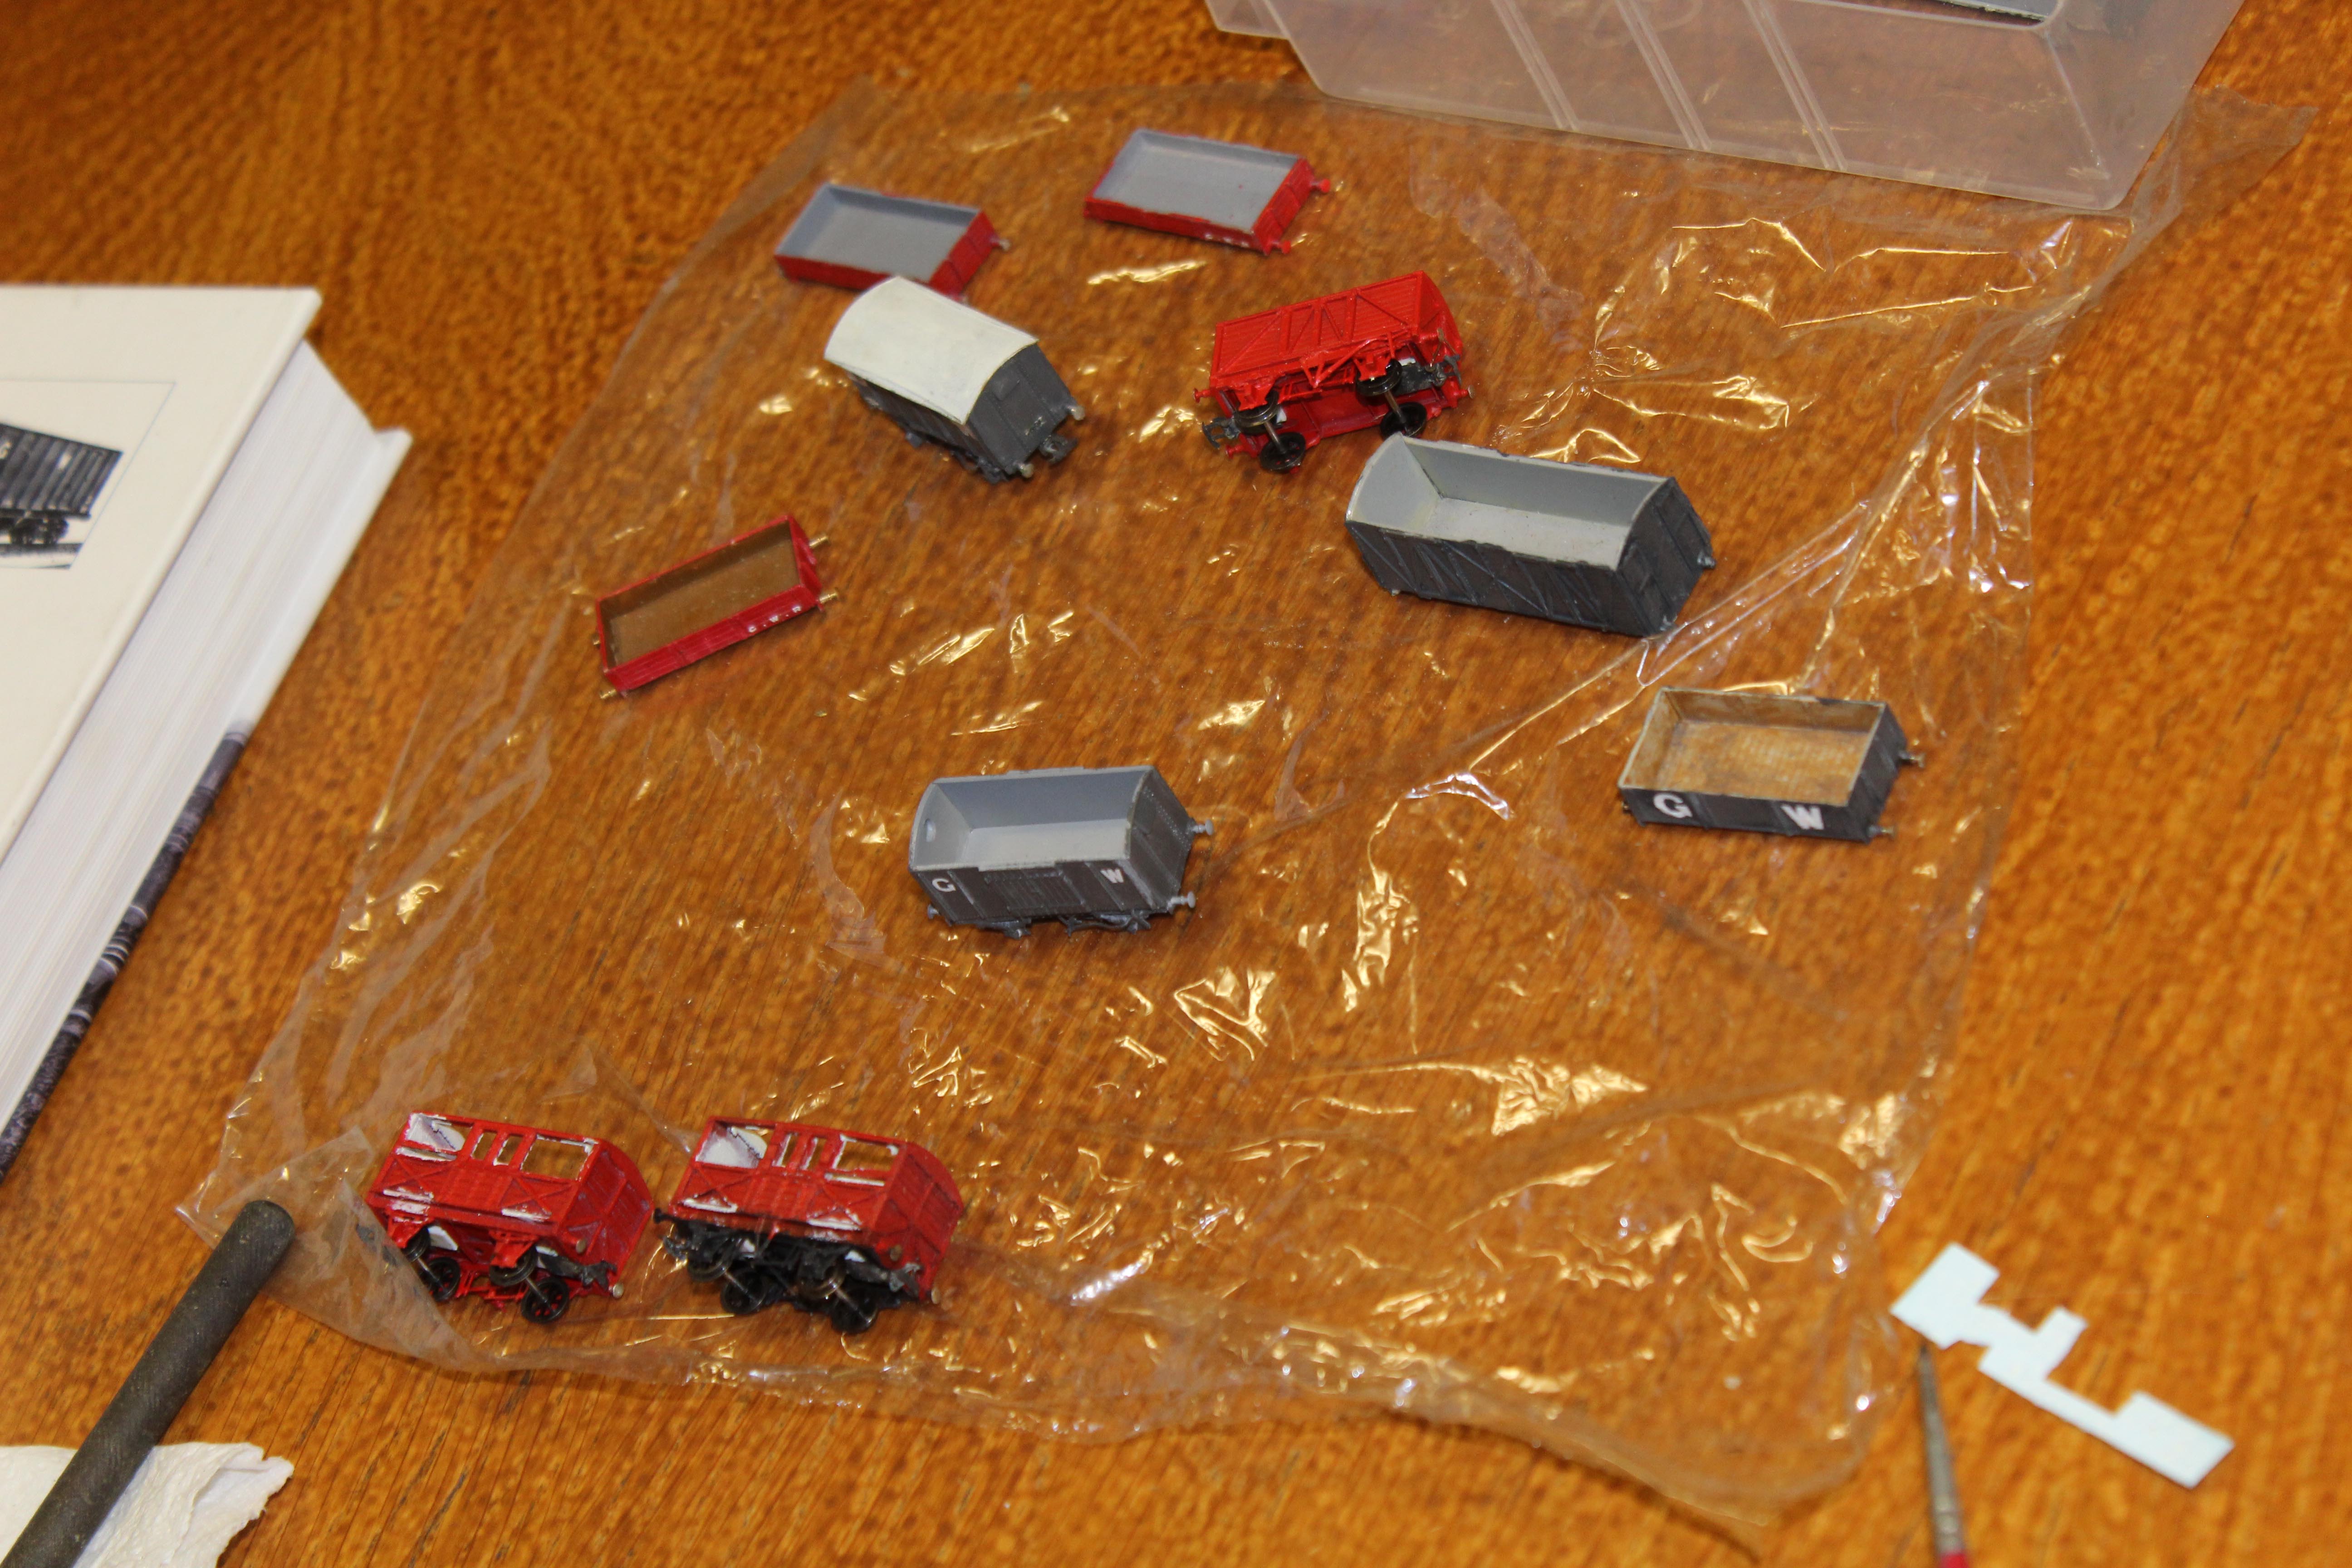
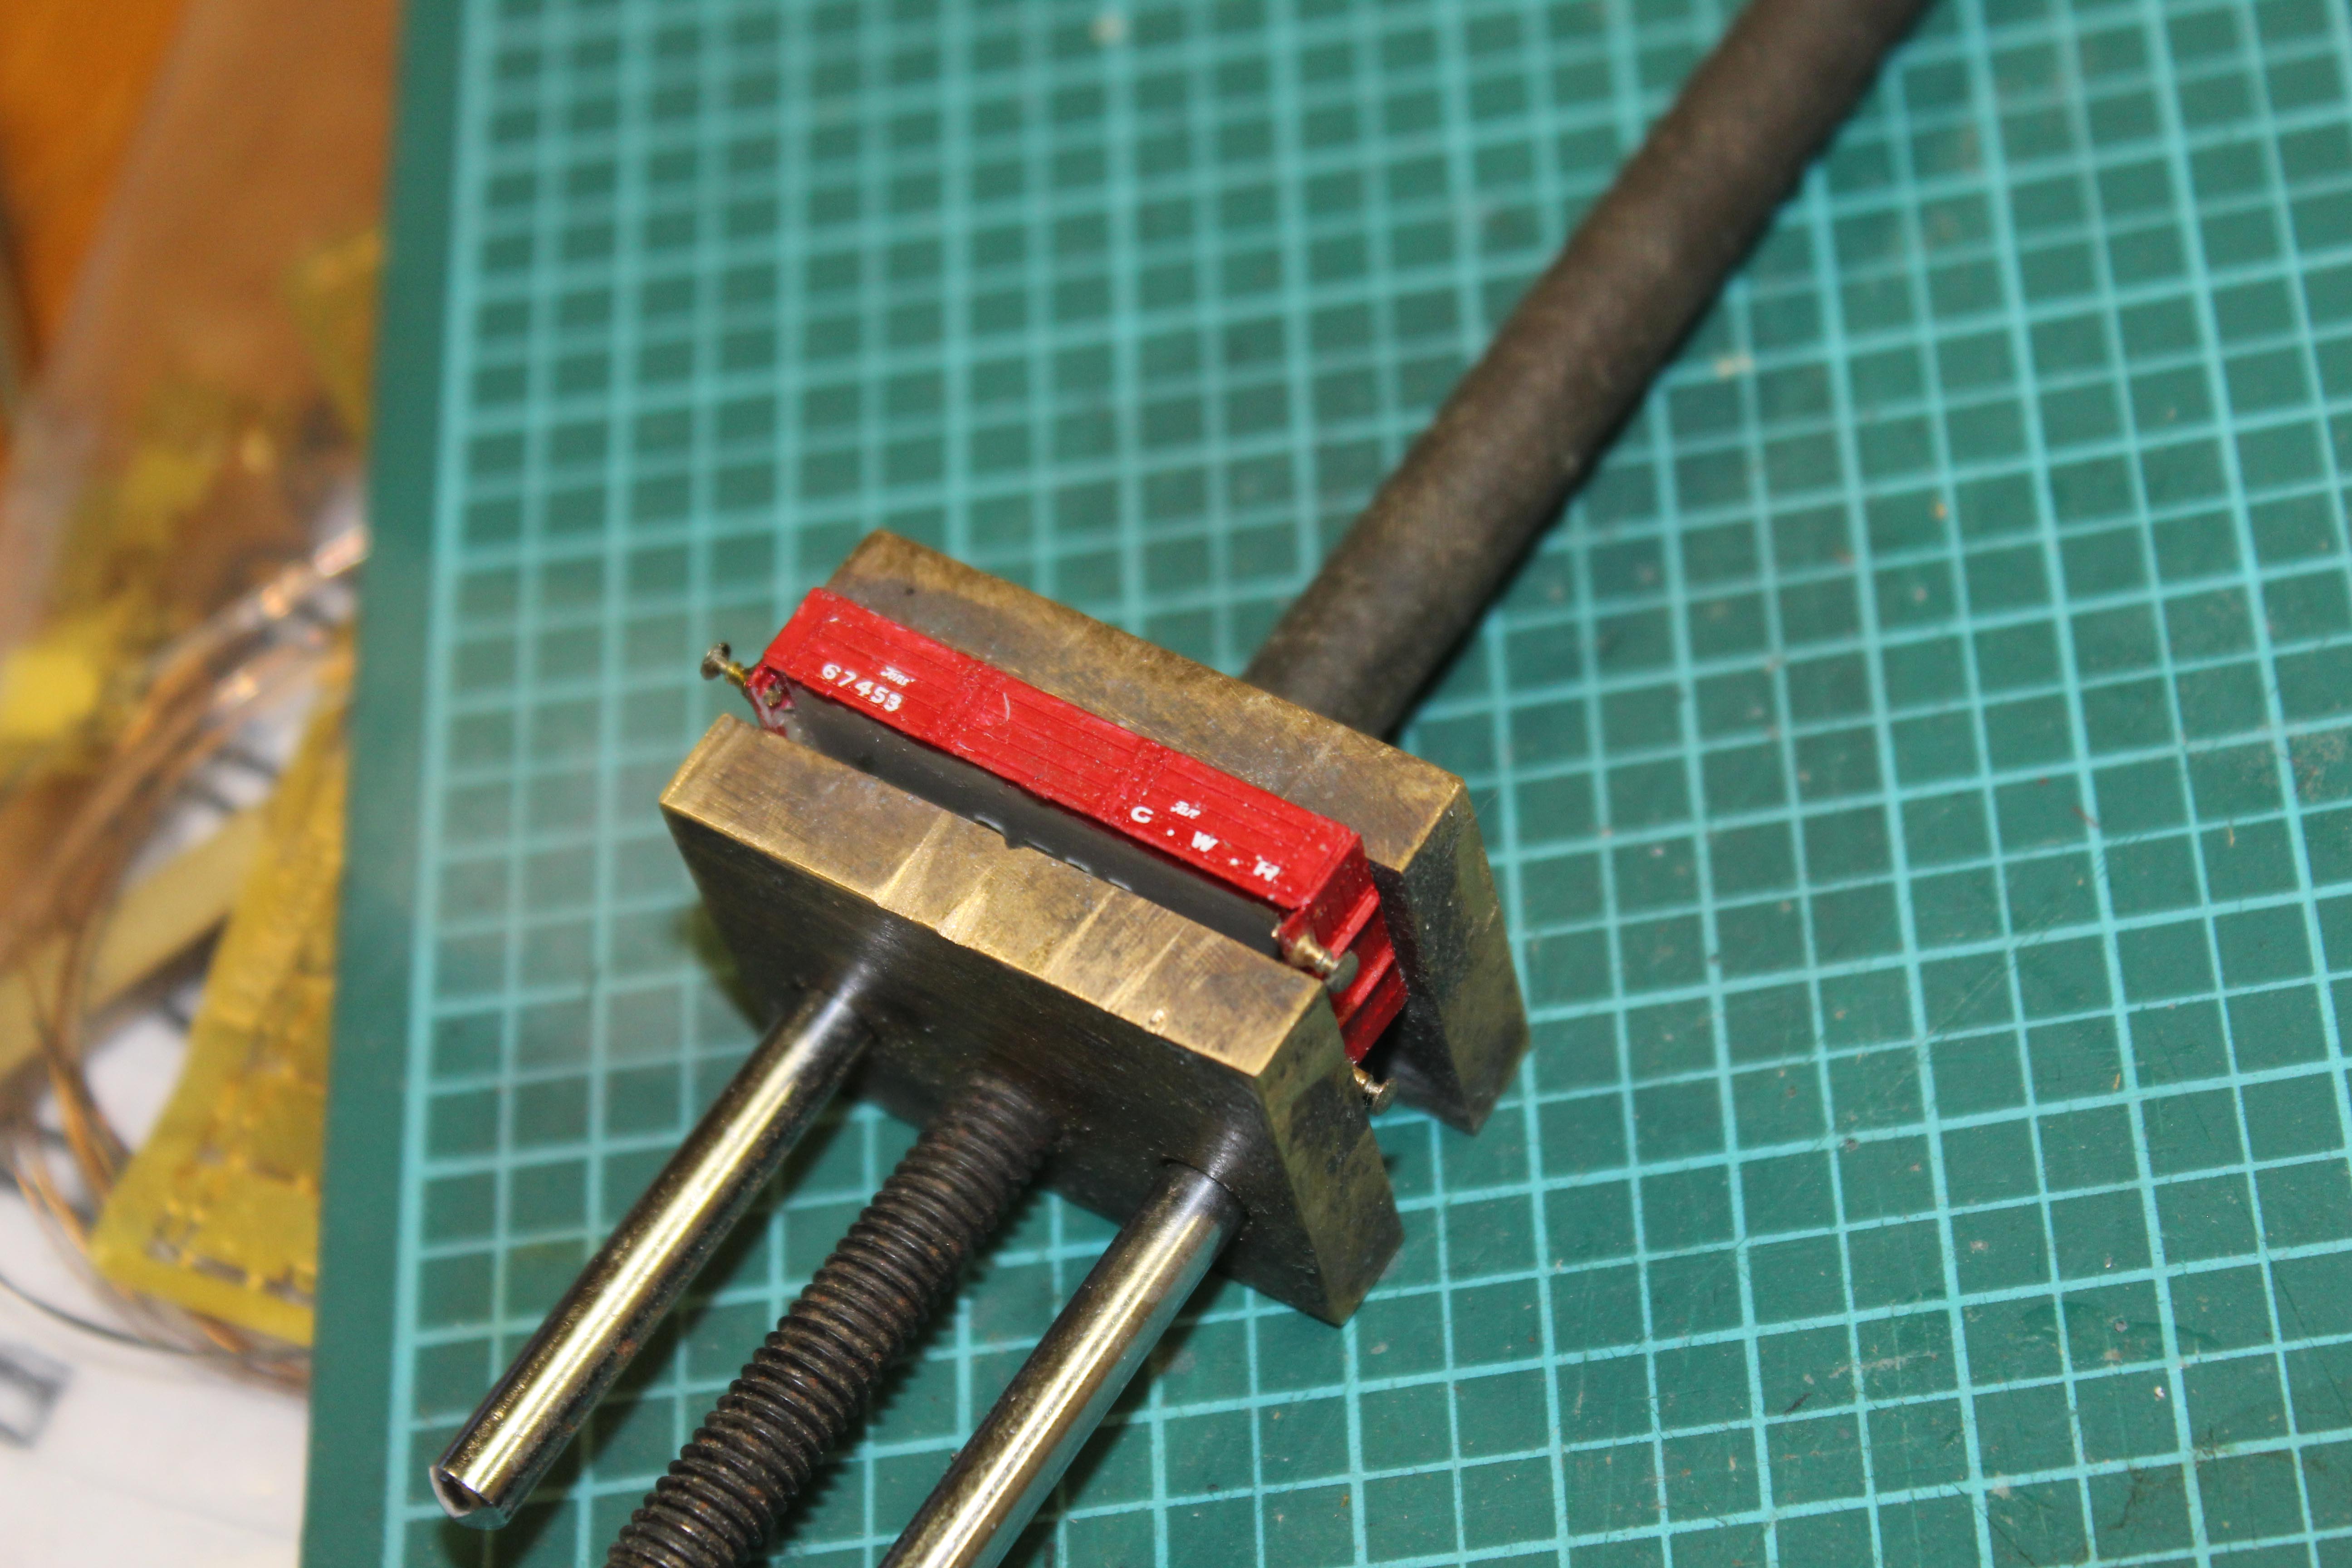
David was working on some early GWR wagons in red oxide. The Western did exist prior to the 20th century and some of the earlier colour schemes were different to those most of us know. As all this pre-dates living memory and colour photographs David has the ideal answer to any rivet counters. He was using an interesting little vice  to steady the wagon body being worked on, as shown in another picture.

Meanwhile Richard was refining points on some of the wagons referred to in an earlier blog, among other things making new coupling loops.

So that was us done for 2014. Plenty of time to make modelling progress over the festive season and we’ll all congregate back in Uckfield in mid January to share what we’ve been up to.

The pictures are pretty much in the order of the text above. Double click on any picture to see more detail.

IMG_0117IMG_0119IMG_0121

IMG_0124 IMG_0123IMG_0125

IMG_0120

It’s Show Time!

Evening  all.

Well  all the modelling activity culminating in the production of a second Collett Goods loco did produce a nice runner. First picture sees the running in session on the rollers. I think that was Thursday some time.

Today saw a bunch of us at Aldershot for an excellent show and an AGM thrown in for good measure. I took a couple of shots, during the set up phase when a lot of locos were in the shed area – it never got that crowded in normal running.

As this was the first time running the layout in its 1930’s guise, I feared a degree of finger prodding, but things could have been worse. We found the Jones goods and the two Colletts pretty reliable. The 2p was a little variable, but fine once moving which is a little odd. Tre Pol and Pen had a couple of “moments” but benefitted from tweaks done during the course of the day. The Pannier pilot proved very able, but I spent a lot more time cleaning and re-cleaning the track throughout the day. I don’t recall any real problems with the Manor, but David or Richard may tell you differently. We sidelined the 45xx fairly early, but I do have a plan to improve it soon.  A couple of coaches have had running issues, and as usual it is a question of identifying and rectifying these. Only through continuous monitoring will we improve things. Even the diesel stock went through this phase, so I am hopeful of seeing imporovements in reliability tomorrow and at future shows.

Anyway, it was good to see so many 2mm Association folk today and share ideas. We need to entertain the general public more tomorrow, so a long clean will be the starting point of the day.


IMG_0102IMG_0108IMG_0109


Second Helpings Part 3 and Timetable Developments

Hi,

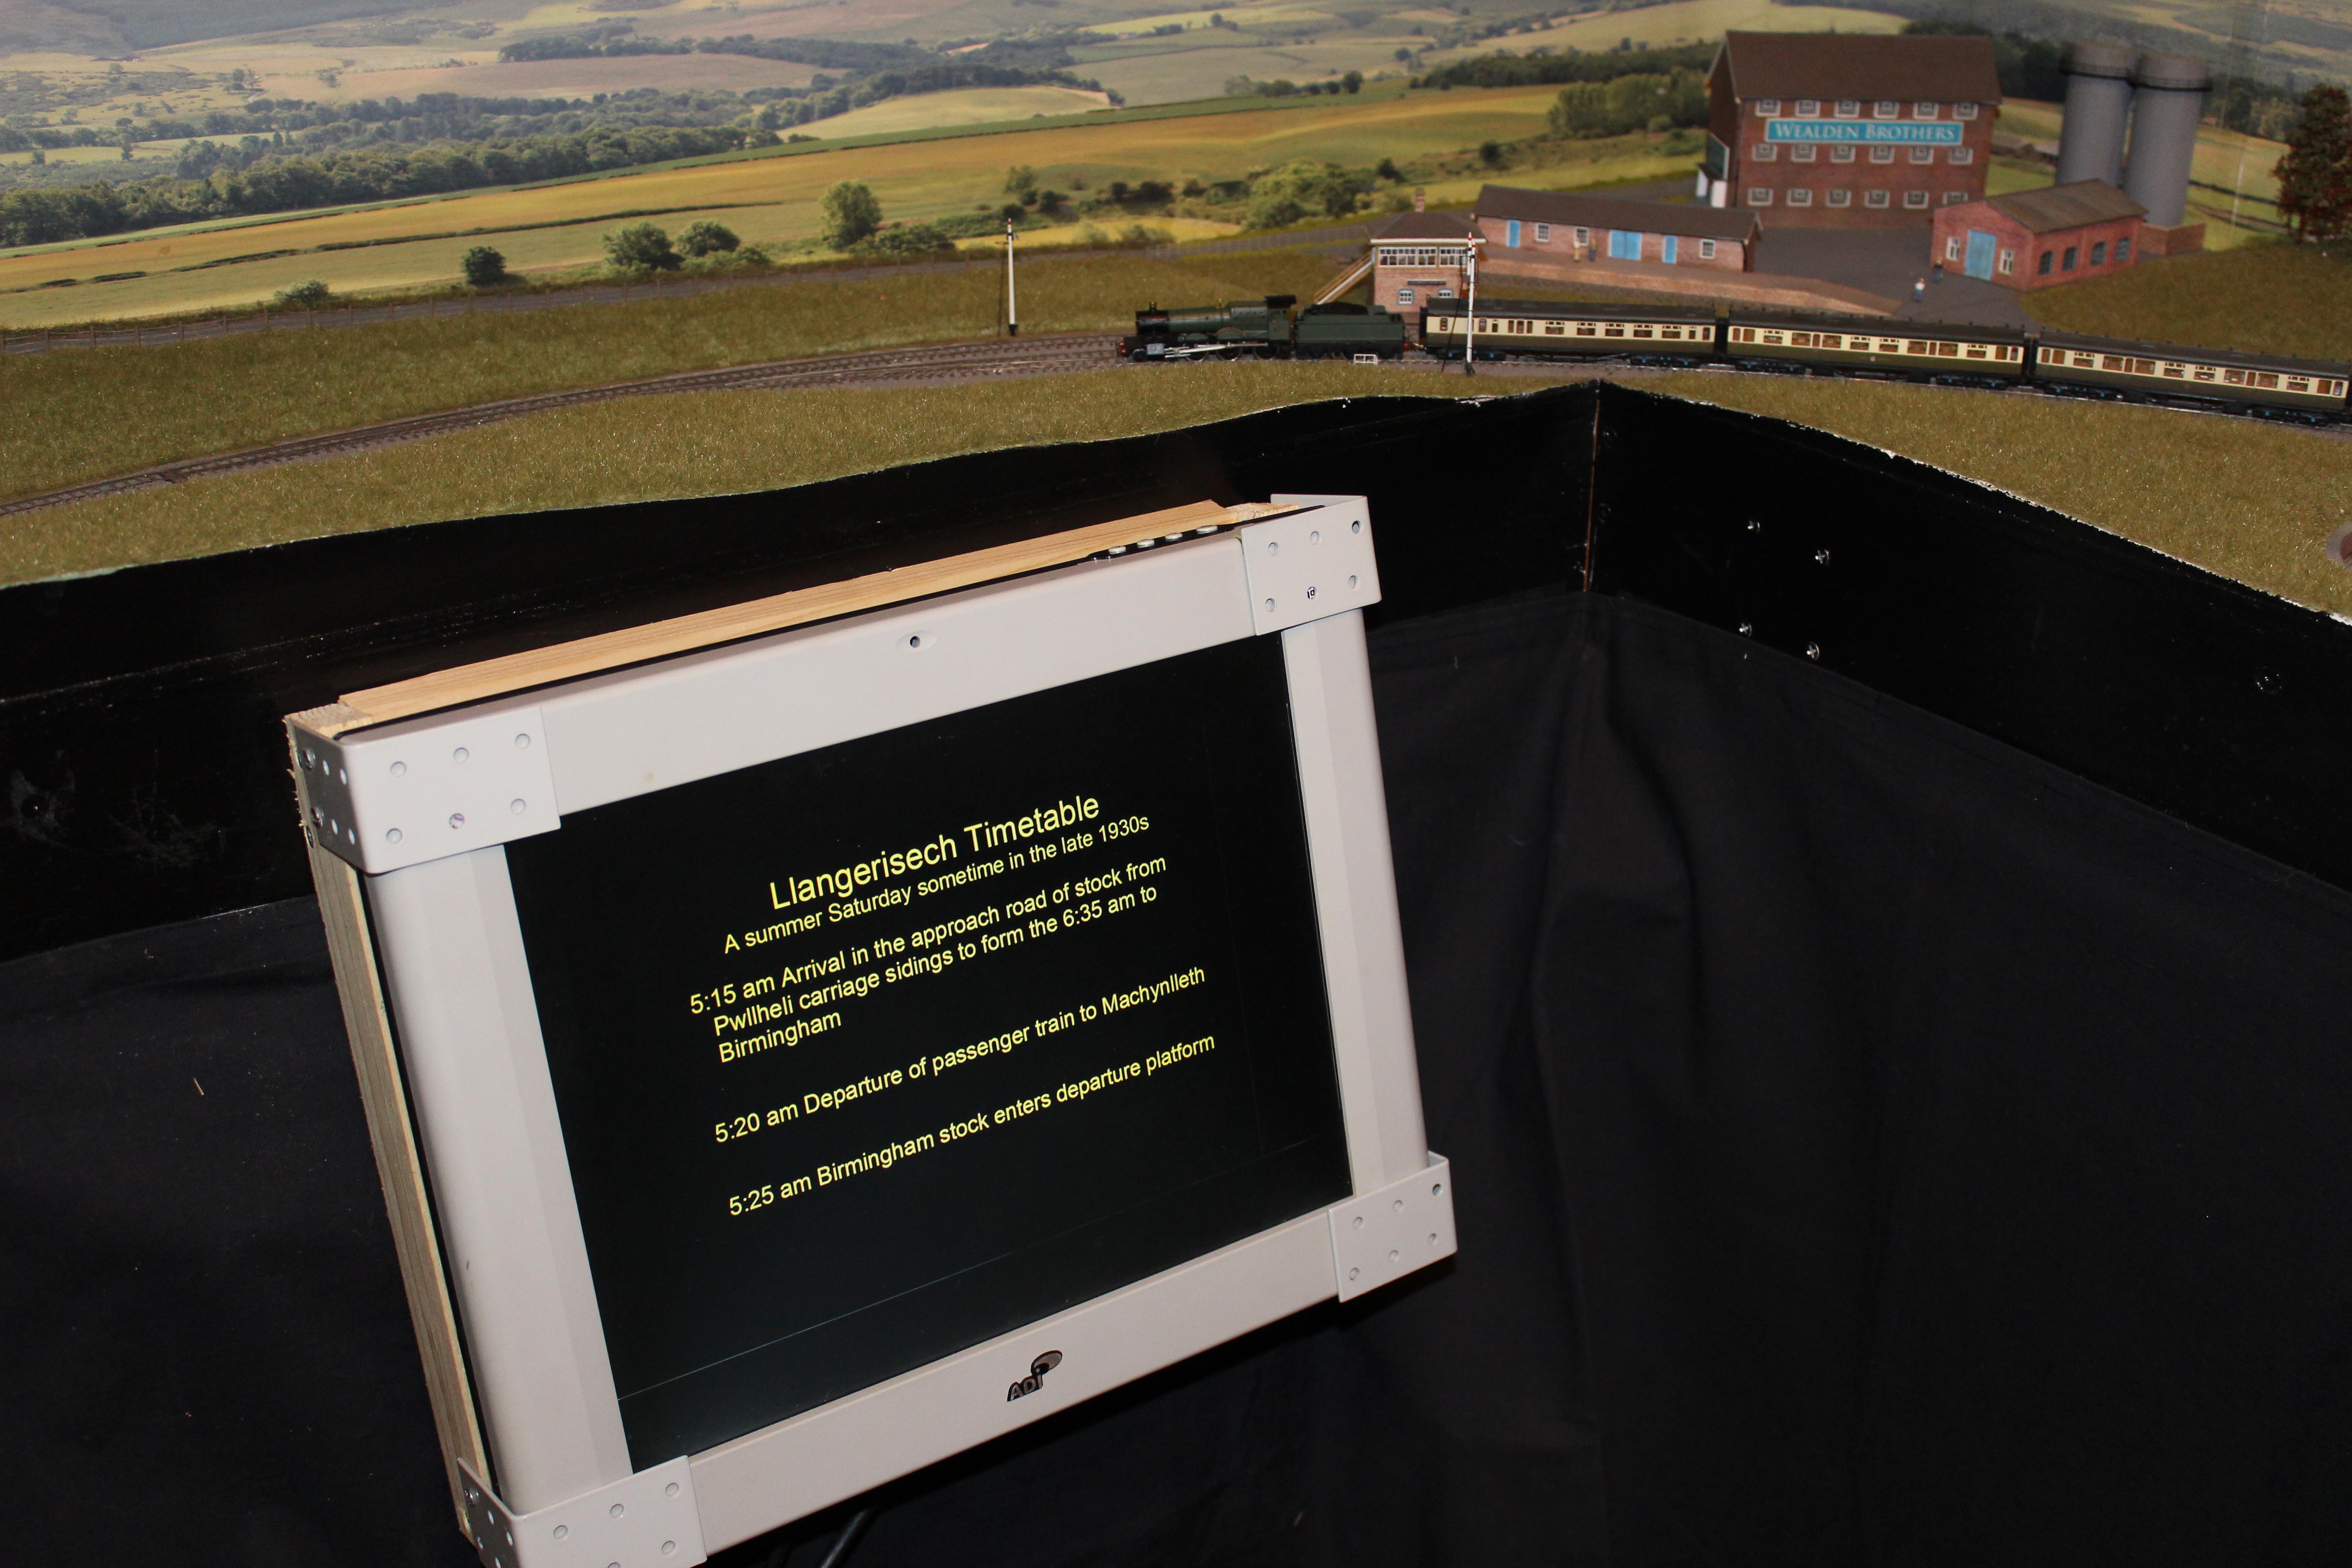
It has been a busy day. I made the most of dry weather this morning to do some outside carpentry to mount the screen we will use to display the timetable to our audience. The screen is an old 15 inch one that my wife used to use before a new widescreen edifice took its place. A frame that allows us to attach it to the front of the layout but angled upwards gives us the ability to display information without distracting too much from the layout itself.

David has been doing a large amount of work on the timetable itself based on some real items for Pwllelli – Llangerisech’s mythical neighbour! A concoction that is based on a semblance of reality helps us place the layout and lends a sense of purpose. Trains will be shown along with their destination or origin. The first picture shows things mocked up, but gives no idea of the amount of time that David has devoted to researching this and coming up with a workable item.

Once back inside, the last bits of the Collett Goods were put together. The tender uses the Association 8mm driving wheels with extended axles, but with the extensions turned down. On the old Manor models, a phosphor bronze strip had indentations in the form of cups, so the extensions were turned to points. On the newer version fitted to the 28xx and new Manors, the strip has changed to one with holes. The result of this is that the points need to be turned accurately to 1mm diameter. This has the benefit of extra sideplay, but means that a lathe is really needed to do the conversion. However, the lathe time was less than half an hour for me.

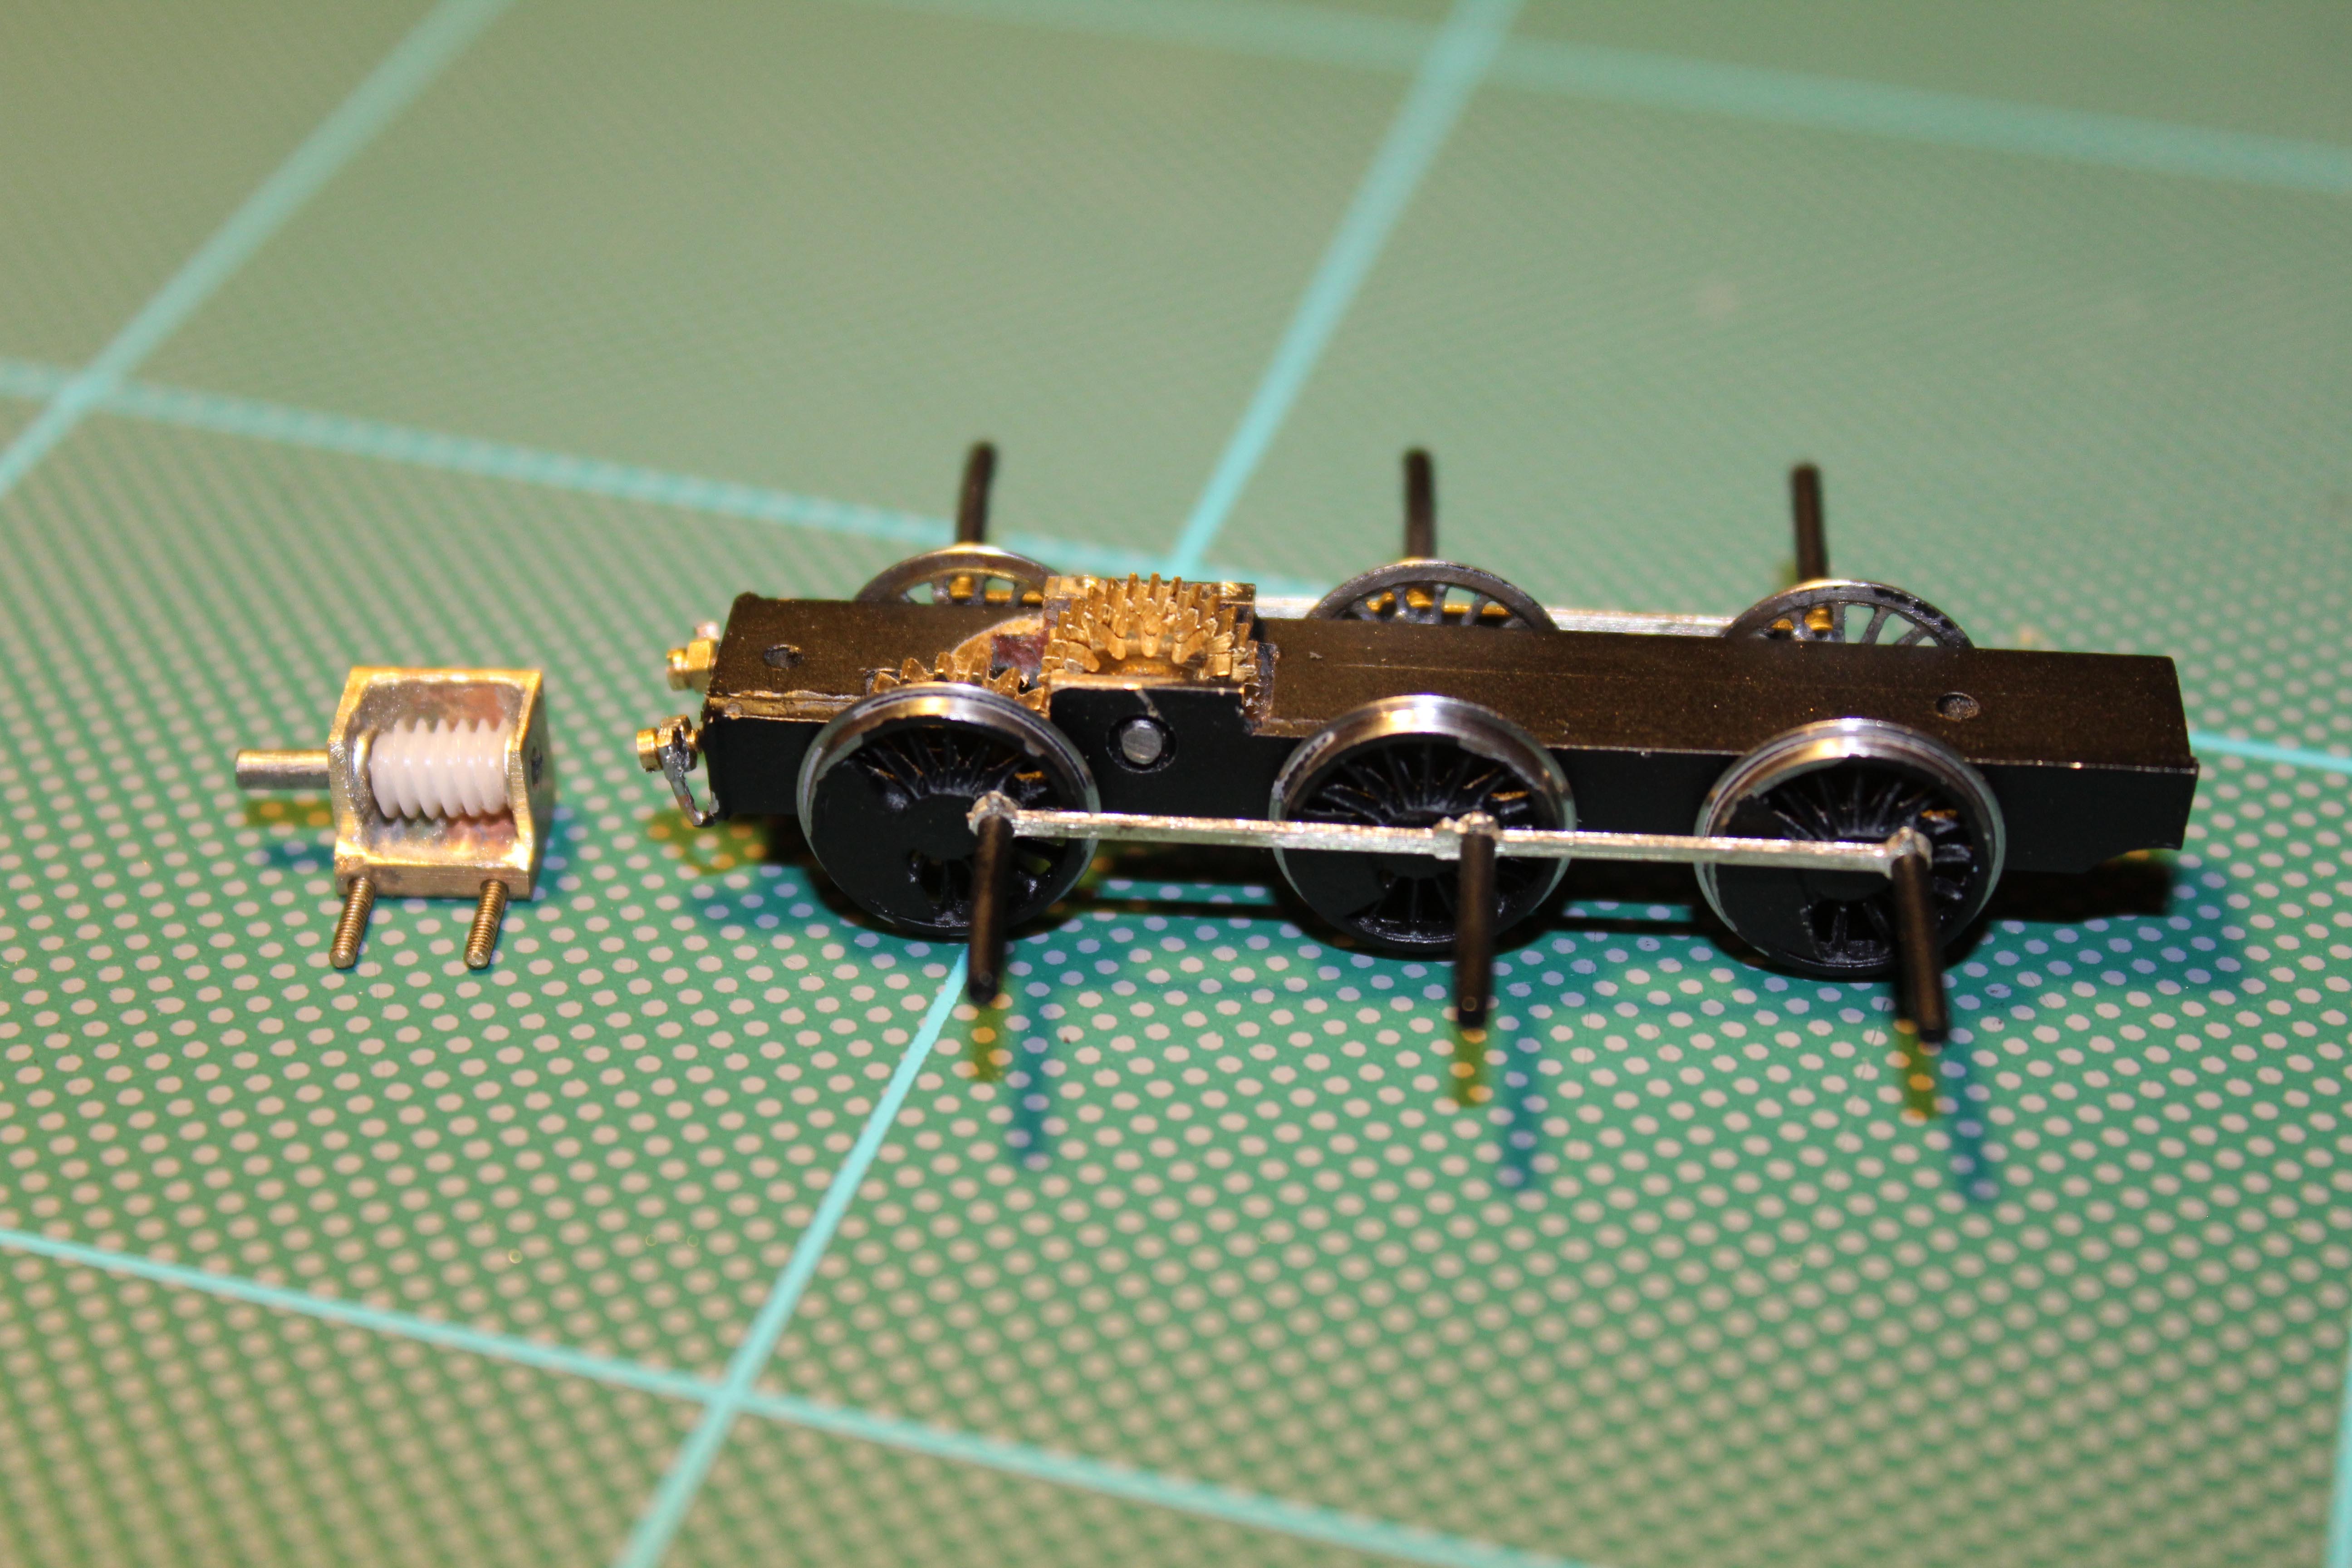
The chassis and wheels have all be painted, so it was really just a bolt and fit together job. The main advantage of the design is the ability to build then separate the worm carrier, so once the centres are established very little fettling is needed. In fact this one went together first time, so the measurements must have been accurate.

The intermediate gear (30:1 plus a 16 tooth gear) was mounted on stub axles and the rear wheels and final gear (20 tooth) mounted then checked. All OK, so the worm carrier could be fitted and the gear train checked throughout. Removing the worm carrier and completing the other axles allows the quartering and coupling rods to be sorted with all the gears turning.

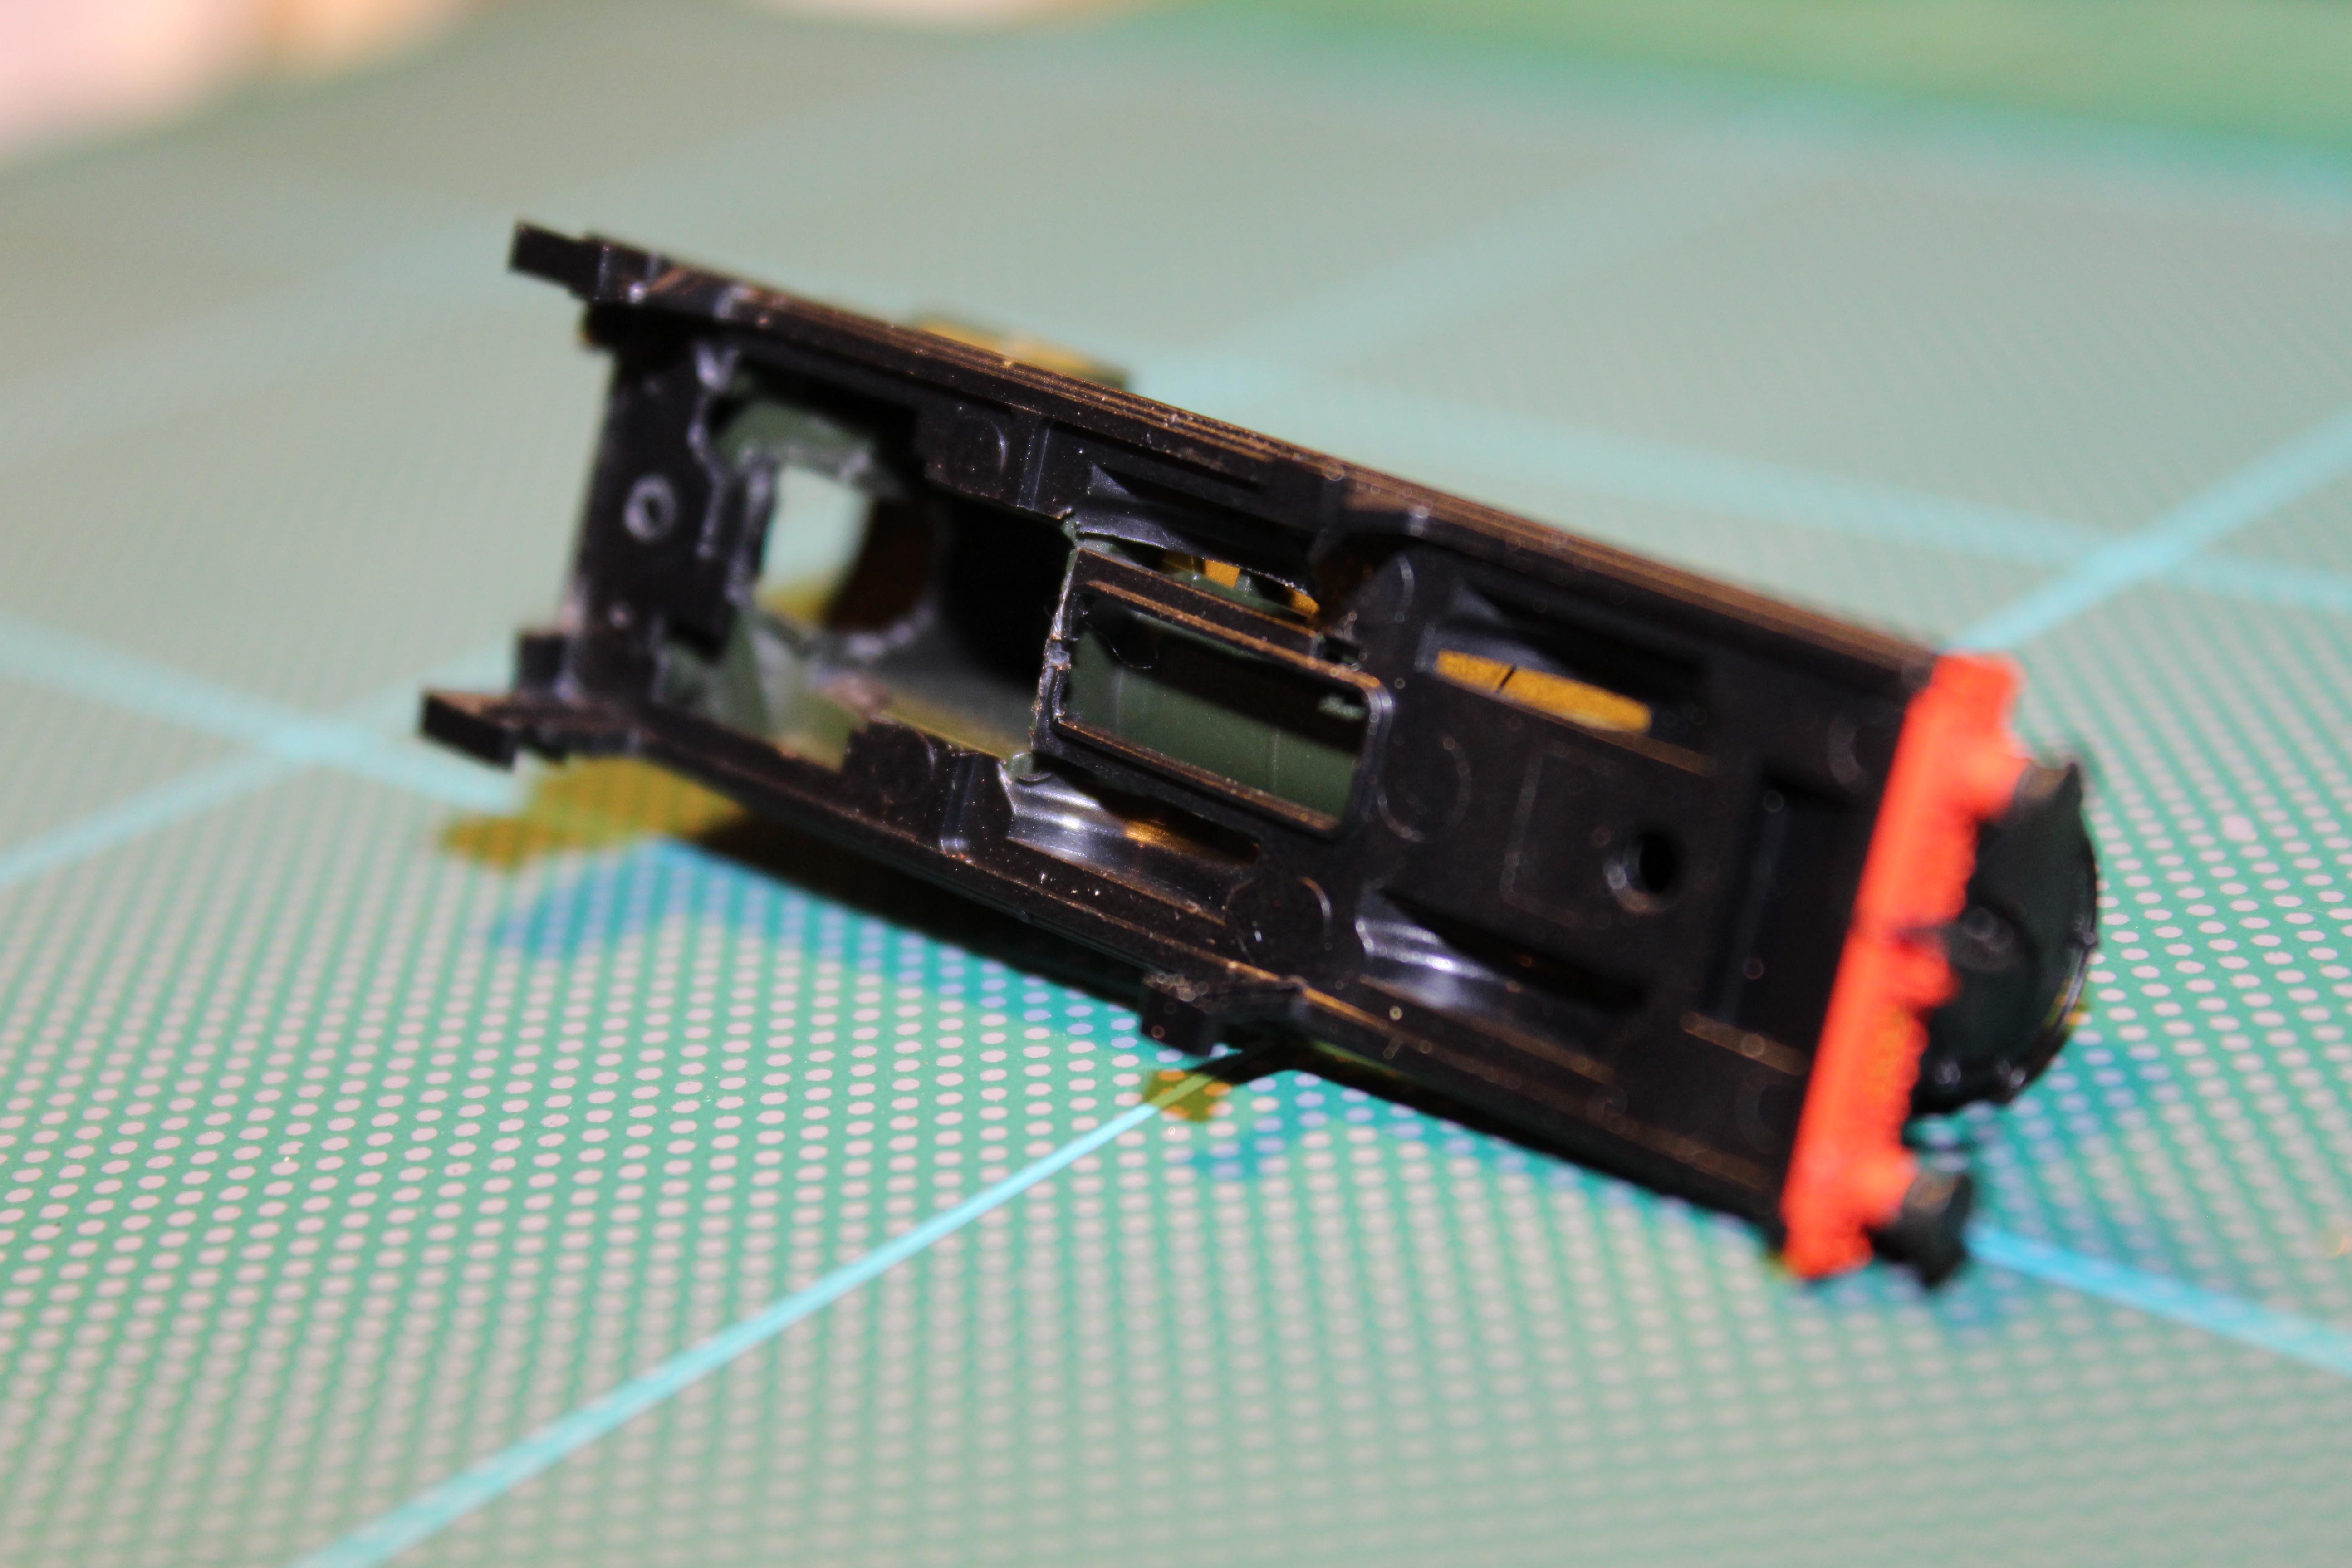
The body required some plastic removing from around the firebox area to allow the drive shaft from the tender to pass through. All that remains to do is to finish soldering the crank pin washers, fit the driveshaft and bolt the body on with a new tender drawbar. The final picture is just a dummy – you will have to come to Aldershot this weekend to see if it runs OK!

IMG_0094IMG_0099IMG_0092

IMG_0096IMG_0097IMG_0098

IMG_0100


Second Helpings Part 2

The second Collett goods is coming along nicely and should be ready in plenty of time for next weekend’s show.

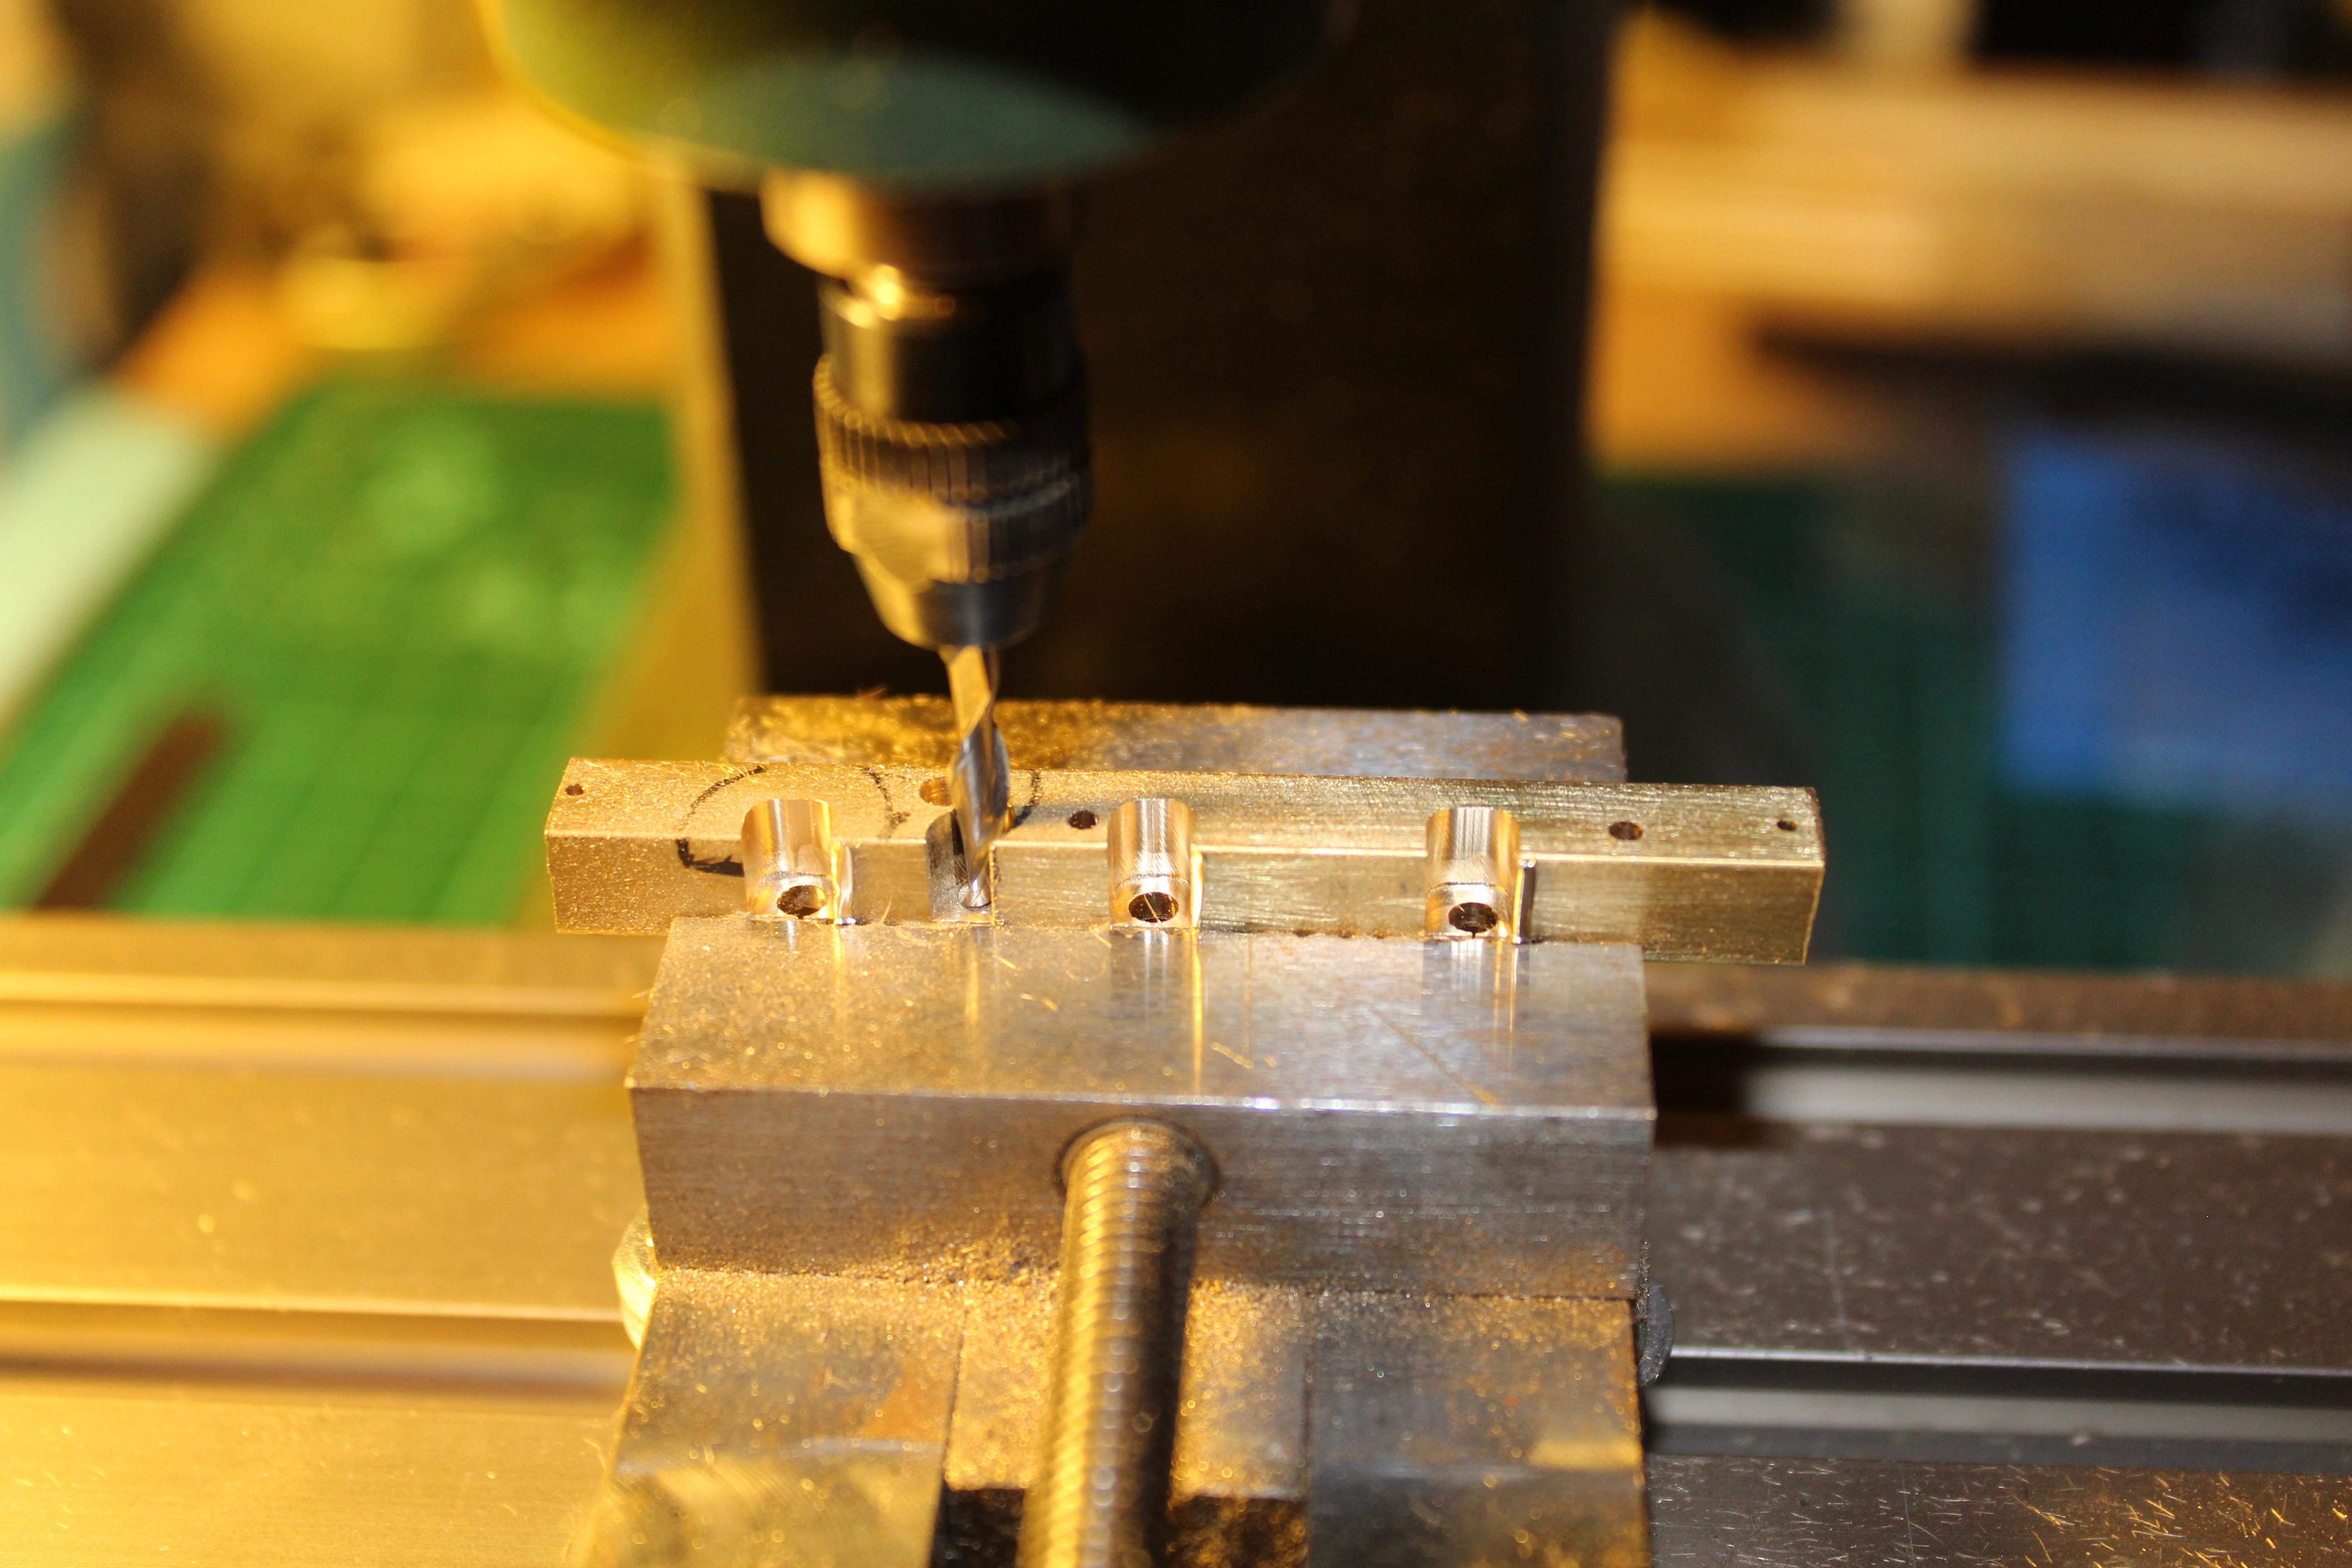
The first photo show the large part of the chassis block being milled out. The front axle clearances are complete and the area around the gear train are in the process of being milled up to the marks.

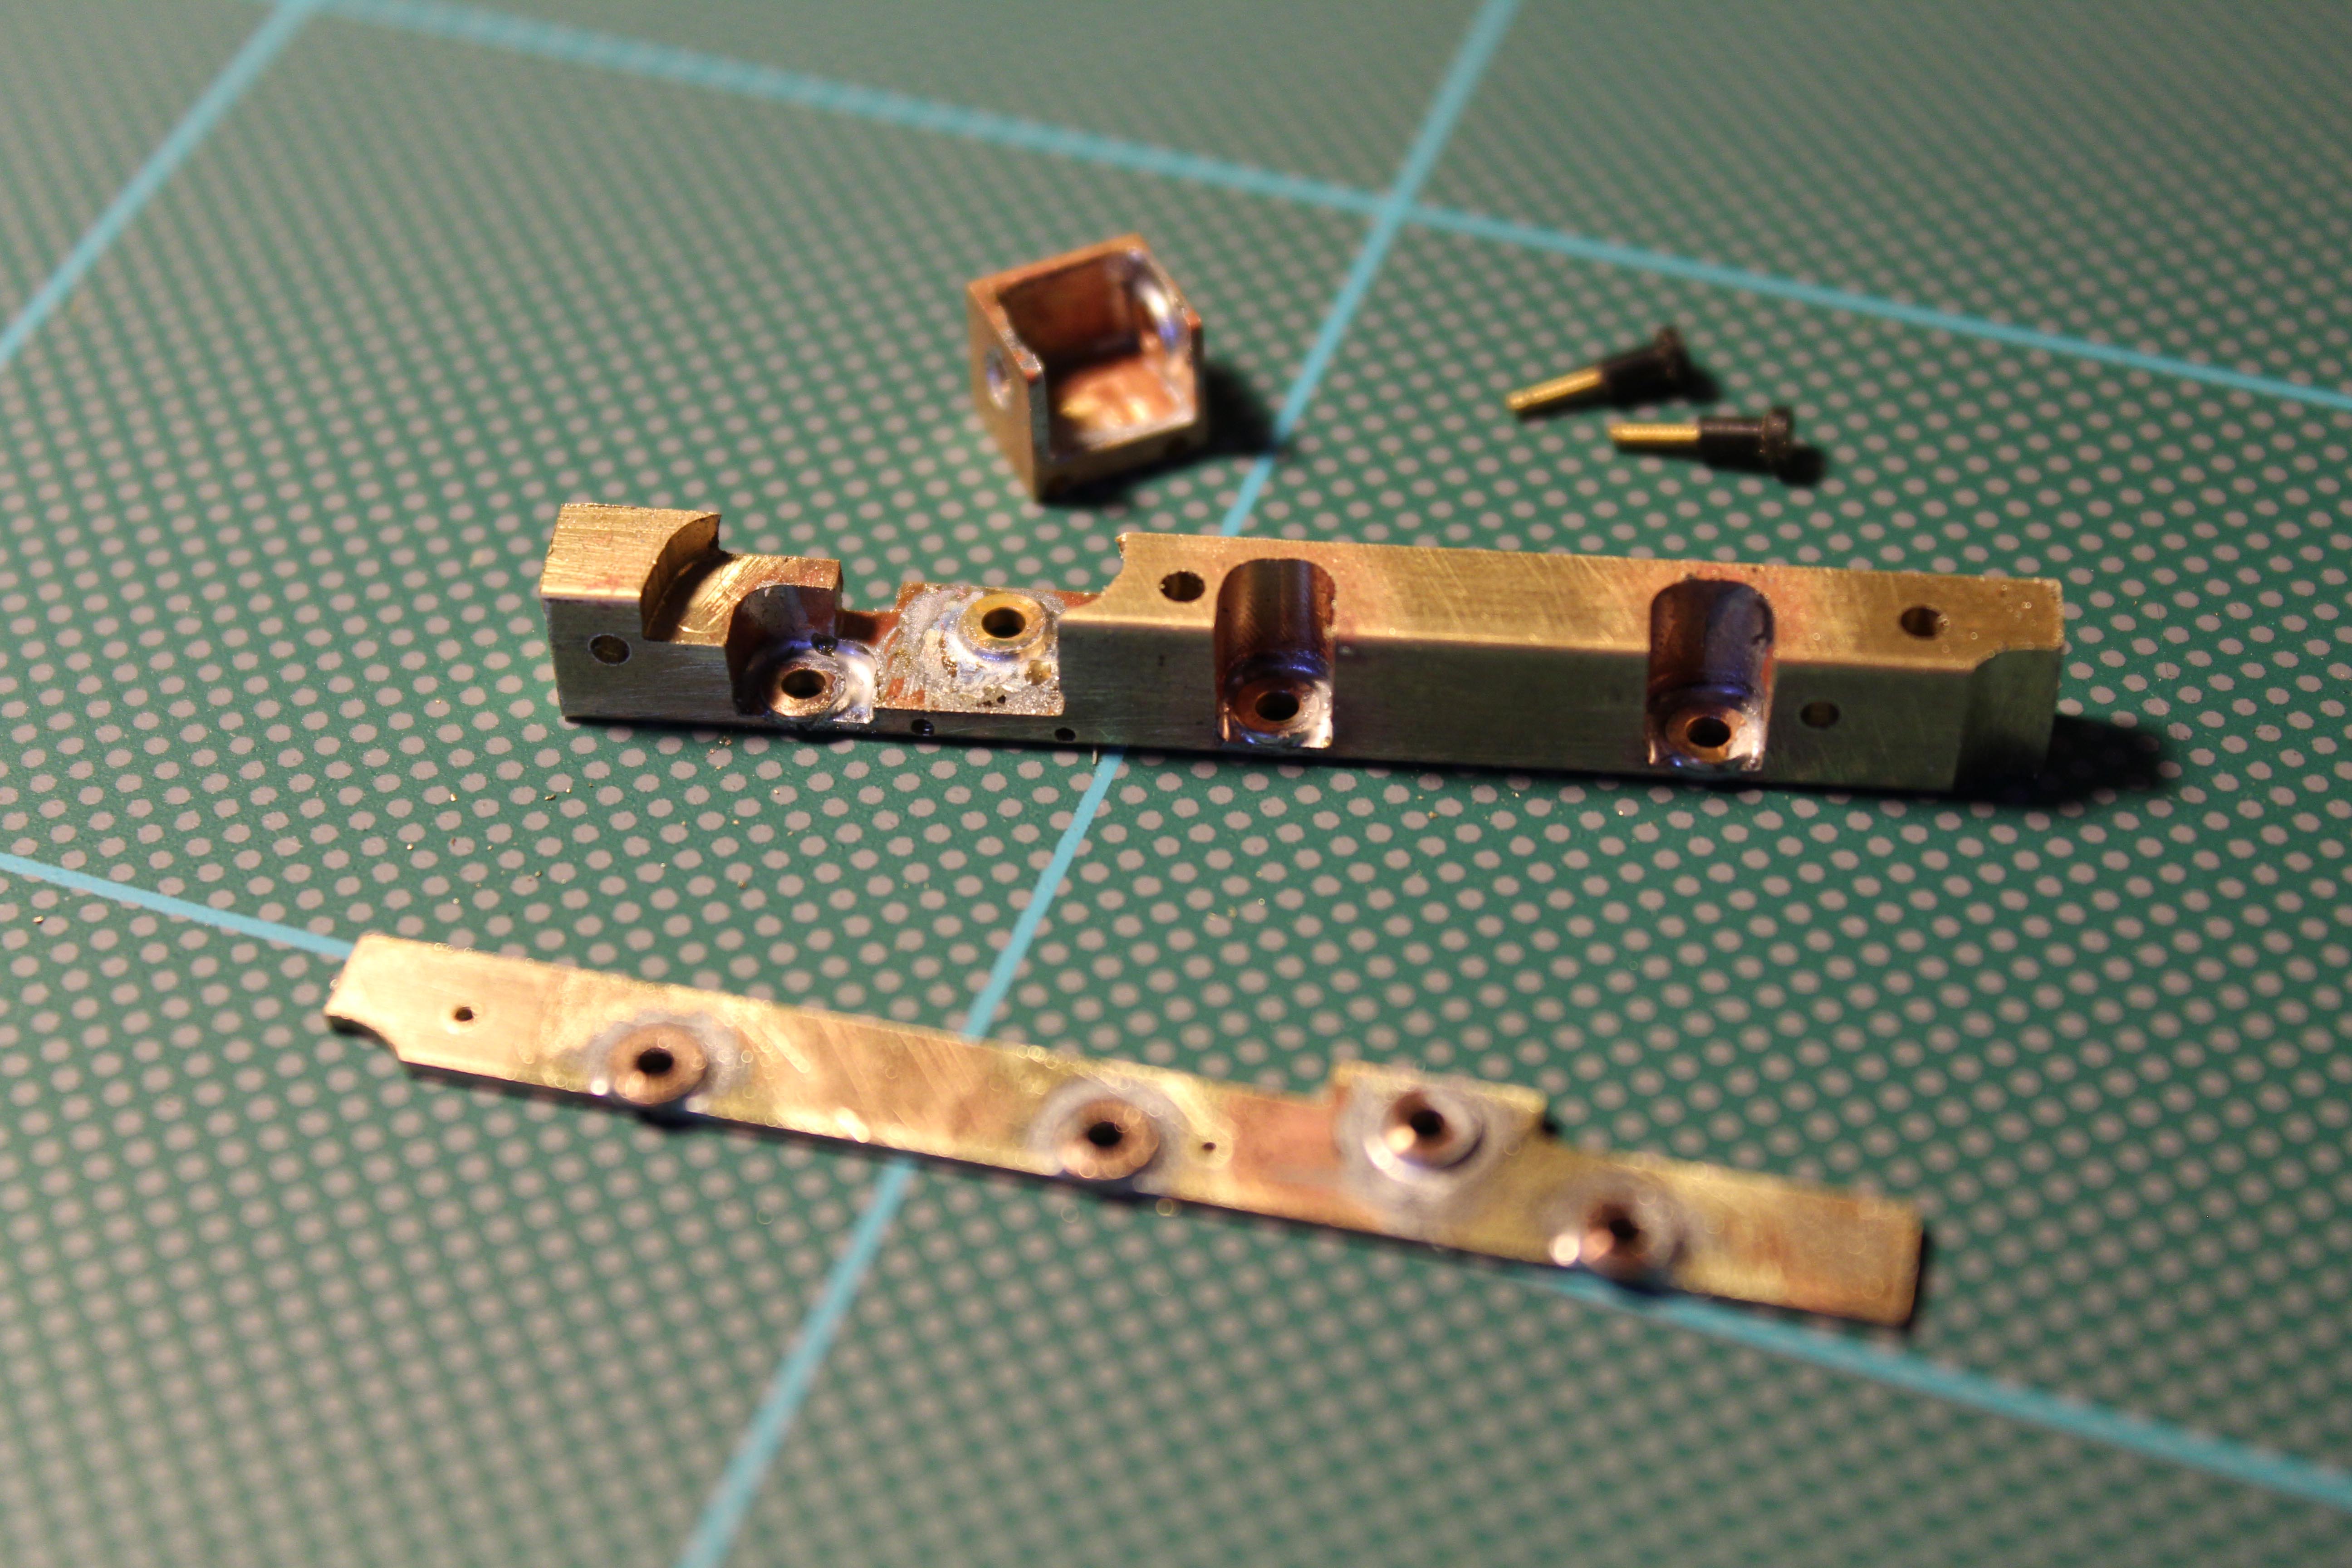
The second gives the fully milled chassis components including the worm carrier and the insulating bushes on the screws which hold the two parts together.

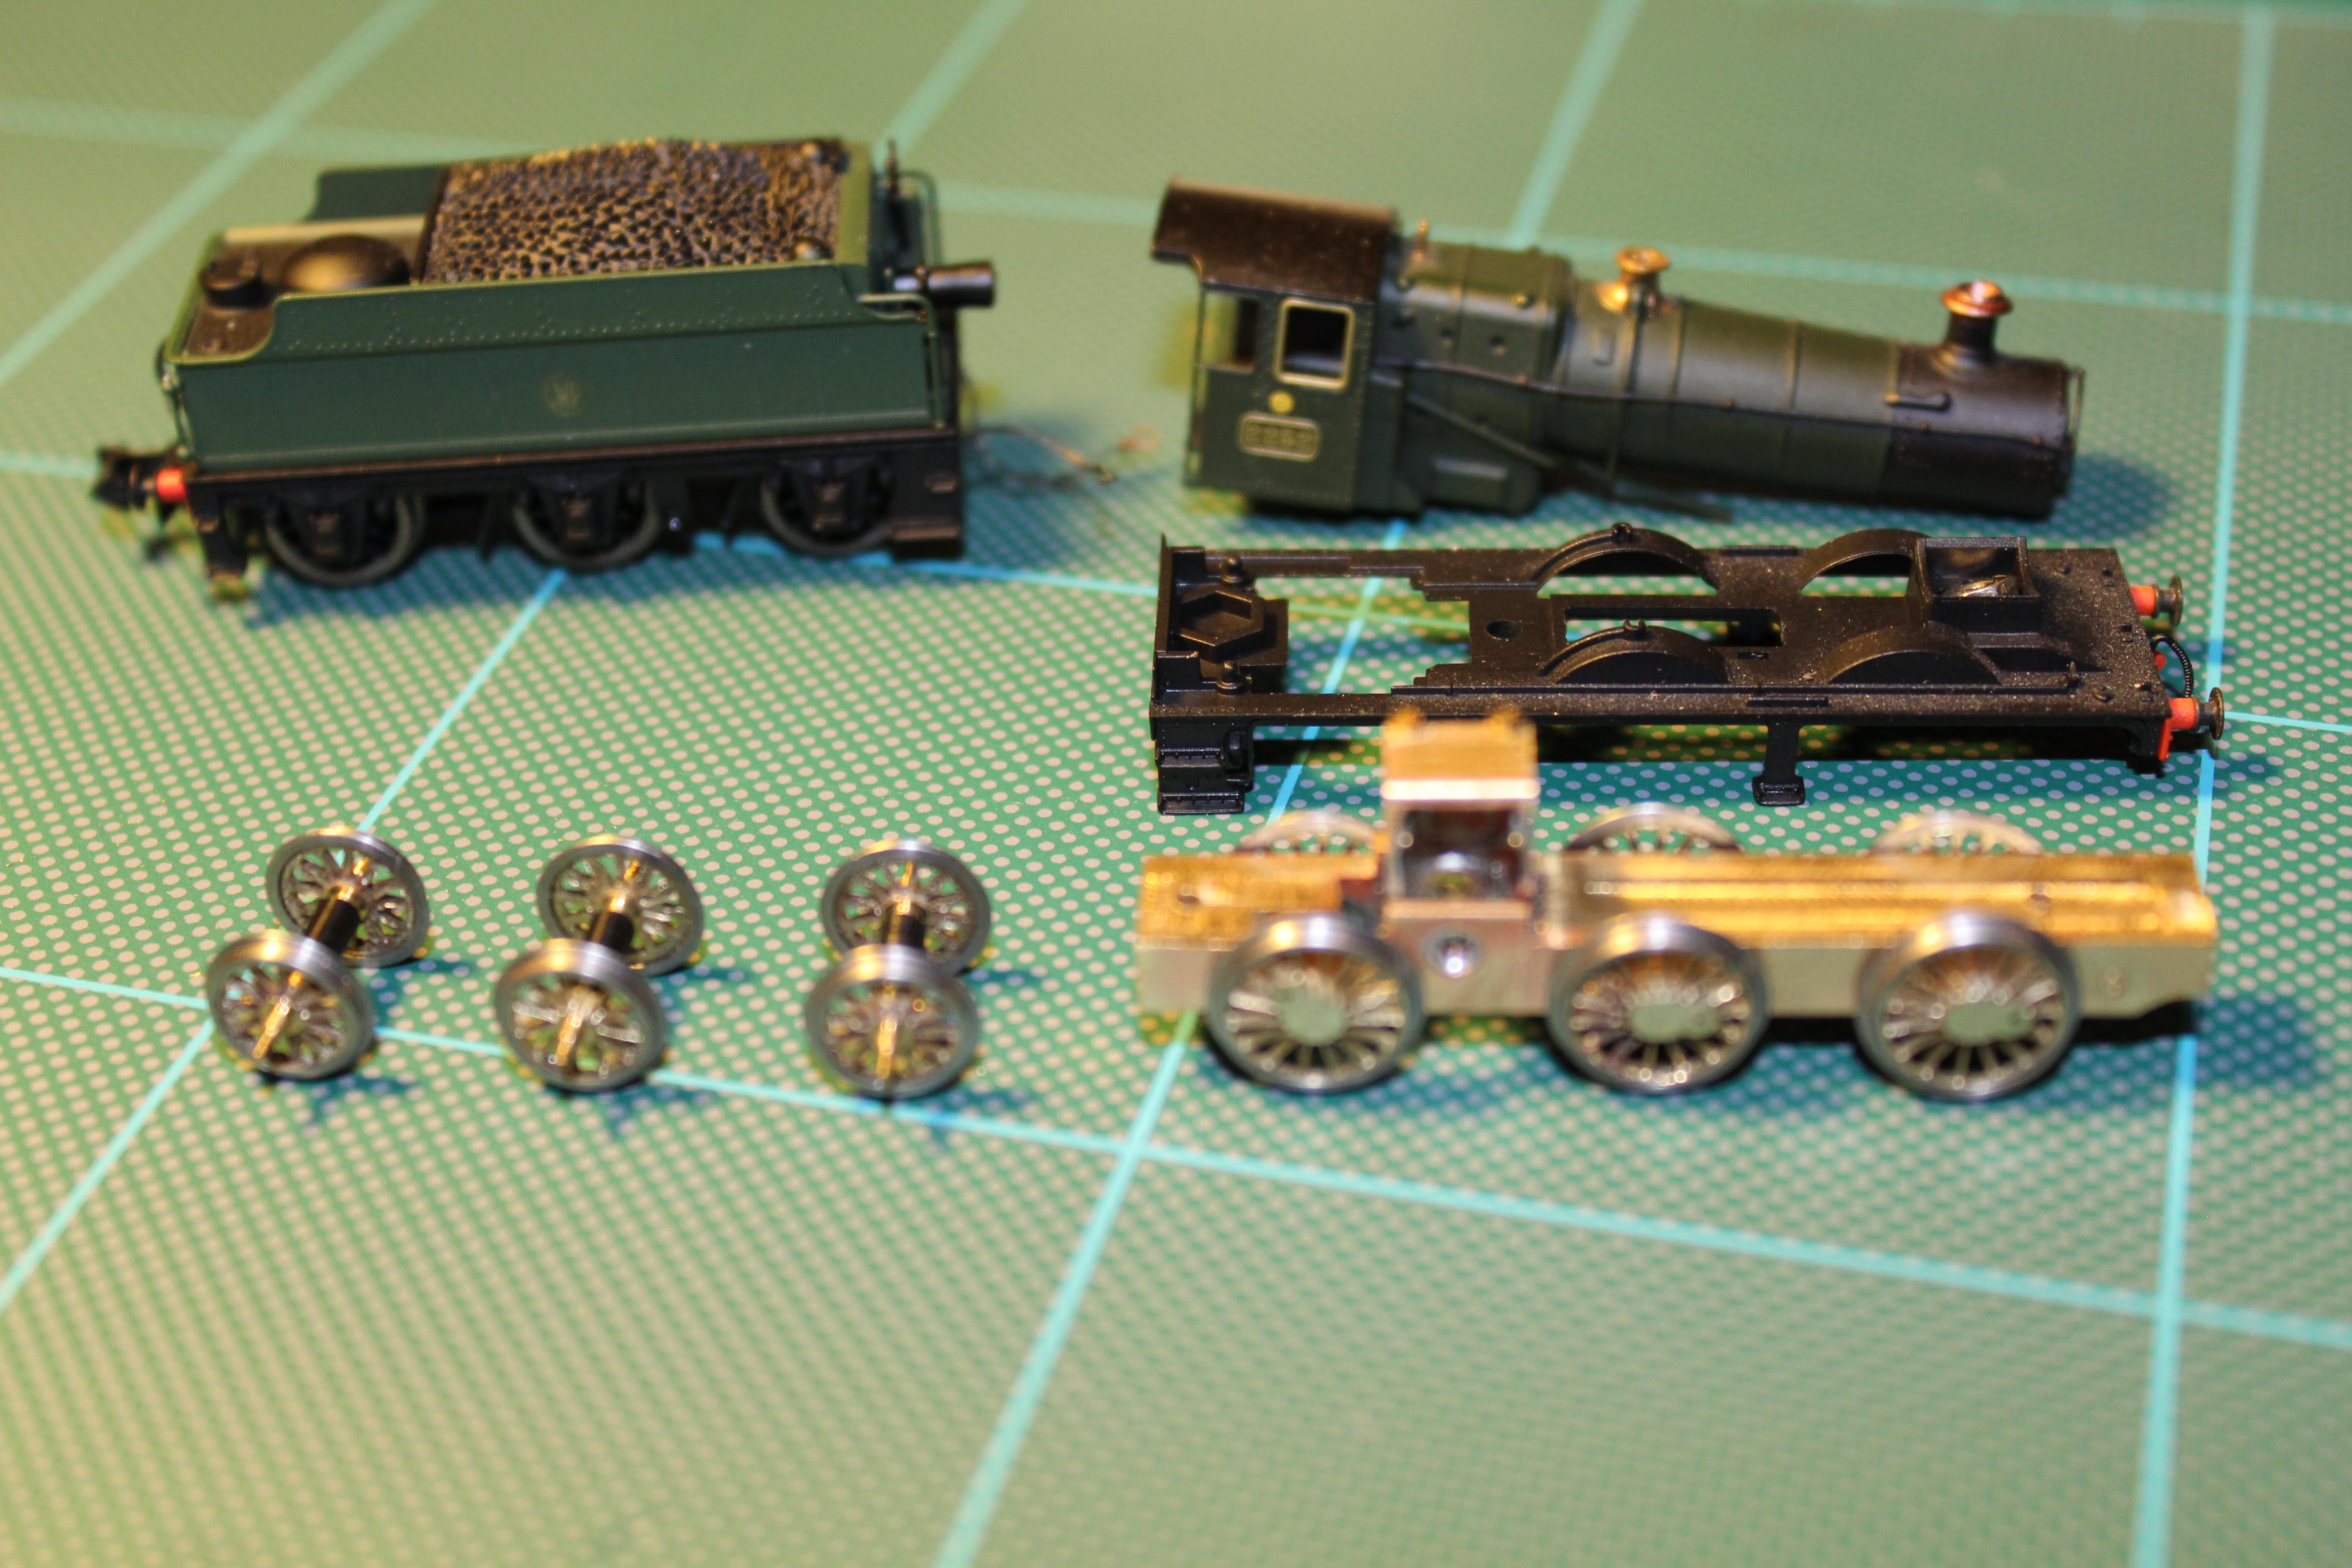
The third picture shows the chassis dry assembled along with the tender axles and the bodies that will be mounted on this concoction.

So the balance weights and crank pins need adding to the wheels, the tender axles need turning to points and the gear axles need preparing. After the two chassis halves are bonded and screwed together, everything will be primed and painted before final assembly. Having already checked things against known templates from the first build, I don’t predict any nasty surrpises.

Once this loco is finished there are some wagon transfers to be finished, coaches to be fettled and some platform furniture to fit before Friday. Nothing like a deadline to ensure progress!

IMG_0084IMG_0087IMG_0090


Second Helpings

Evening. Continuing the countdown to the AGM and exhibition at Aldershot on the 11th, here’s today’s update.

No Cambrian layout can ever have too many 0-6-0 goods locos and that’s quite handy when looking for building simple locos that run well. I have already done a conversion on the Peco Collett using my now proven solid split brass chassis method and using the original tender, but cut down to the correct height. For this second version, the loco chassis is identical to the first, but I will use a Dapol tender. The loco body is one aquired  from Peco by Roger Jones, so none of the mechanism is thrown away this time.

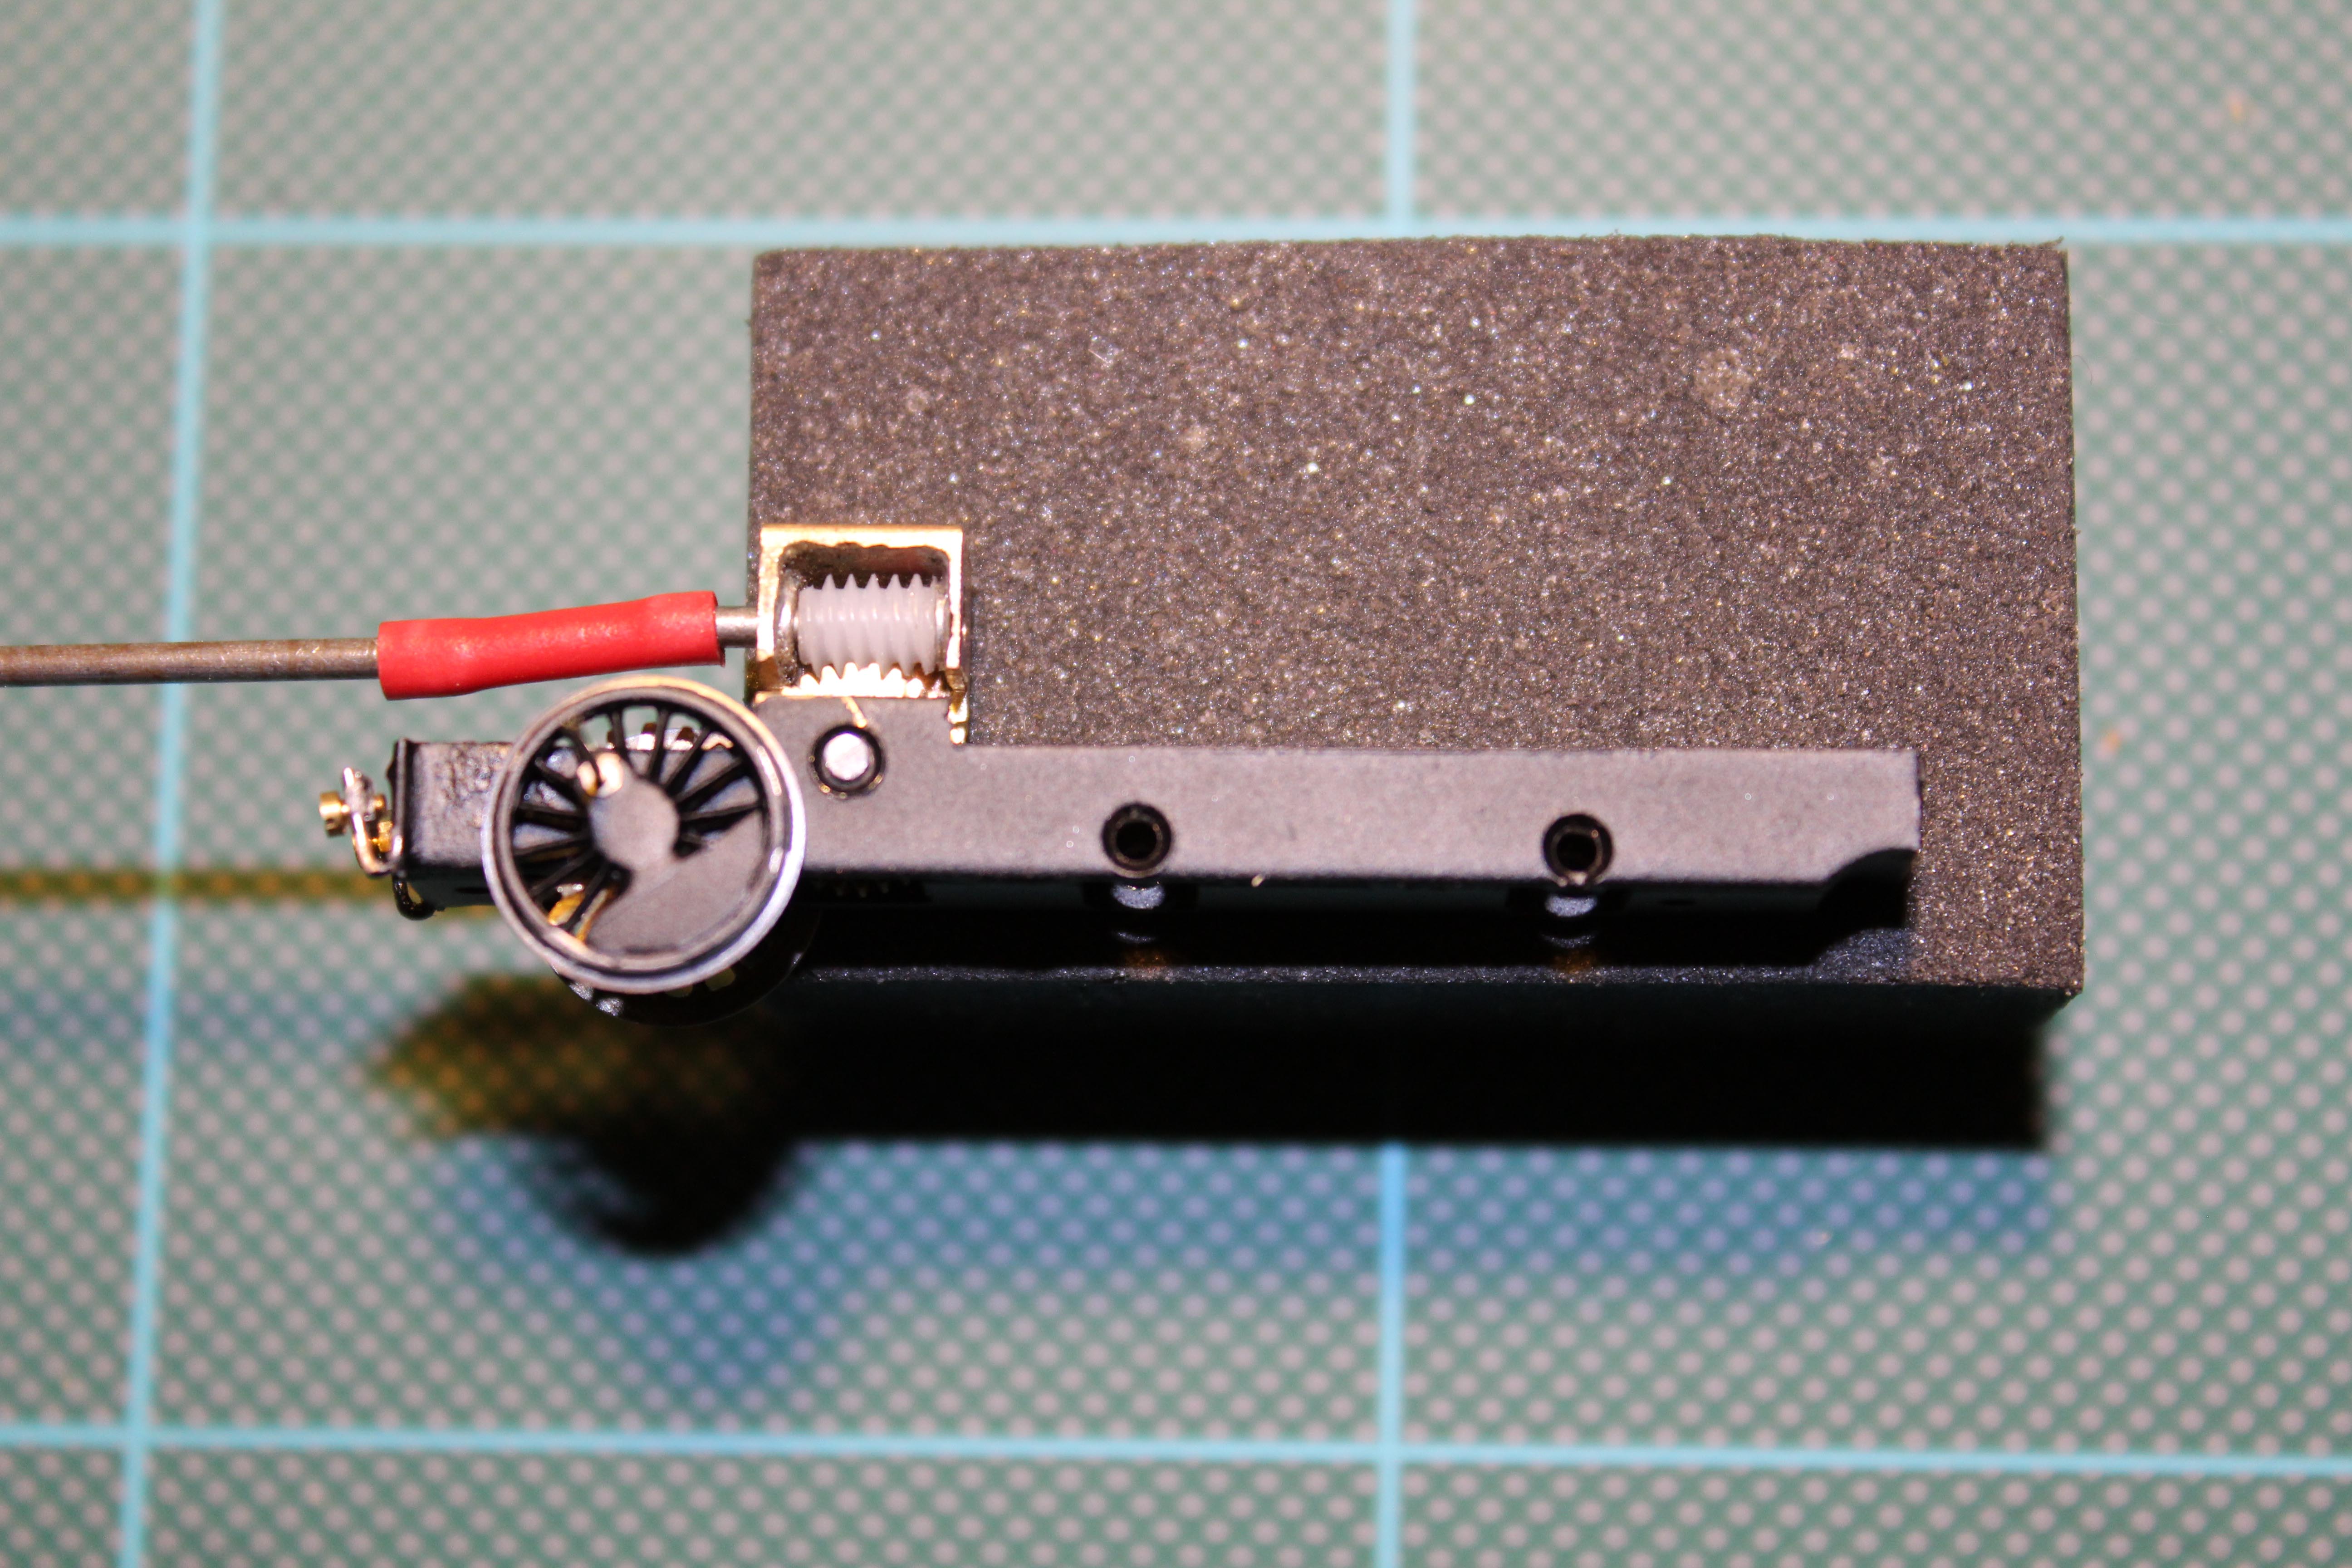
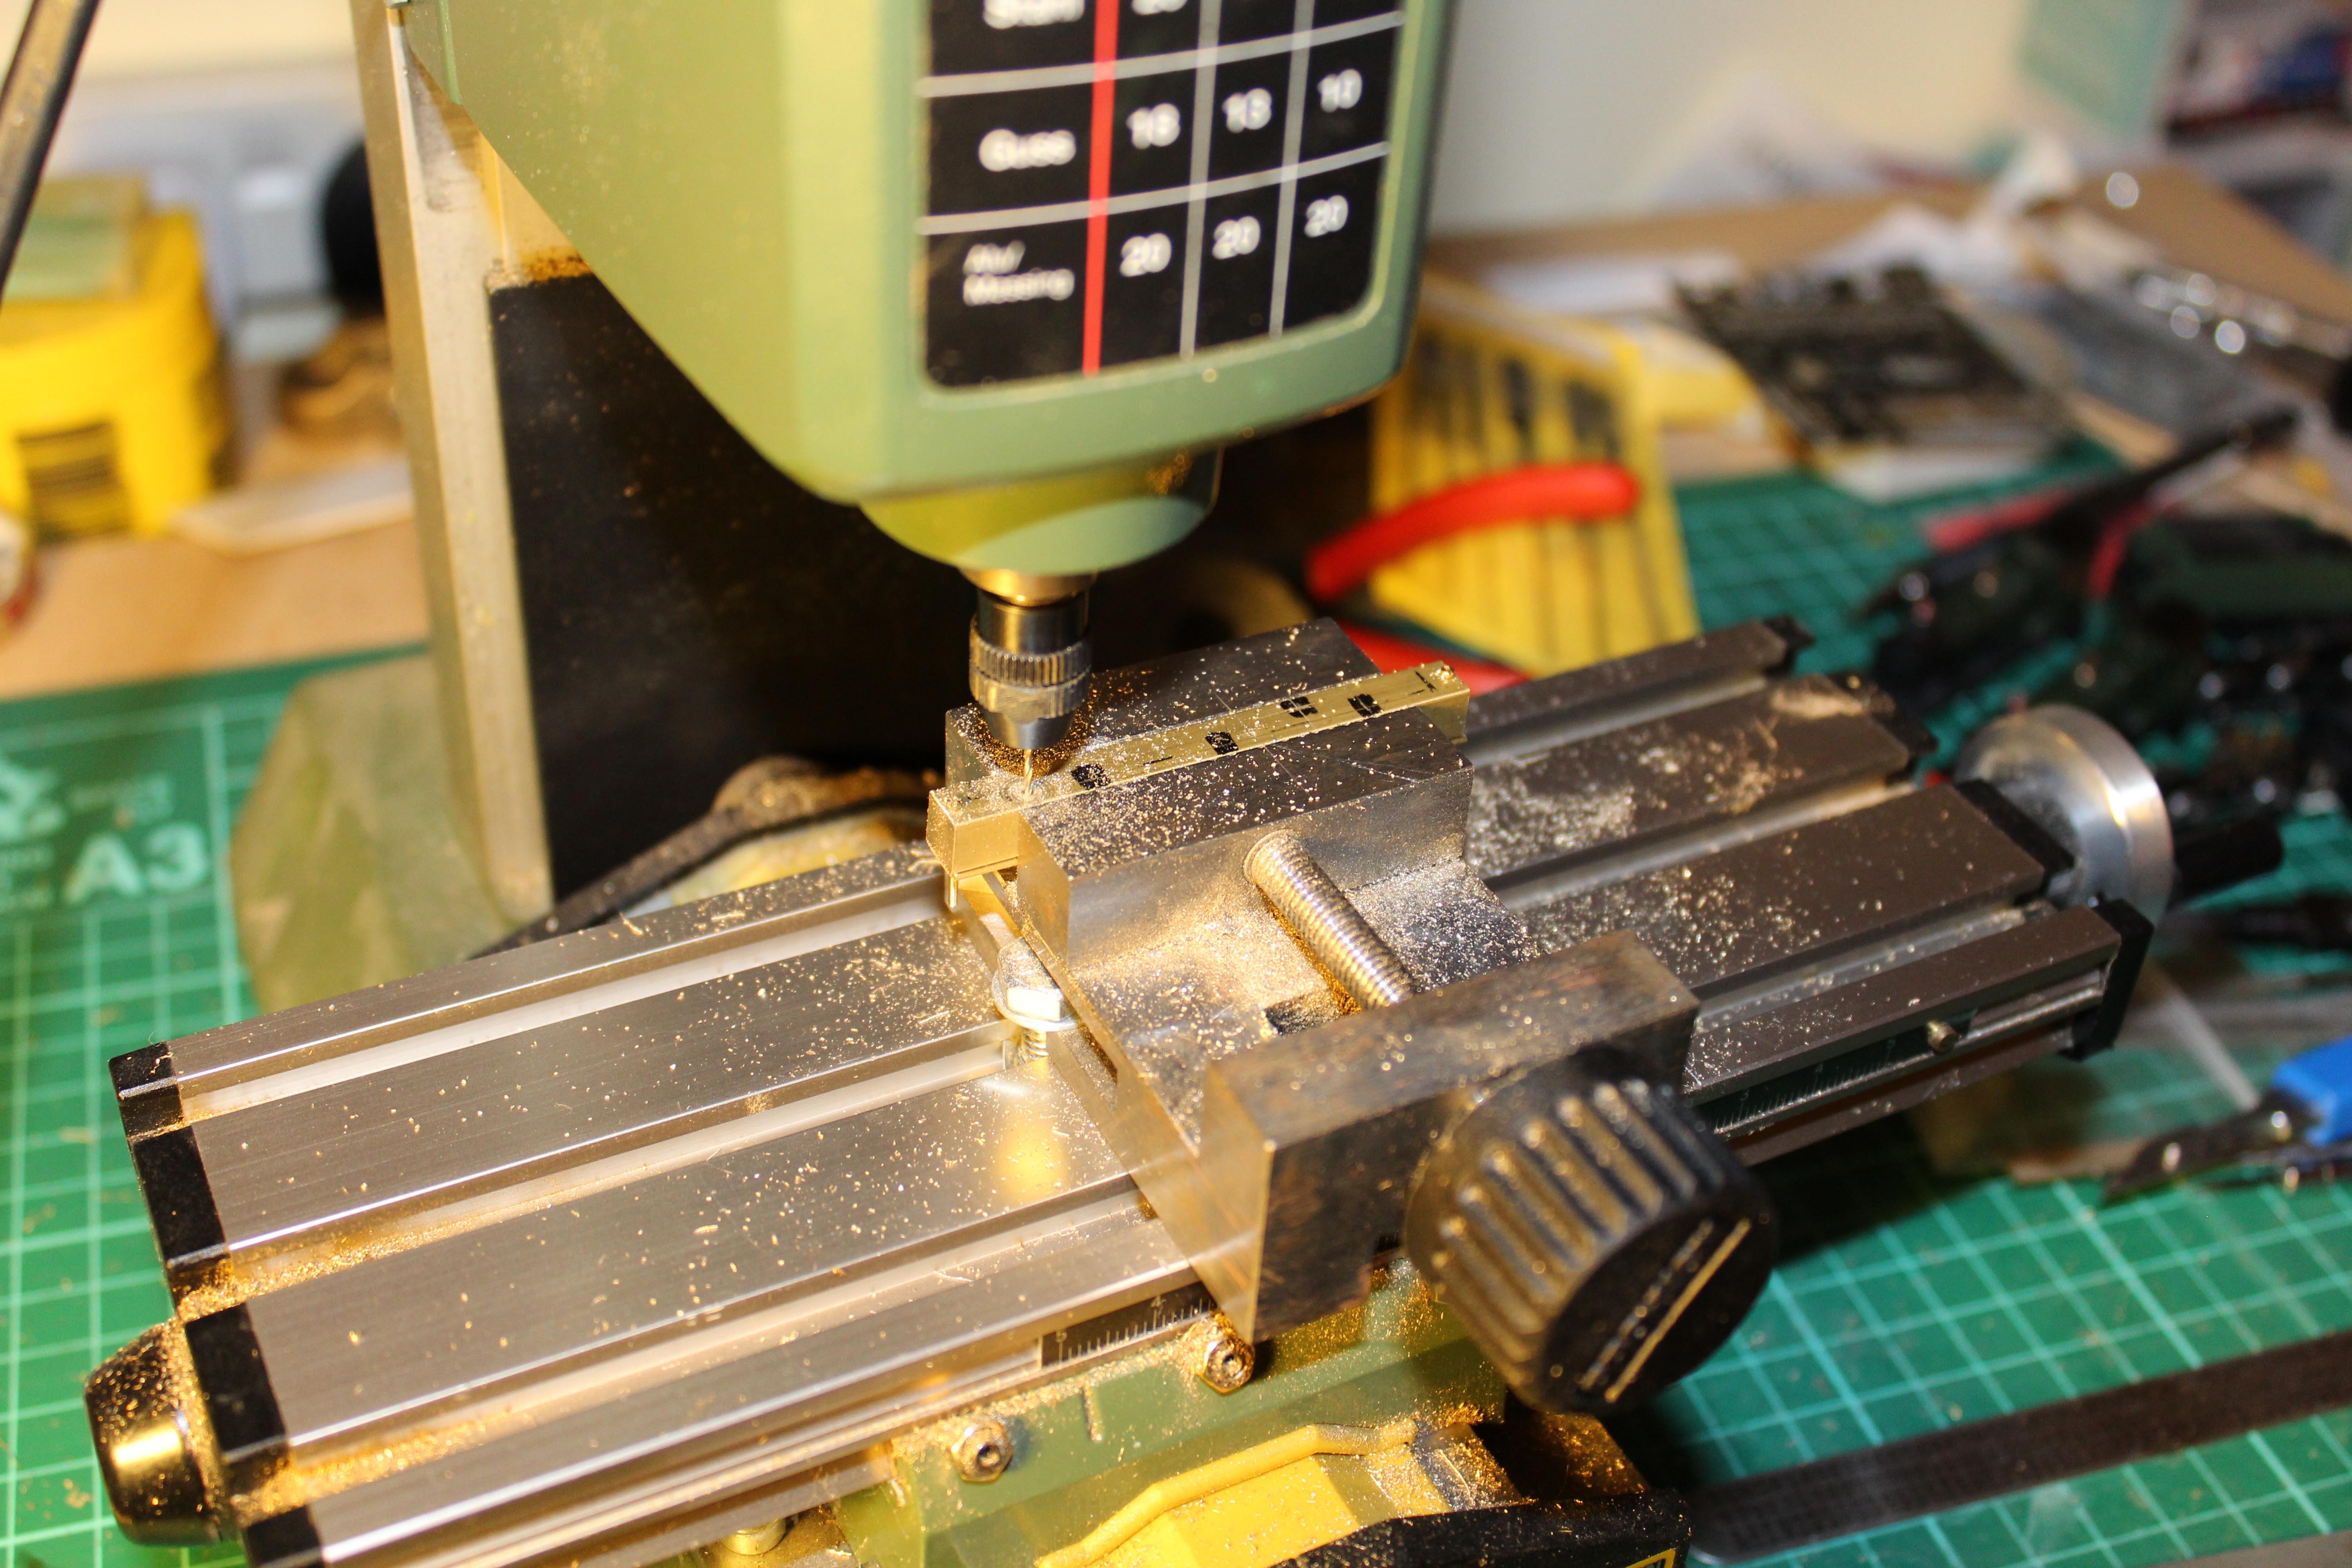
So in the Proxxon MF70 mill goes the brass rod and plate. These are drilled and screwed together before the holes for the bolt bushes are drilled. This is shown in the main picture. These holes start as 0.8mm to allow the plate is tapped for 14BA screws. The holes in the block are then enlarged to 1.6mm and a recess of 2.5mm to take the bushes. The bushes are the ones developed for the Manor chassis kit, so anyone who has built one will know what I am on about.

Once the two parts are secure, the axle holes are drilled to accept 2mm Scale Association bearings. Next the block will be milled to allow the muffs and gears room to move.

I will do another post to show the progress on this. It may seem a risk to be making a chassis this close to the show, but it is a copy of a proven design, so fingers crossed.

The second photo shows the worm mount part of the gearbox which will screw into the top of the main block. This method has the advantage of being able to quickly split the two parts when getting wheels quartered and gears meshed correctly. The box is milled out of solid brass and will take Association bearings in the large holes.IMG_0080IMG_0083


A shed in a hurry

Evening. With the AGM fast approaching I needed to add goods facilities to Llangerisech without spending too much time on them. The original plan was to use a slightly reduced version of the goods shed at Llanidloes, thereby following the main station building and engine shed. It would have been a fairly sustantial structure and a bit of a squeeze in the space available. Having then looked at the Scalescenes small store kit, this seemed too small. So out came the books.

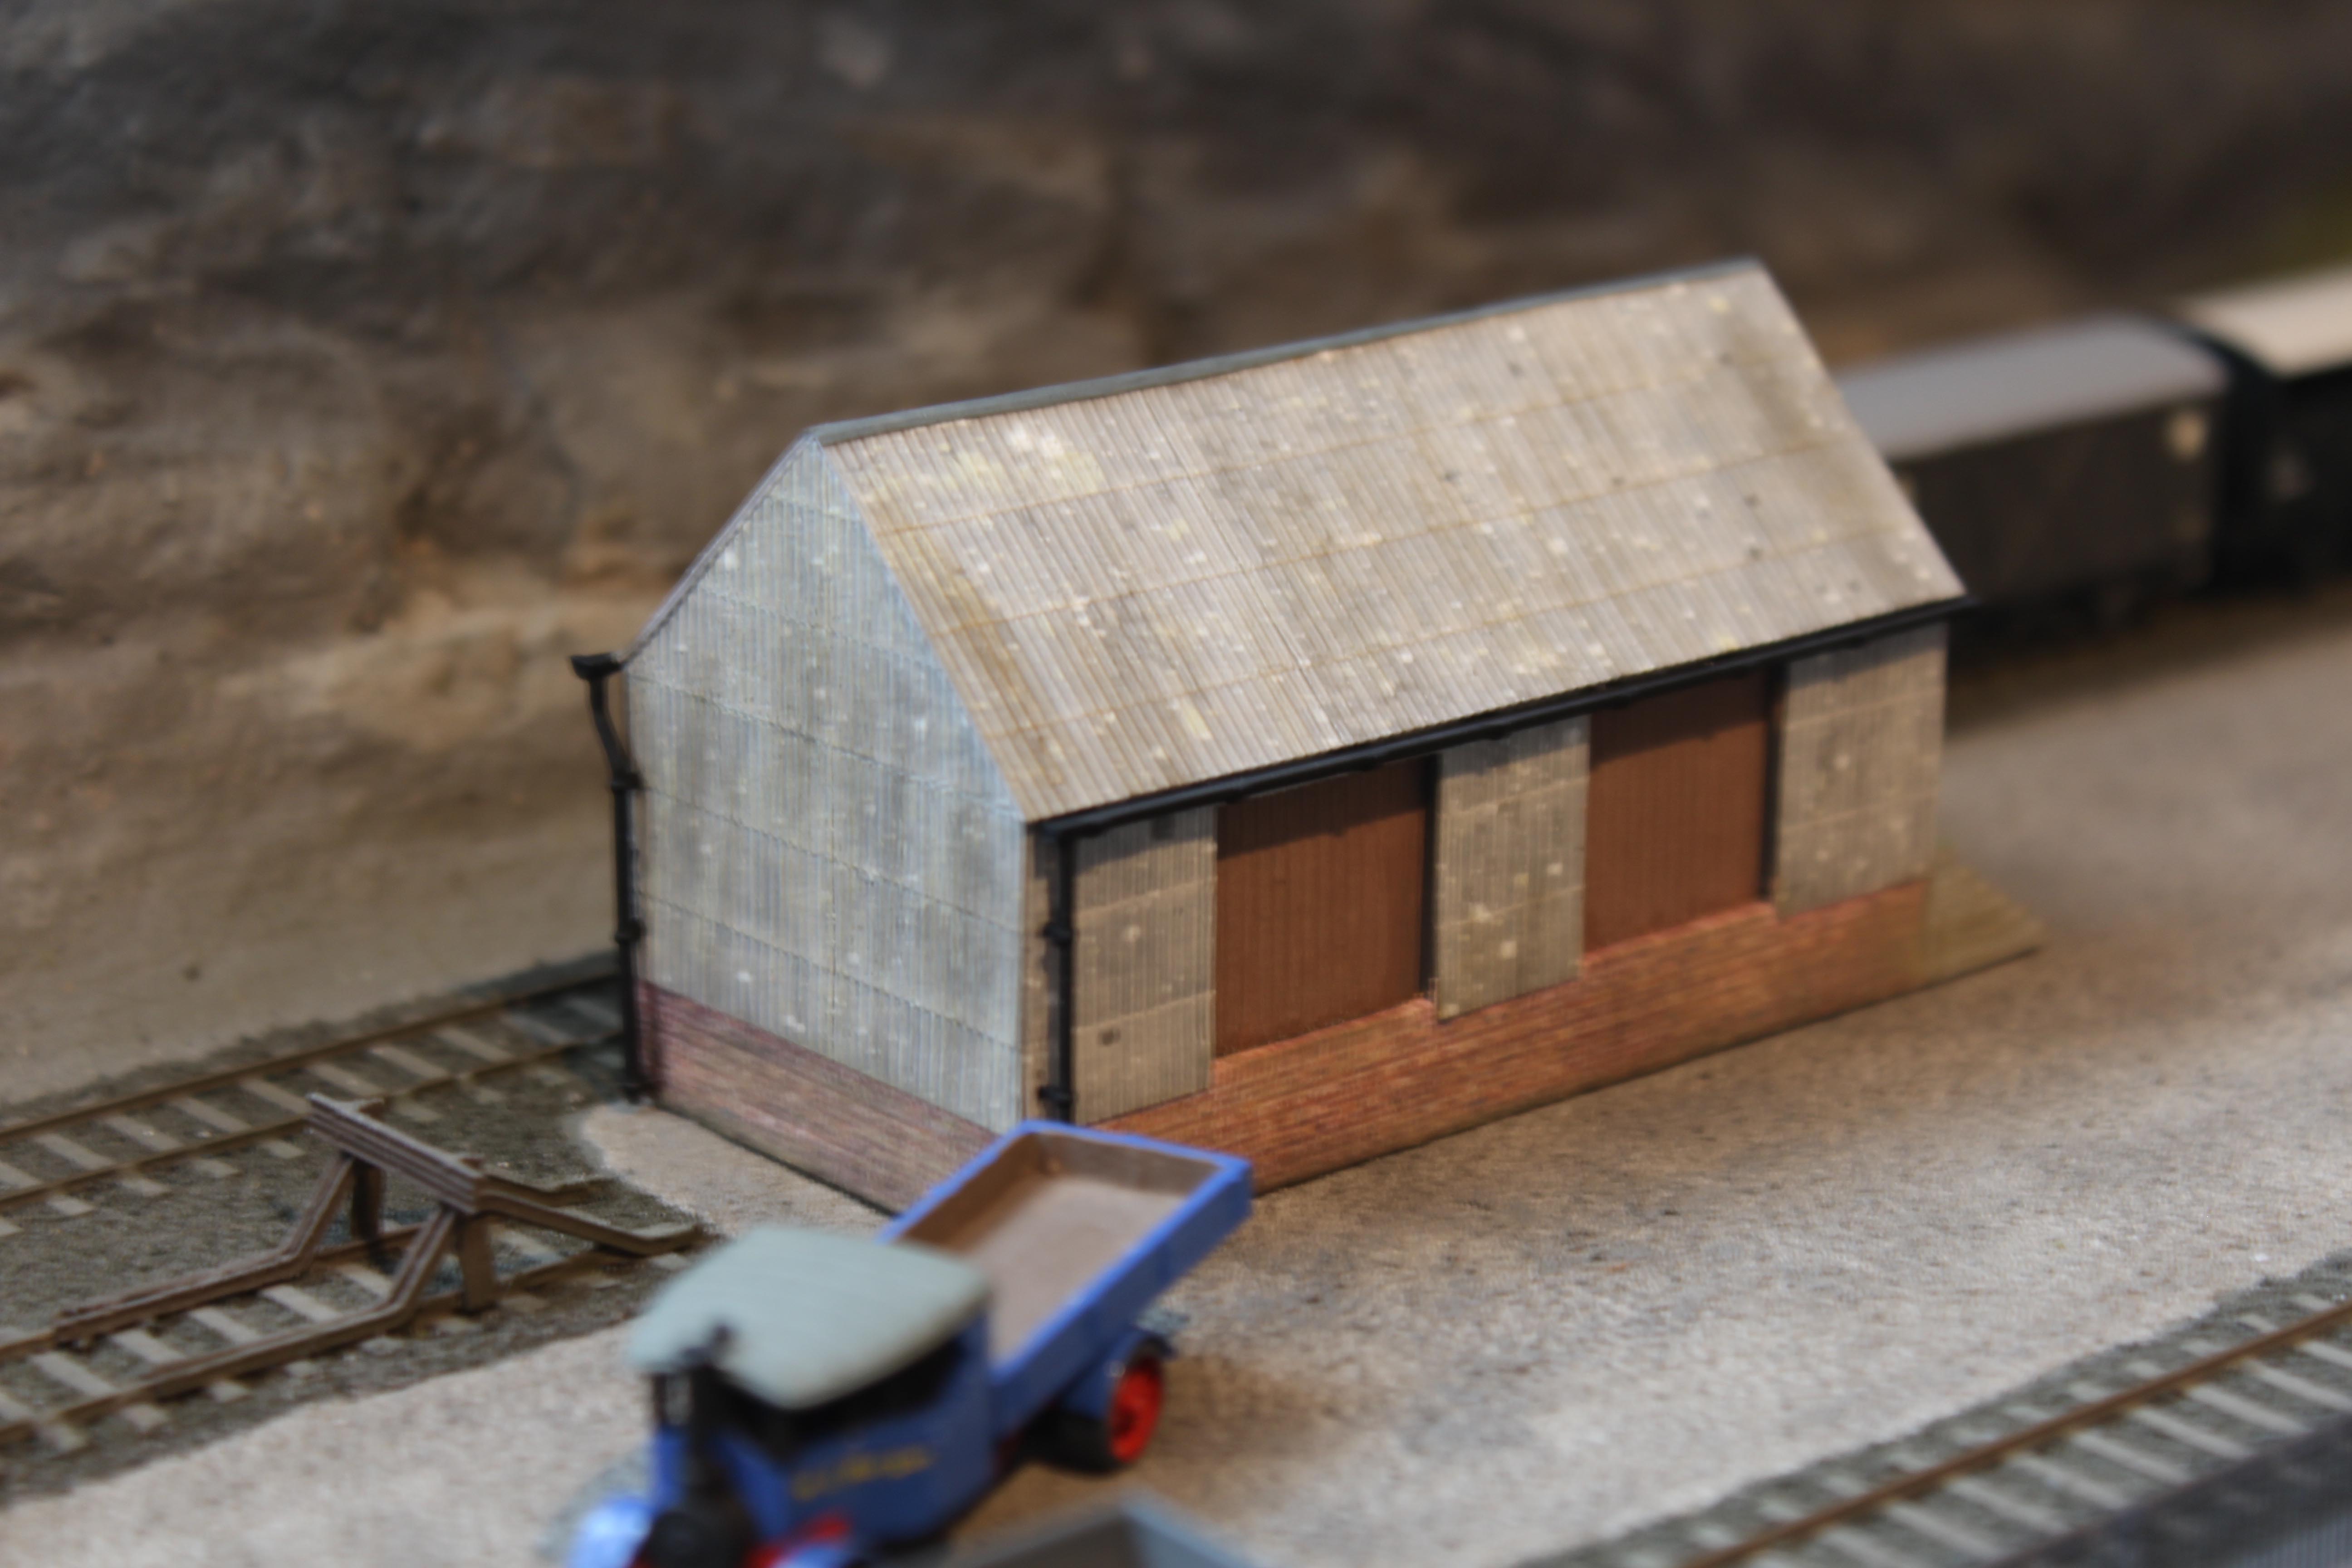
C C Green’s books on the coastal lines of the Cambrian are a superb resource and while browsing the first in the series, I came across the shed at Llandre north of Aberystwyth. It was a good size and could be quickly built using the Redutex corrugated iron sheeting that I had recently acquired.

So a quick shell from mounting card, the door openings painted with acrylics and scribed wooden doors gave a good start. Scalescenes brick paper was added around the base before the roof and sides were clad in the Redutex sheet. The latter is self-adhesive, so they just need to be cut to the size of the base card and are then slapped on. Before you know it  Robert is your mother’s brother.

A little finishing with steps and guttering and the whole thing had taken less than six hours. The gable end boards and step hand rails still need to be done, but other than that, it is complete. A little weathering powder helps to blend the brick paper, but very little is needed on the cladding sheets to produce the results pictured.

The Redutex sheets seem excellent for this sort of application. They aren’t cheap, but neither is my time, so overall they represent good value as such results are very quick. The shed seems to have the right parsimonious presence for a Cambrian station where freight plays second fiddle to the passenger services. So sometimes the organic approach to planning works!

IMG_0075IMG_0076


The Final Countdown

No – nothing to do with that dodgy 90’s Mullet-sporting band Europe, but a few blogs in the lead up to the 2mm AGM and the Aldershot exhibition.

Llangerisech is one of the four 2mm layouts that will be at the show and will be shown for the first time in its 1930’s mode. For that purpose, I have had to make the additional features required by a steam railway as opposed to the slightly  rationalised items we have used when showing blue diesels.

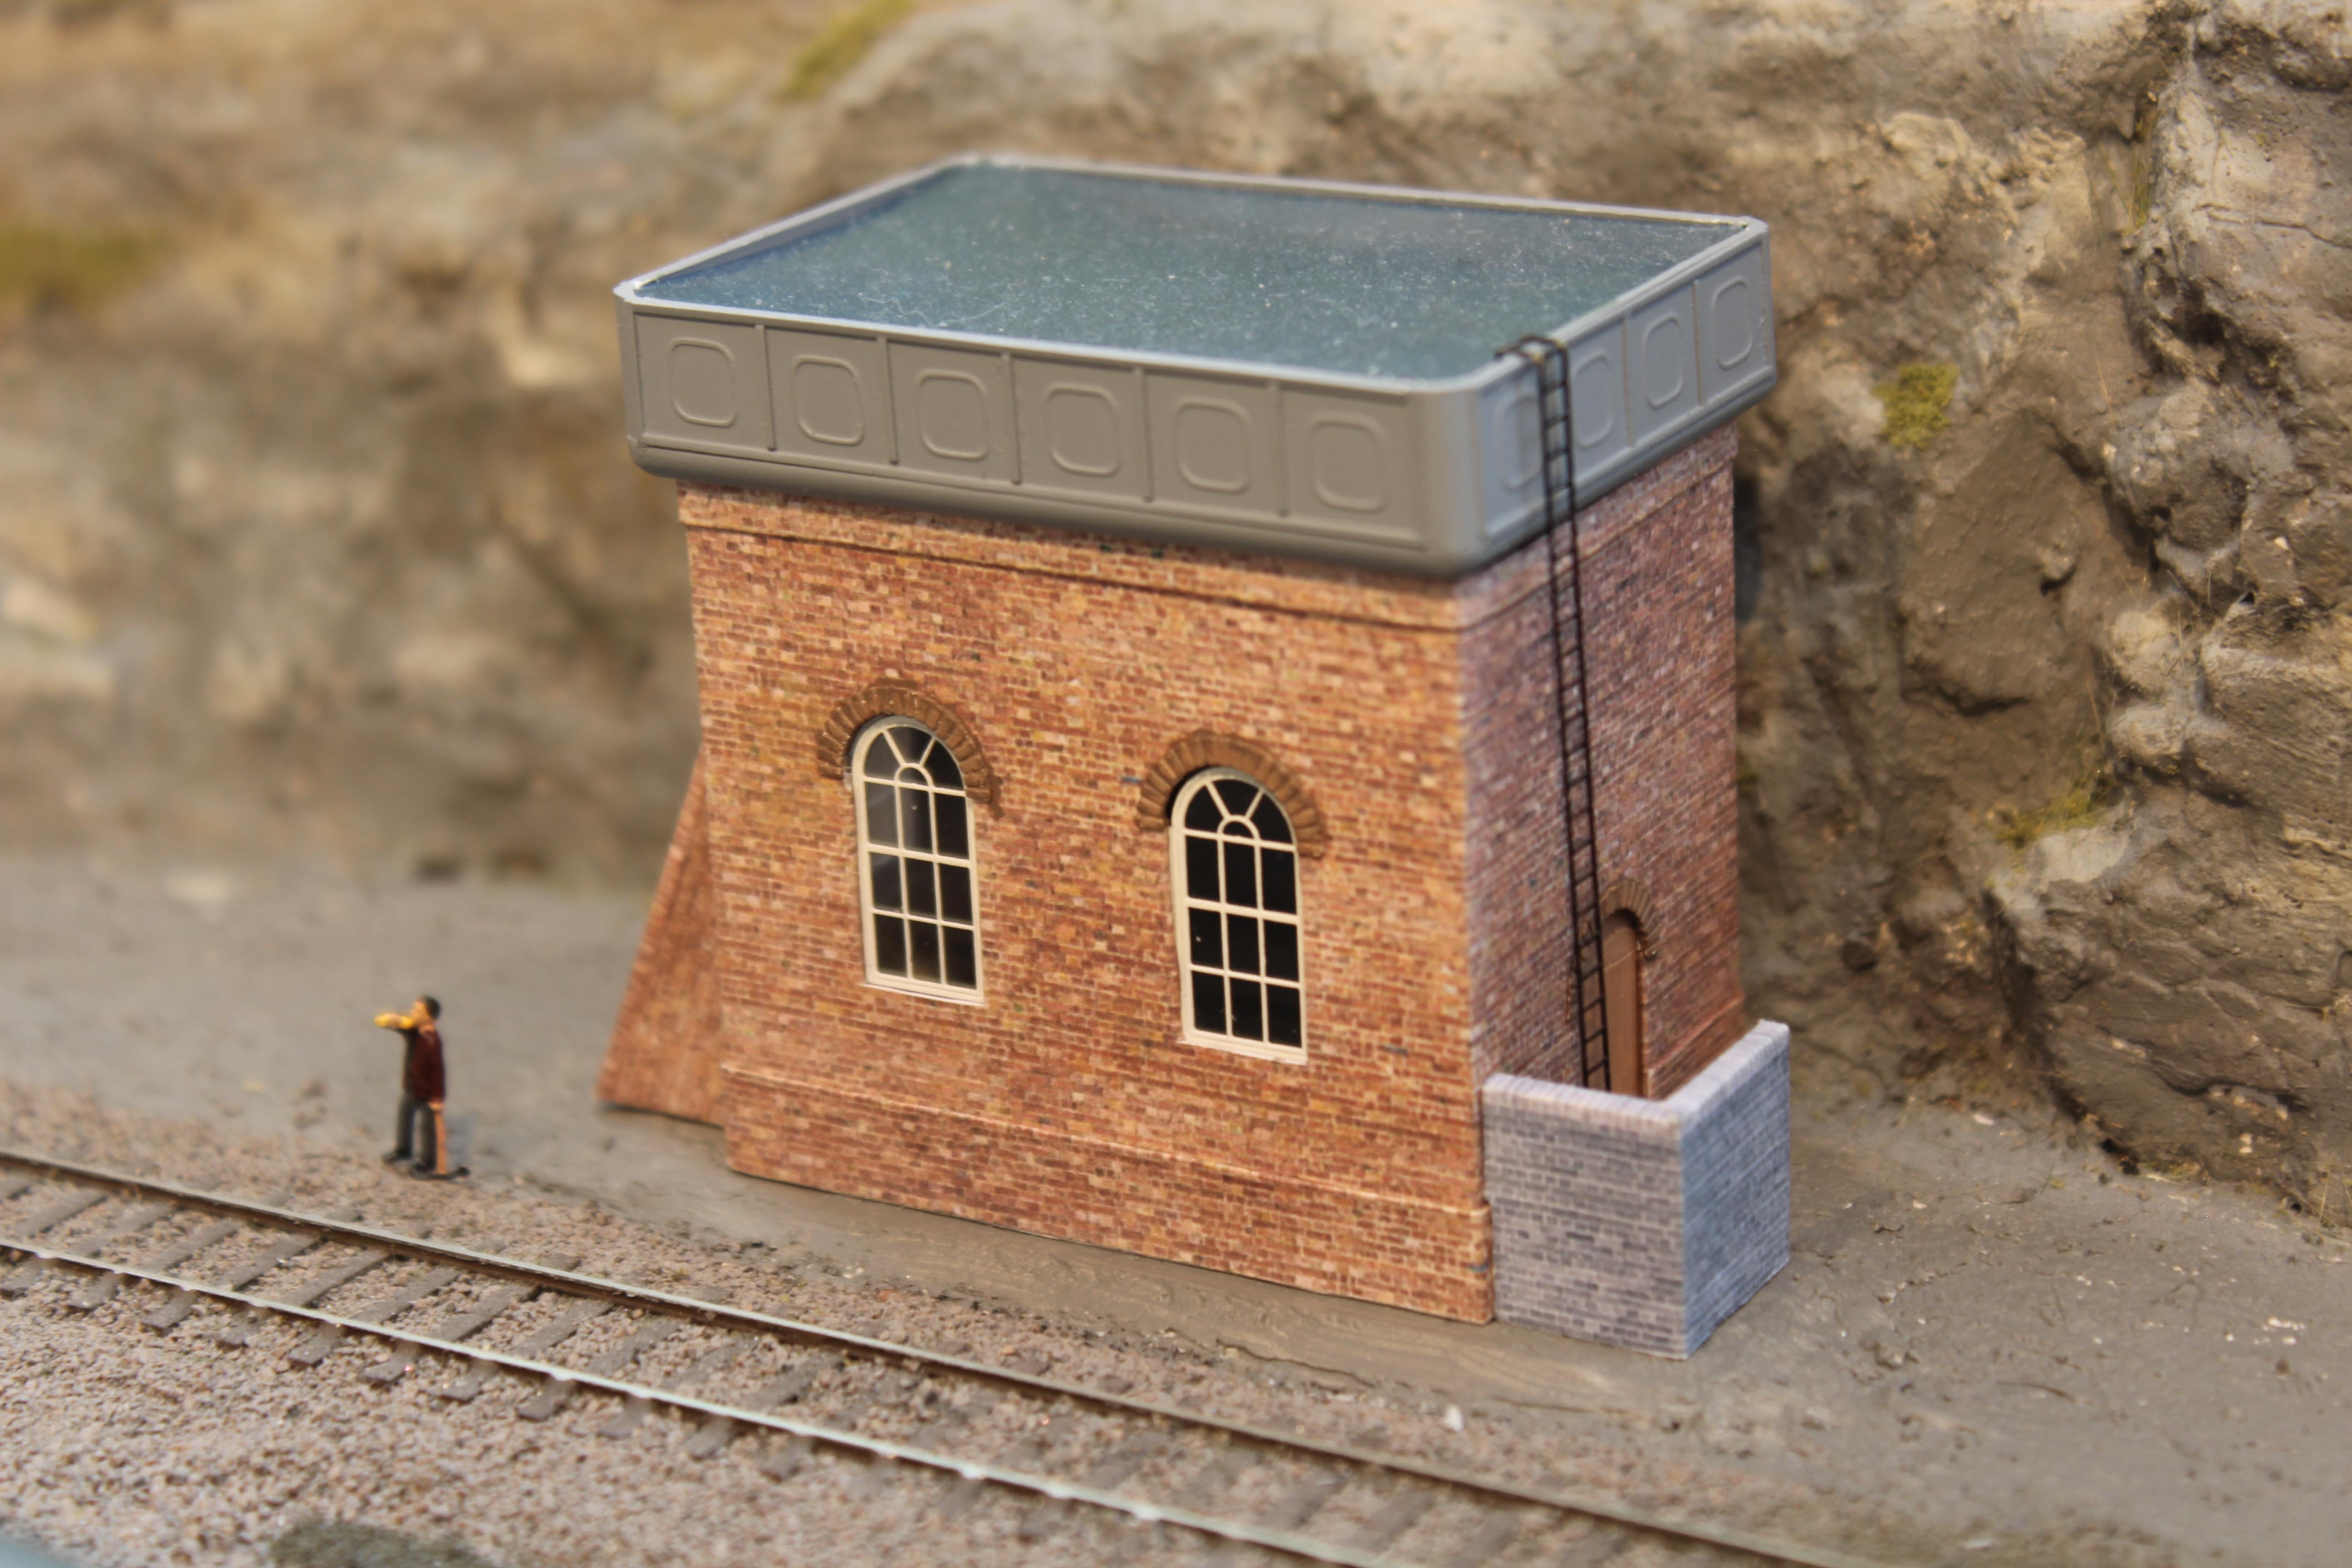
First up is the water tower. This is based on a version at Machynlleth, but is a fairly standard Cambrian brick built design. The Cambrian used similar tanks on timber supports, but as the shed is a reasonable size, I felt the more substantial version was appropriate.

Biggest challenge was the pattern on each of the tank panels, but the old Robo Cutter cameIMG_0078 in very handy. I drew the shape on the computer and cut the rounded corner squares out of sticky-back plastic. As the shapes are very thin, I had to cut out more than required and bin a fair few to get a reasonable consistency. These were then stuck onto the tank sides (made from platicard sheet and quarter round rod) before being sprayed. The base is simple mounting board with Scale Scenes paper and Scale Link windows. The water is old processed X-ray film (my Mum used to be a radiographer and I have a large stash).

Over lead up to the show, I will show other bits of progress since the layout was last shown and some of the last minute panics.

I hope to see you at the show on the 11th.