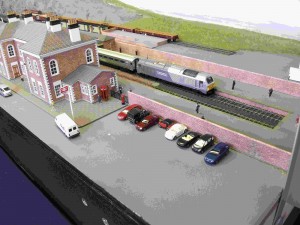
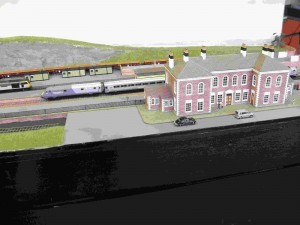
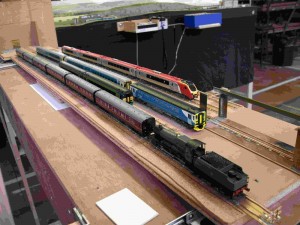
The February meeting saw us greeting Steven to the group and I don't think we deterred him too much! Nigel had the test track out with various items running round and being given the exercise they wouldn't get on the end to end layout.
Peter showed us the finished 4W coaches complete with lead seats and passengers. Dave had an in-build 0-4-4 chassis for the SR H Class to show us and David had brought along some rolling stock to show Steven as their geographic and period interests have some common points.
I brought along some etches for a narrow gauge Manning Wardle running on 9.42mm track (2FS if not 2mm so just about on-topic.) I suspect the rest of the group doubt my sanity not to mention my ability to build them - and they are probably right on both counts.
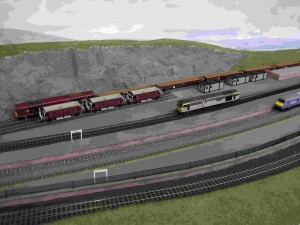
Nigel was doing some chassis weathering on some Farish wagons influenced by an article in the February Railway Modeller. Using acrylics and weathering powders allows the degree of weathering to be built up gradually and even reversed by washing if required. Once happy with the overall effect, matt varnish is applied to seal everything in. In addition he found time to take the accompanying photographs .
Discussion centred around what the association and the group could offer to the newcomer along with the show and tell aspect that the meetings usually centre around.
-
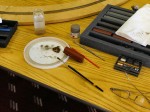
- Very simple weathering kit includes acrylic paints, small brush, fluffy brush and weathering powder.

-

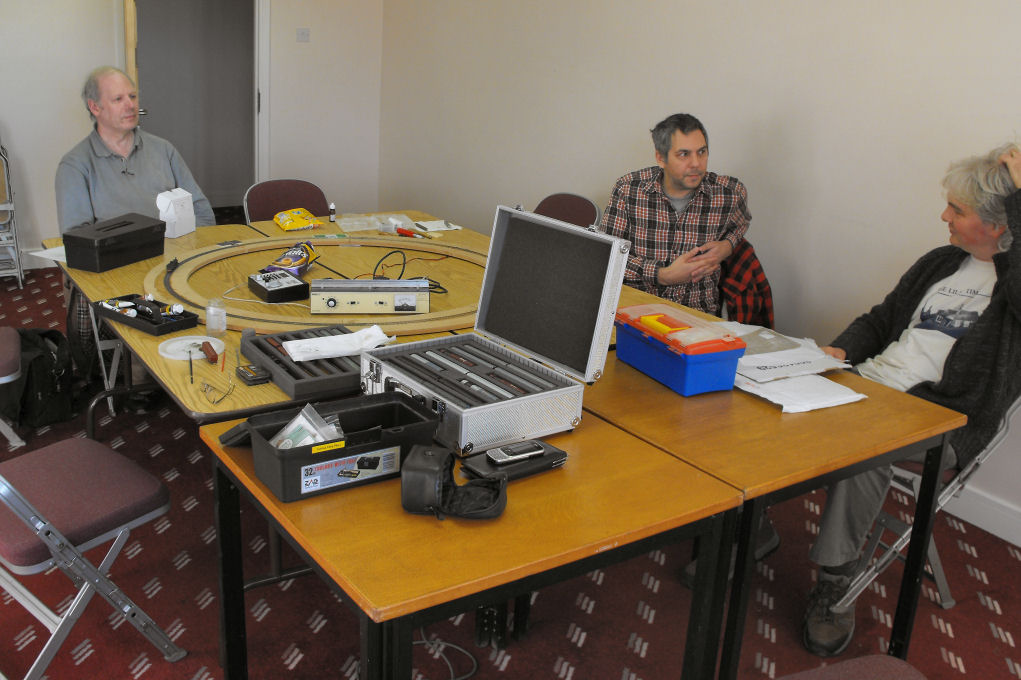
- David, Steven and Richard discussing something 2mm related.
-

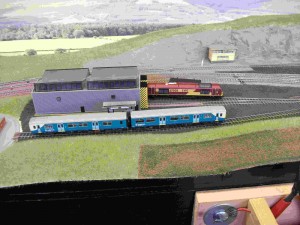
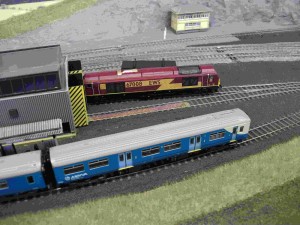
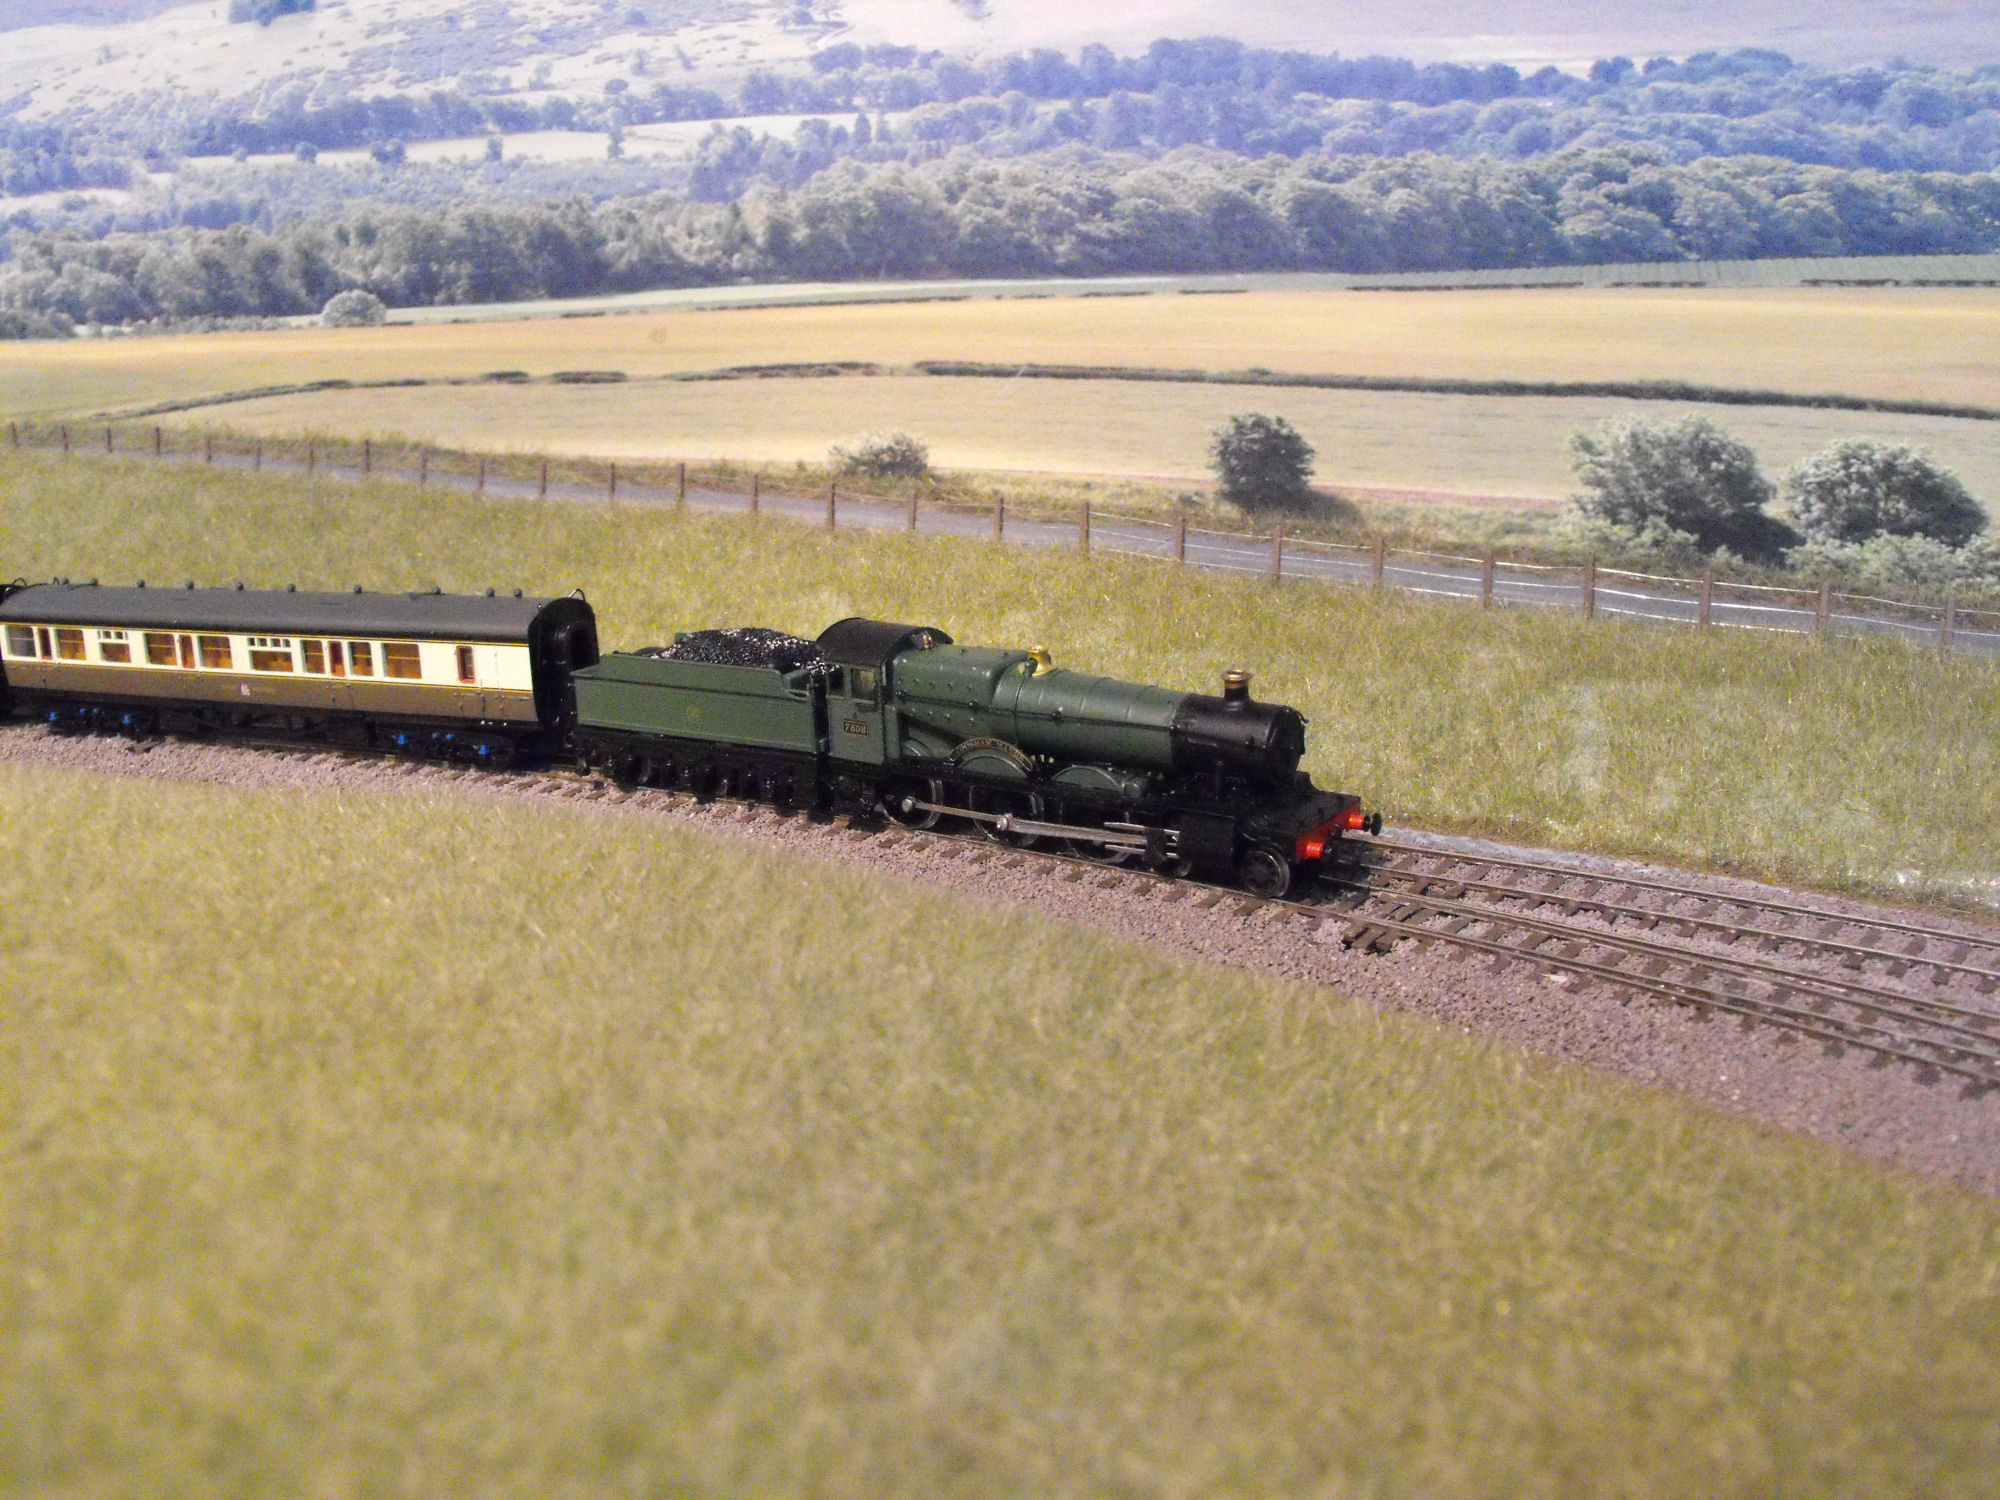
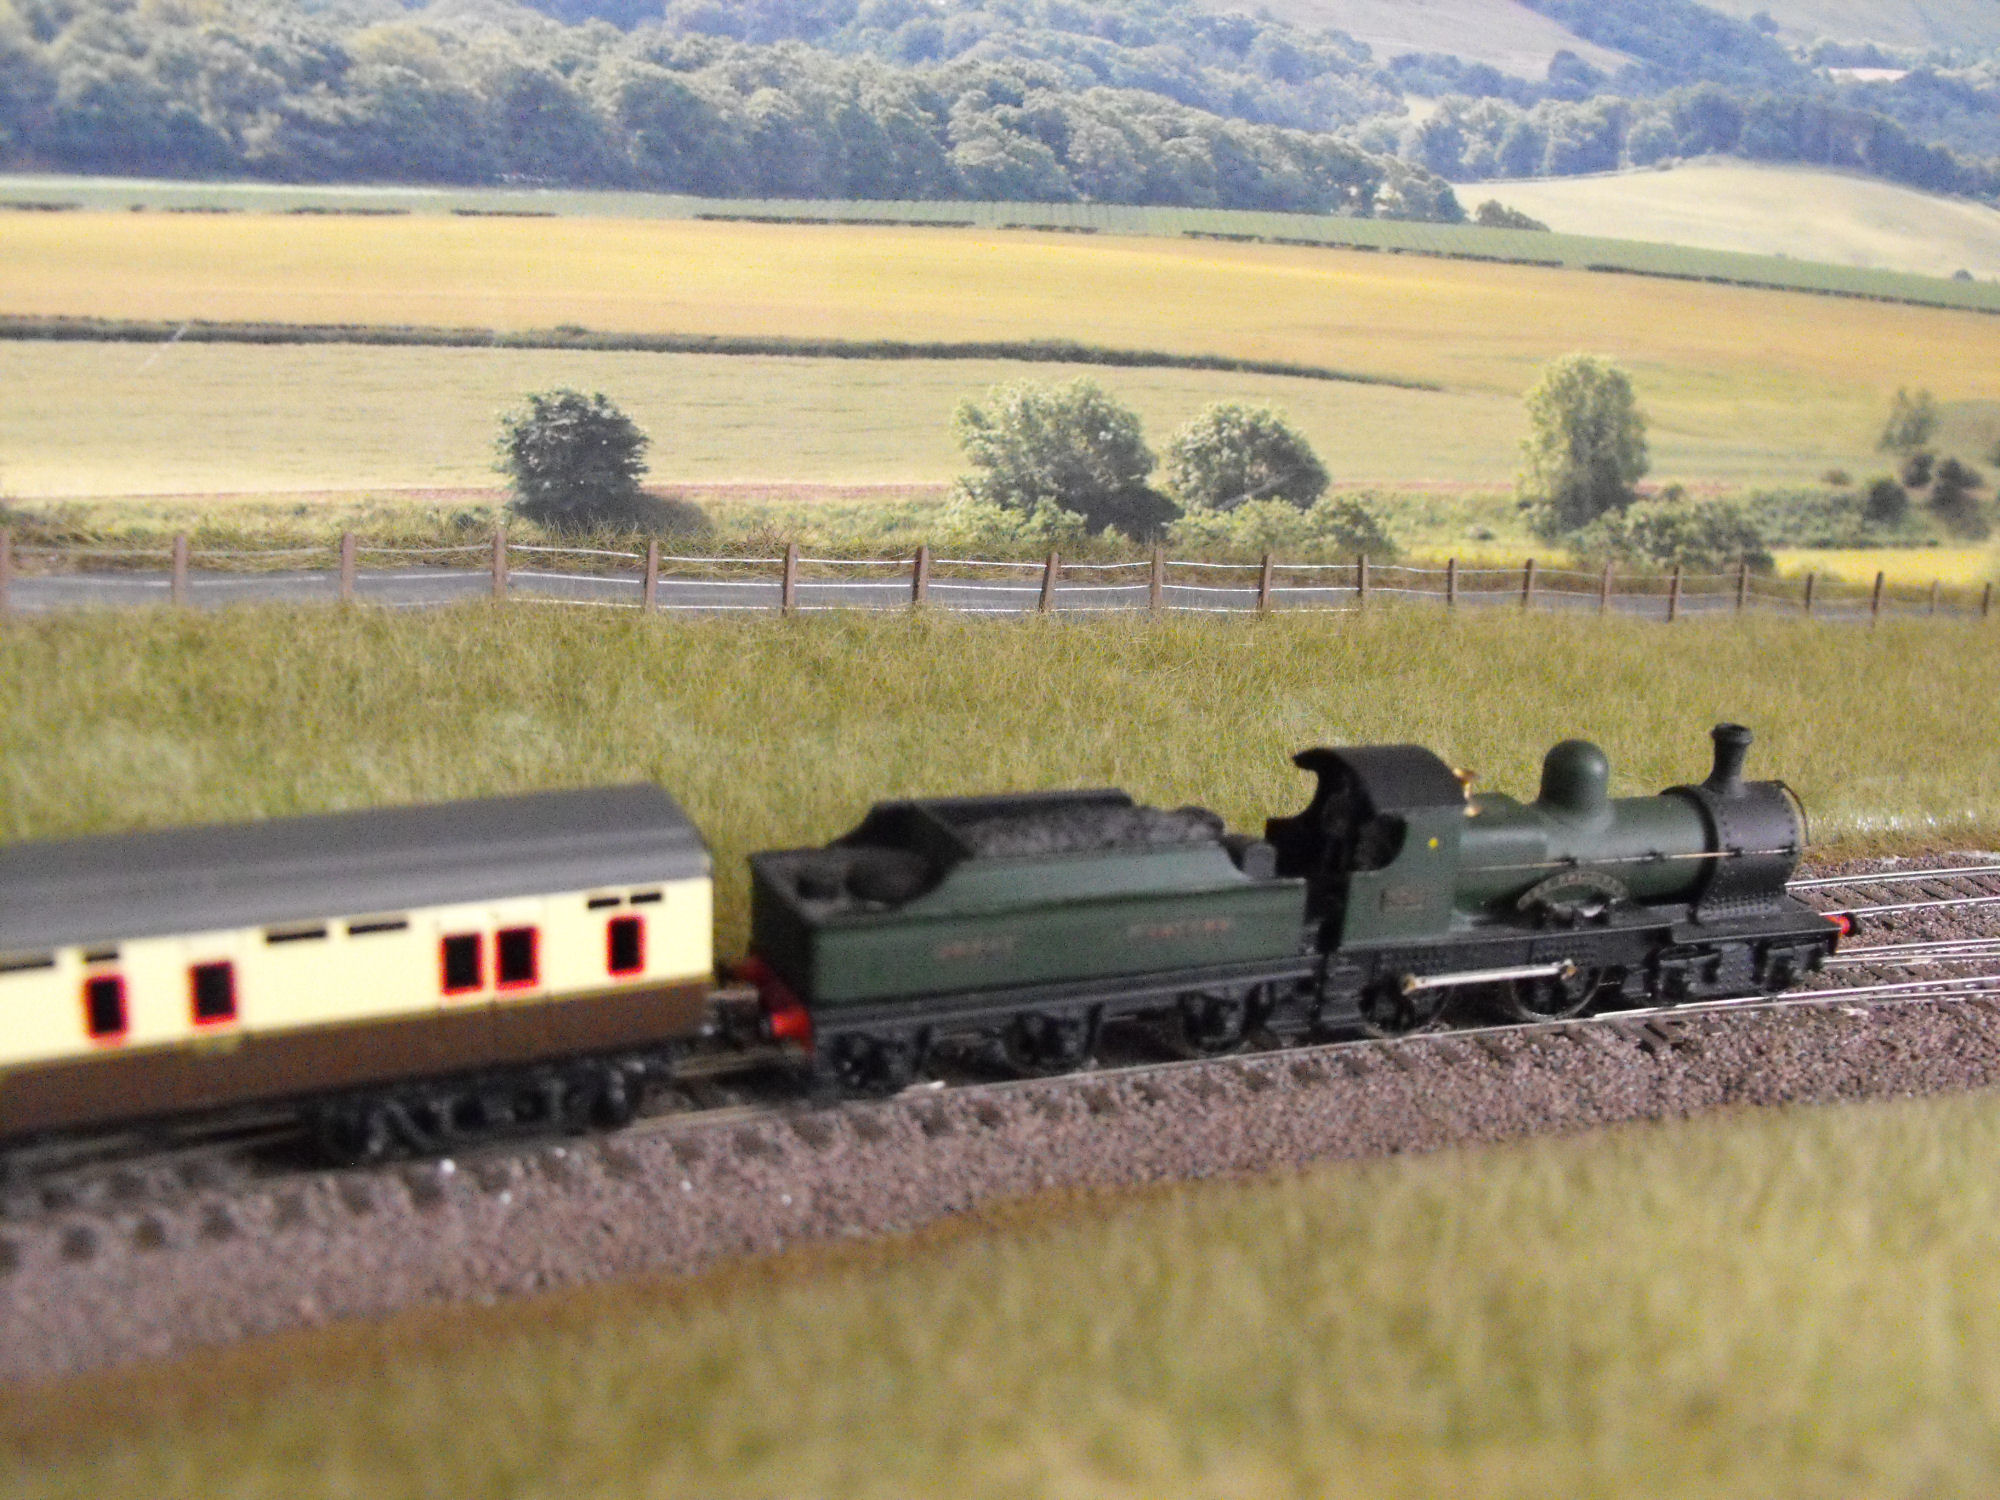
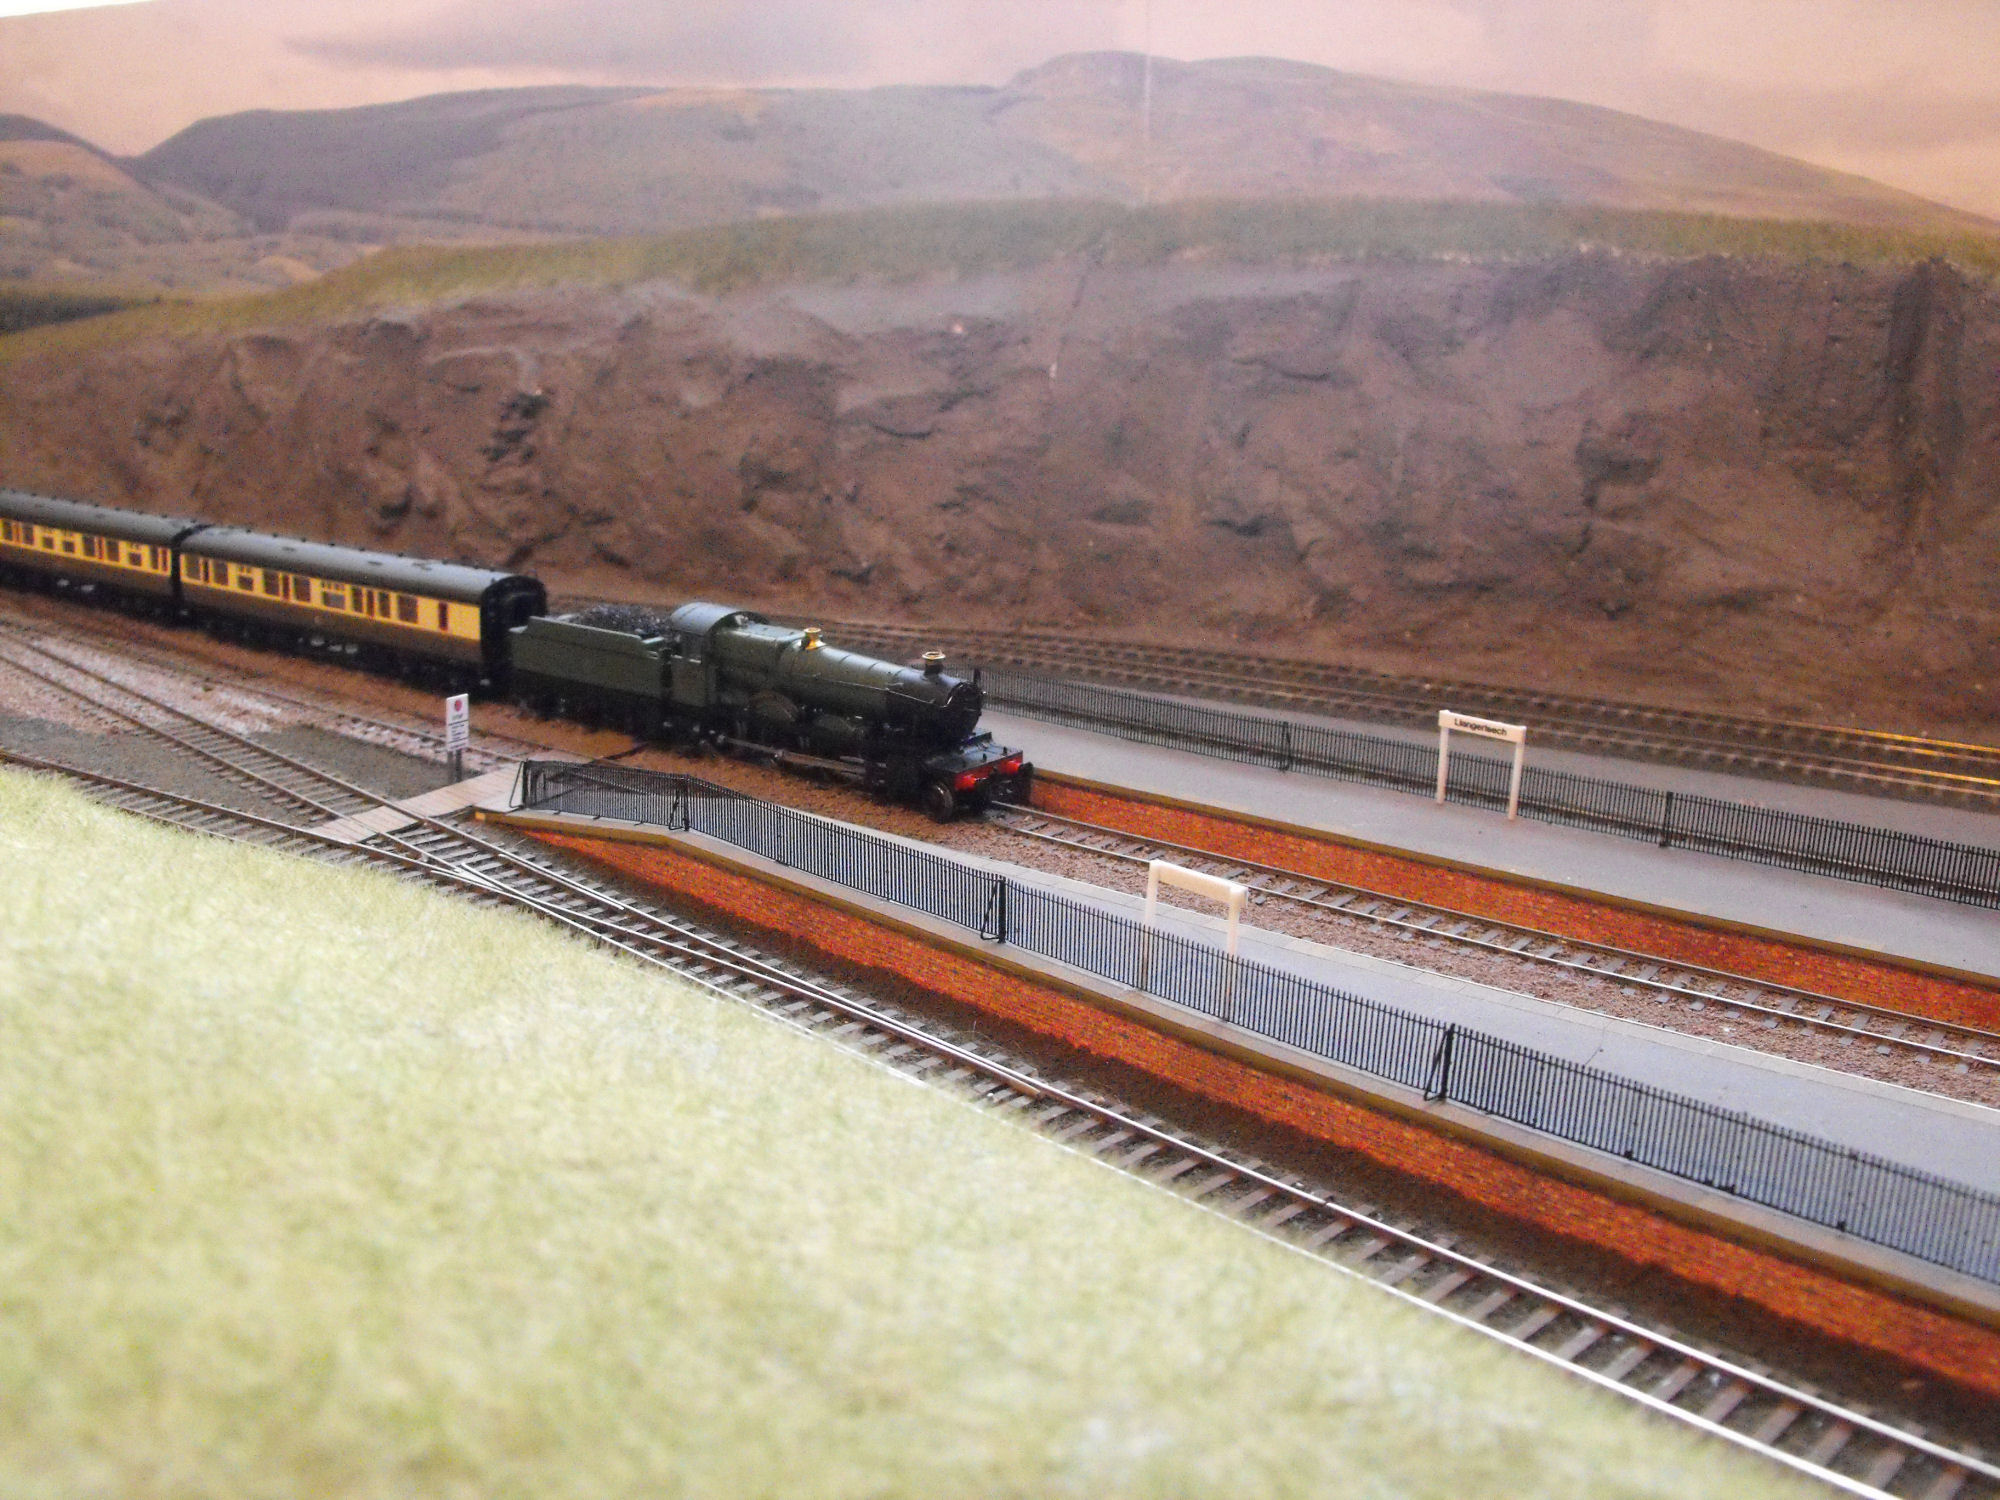
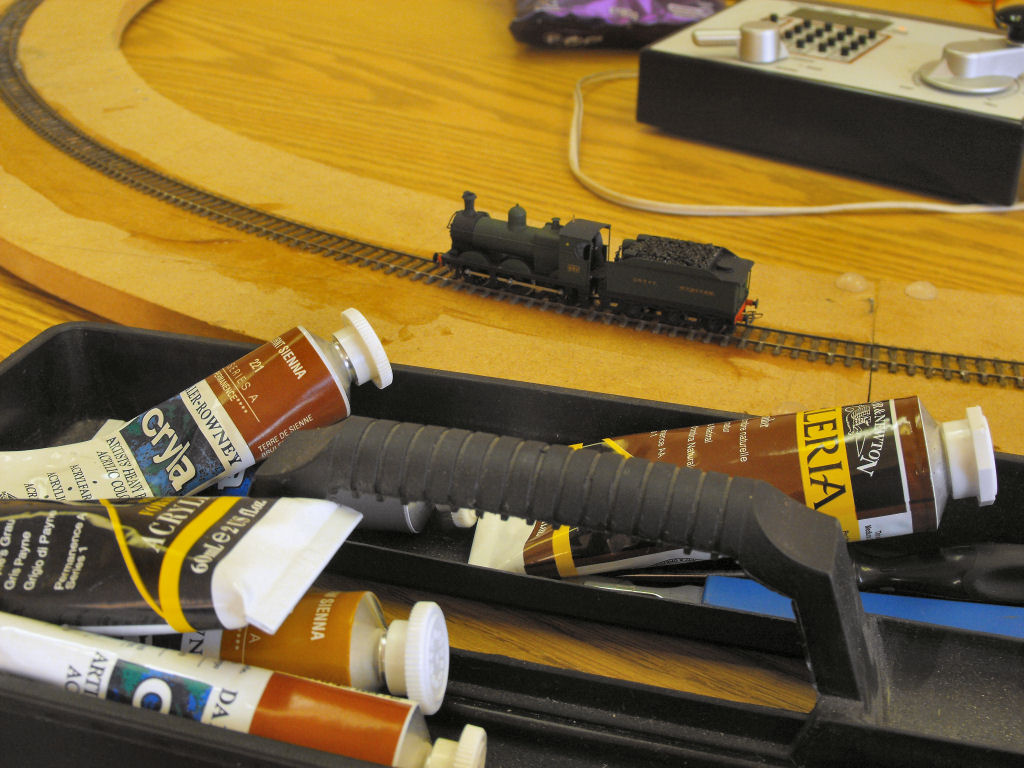
- The Jones Goods being run on the test track.
-

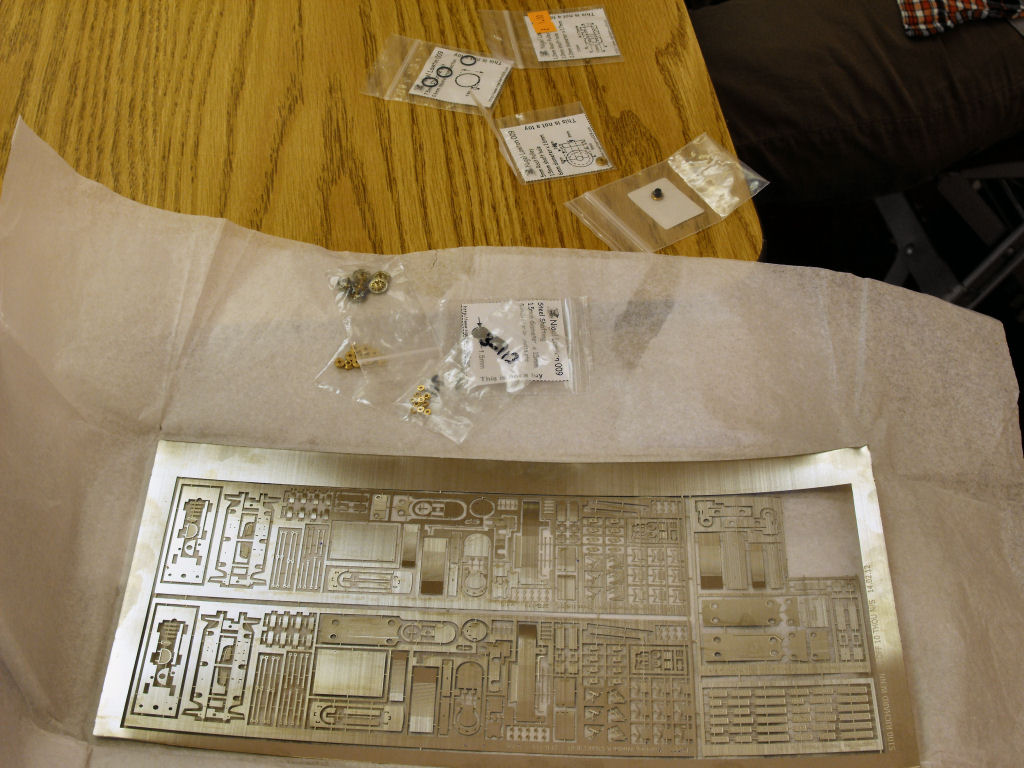
- Richard’s etches for Manning Wardle tanks and the Nigel Lawton drive belts and pulleys.
-
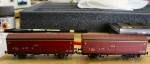
- Before and after – the basic underframe weathering.