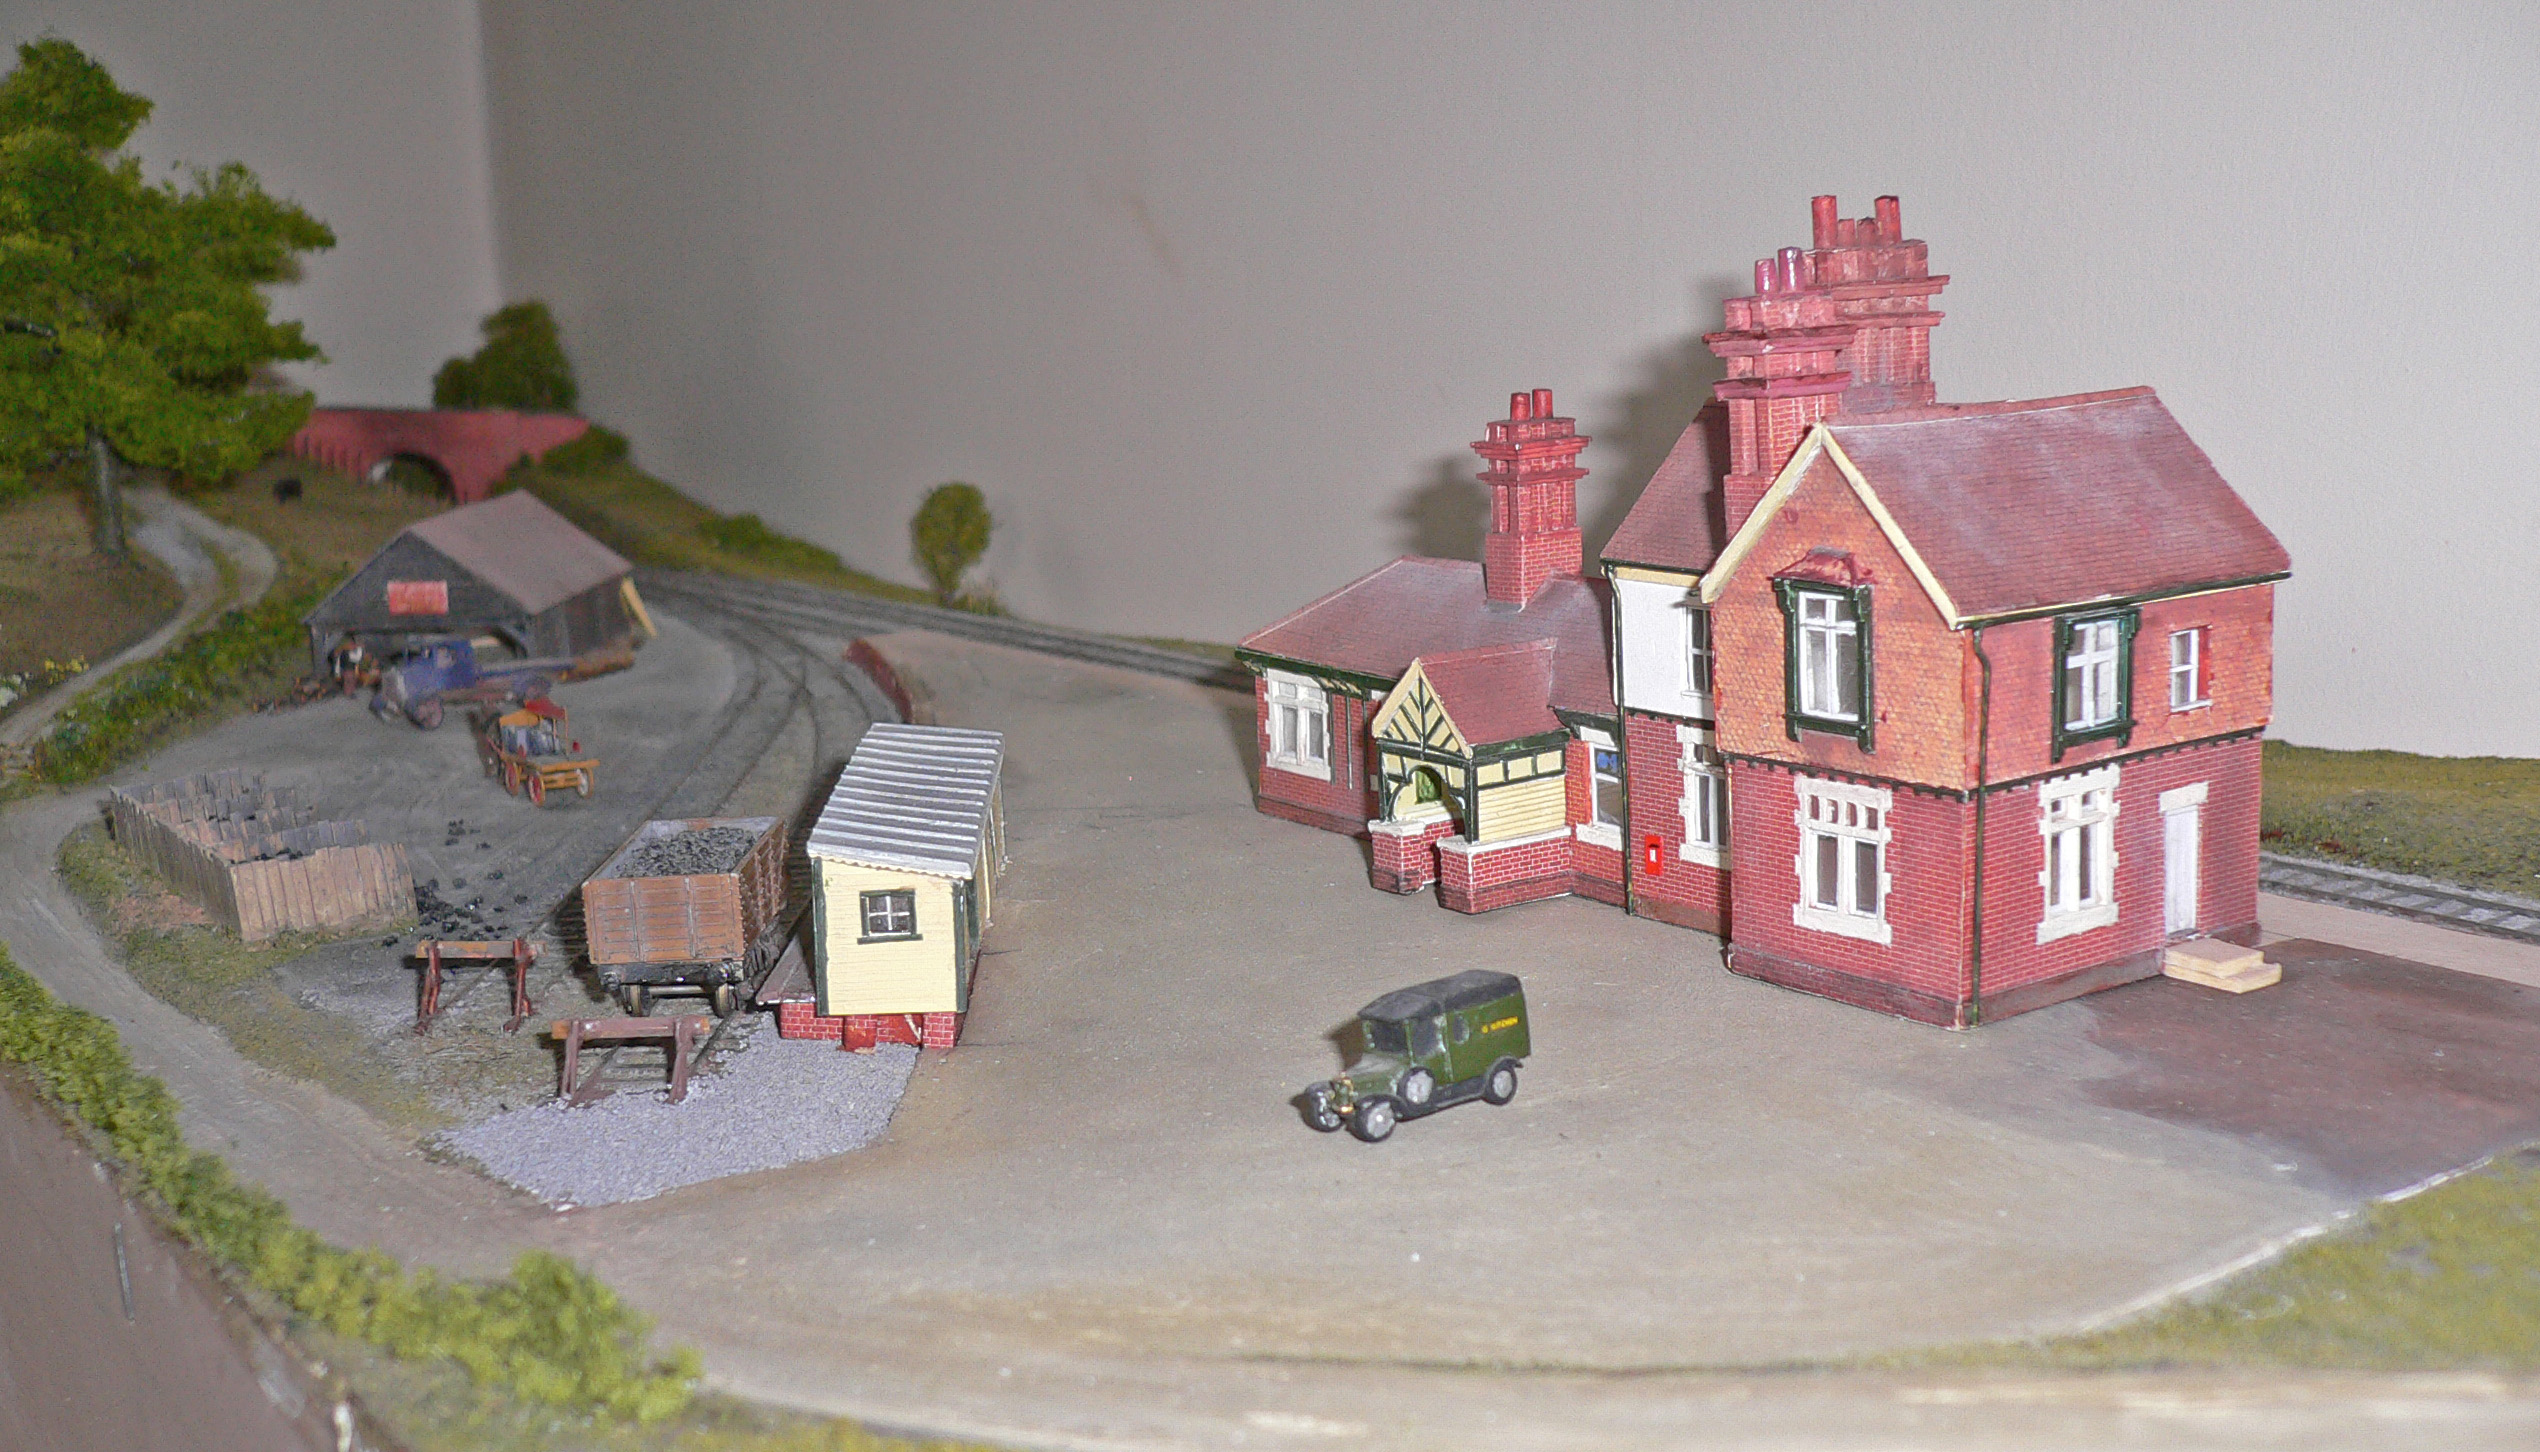
Thought you might be interested in how the station area looks now.
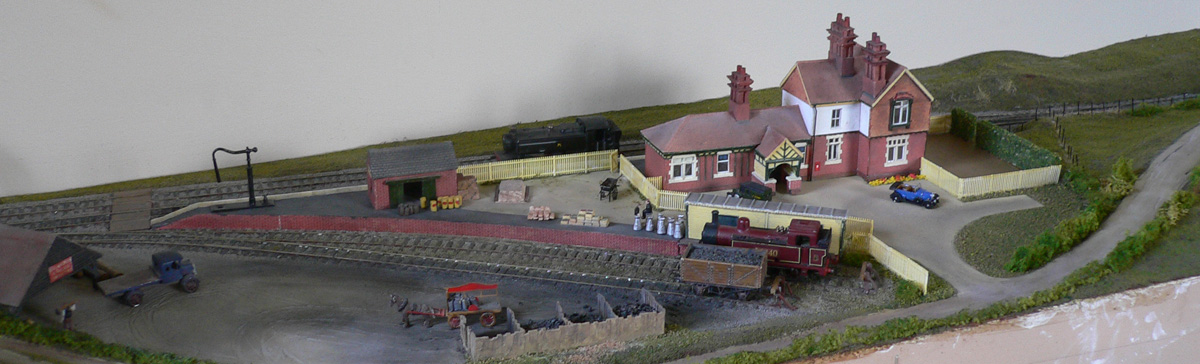
Thought you might be interested in how the station area looks now.
I’m always looking for rough-and-ready ways of getting things done, often so rough that I end up having to do it all again, but this one worked well. It’s only any good for locos with identical spoked wheels on all axles.
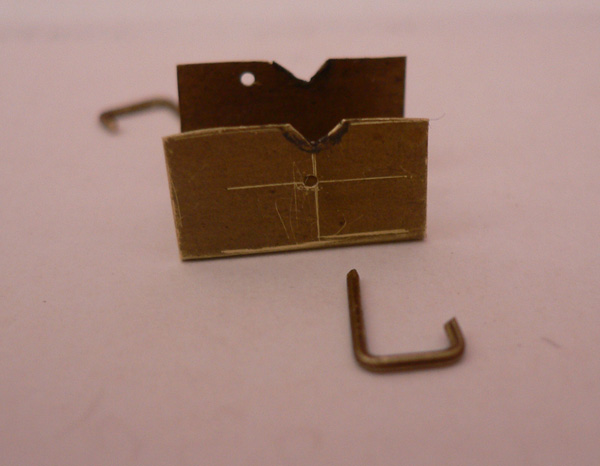
All that’s needed is a bit of brass sheet thin enough to slide between the outside face of the chassis and the back of the wheels when the back-to-back is set correctly. Bend the sheet into a rough U shape as in the photo, file a couple of notches in the ‘wings’, then assemble the wheels on a muff in the chassis and wriggle the wings up behind the wheels so that the notches fit under the axles. Turn the left-side wheel until the crankpin is facing downwards and drill a hole through the wing in the gap beween the spokes adjacent to the crankpin. Push a bit of brass wire through the hole so that the wheel can’t rotate. Obviously the wire needs to be a tight fit between the spokes and in the hole. Now rotate the other wheel until its crankpin is at 90 degrees (ish) to the first one, and drill a hole between two spokes on that side. Pop a pin in and make sure both wheels are locked in position.
Remove the pins and the tool, and you now have a template for positioning the wheels on the other axles. I found that the coupling rods dropped onto the crankpins first time, and only a hairsbreadth of adjustment was needed to relieve a minute tight spot.
The tool is a throw-away but it only takes fifteen minutes to make, involves no measuring or marking-out and costs nothing.
In my last post I mentioned an experimental Association conversion kit for the Farish 9400 loco that had never made it to market. I had some left-over etches courtesy of Bill Blackburn and planned to use them to convert my own 9400 which was running like Long John Silver after too much grog as a result of my earlier botched efforts. Well yesterday I got it running and here it is:
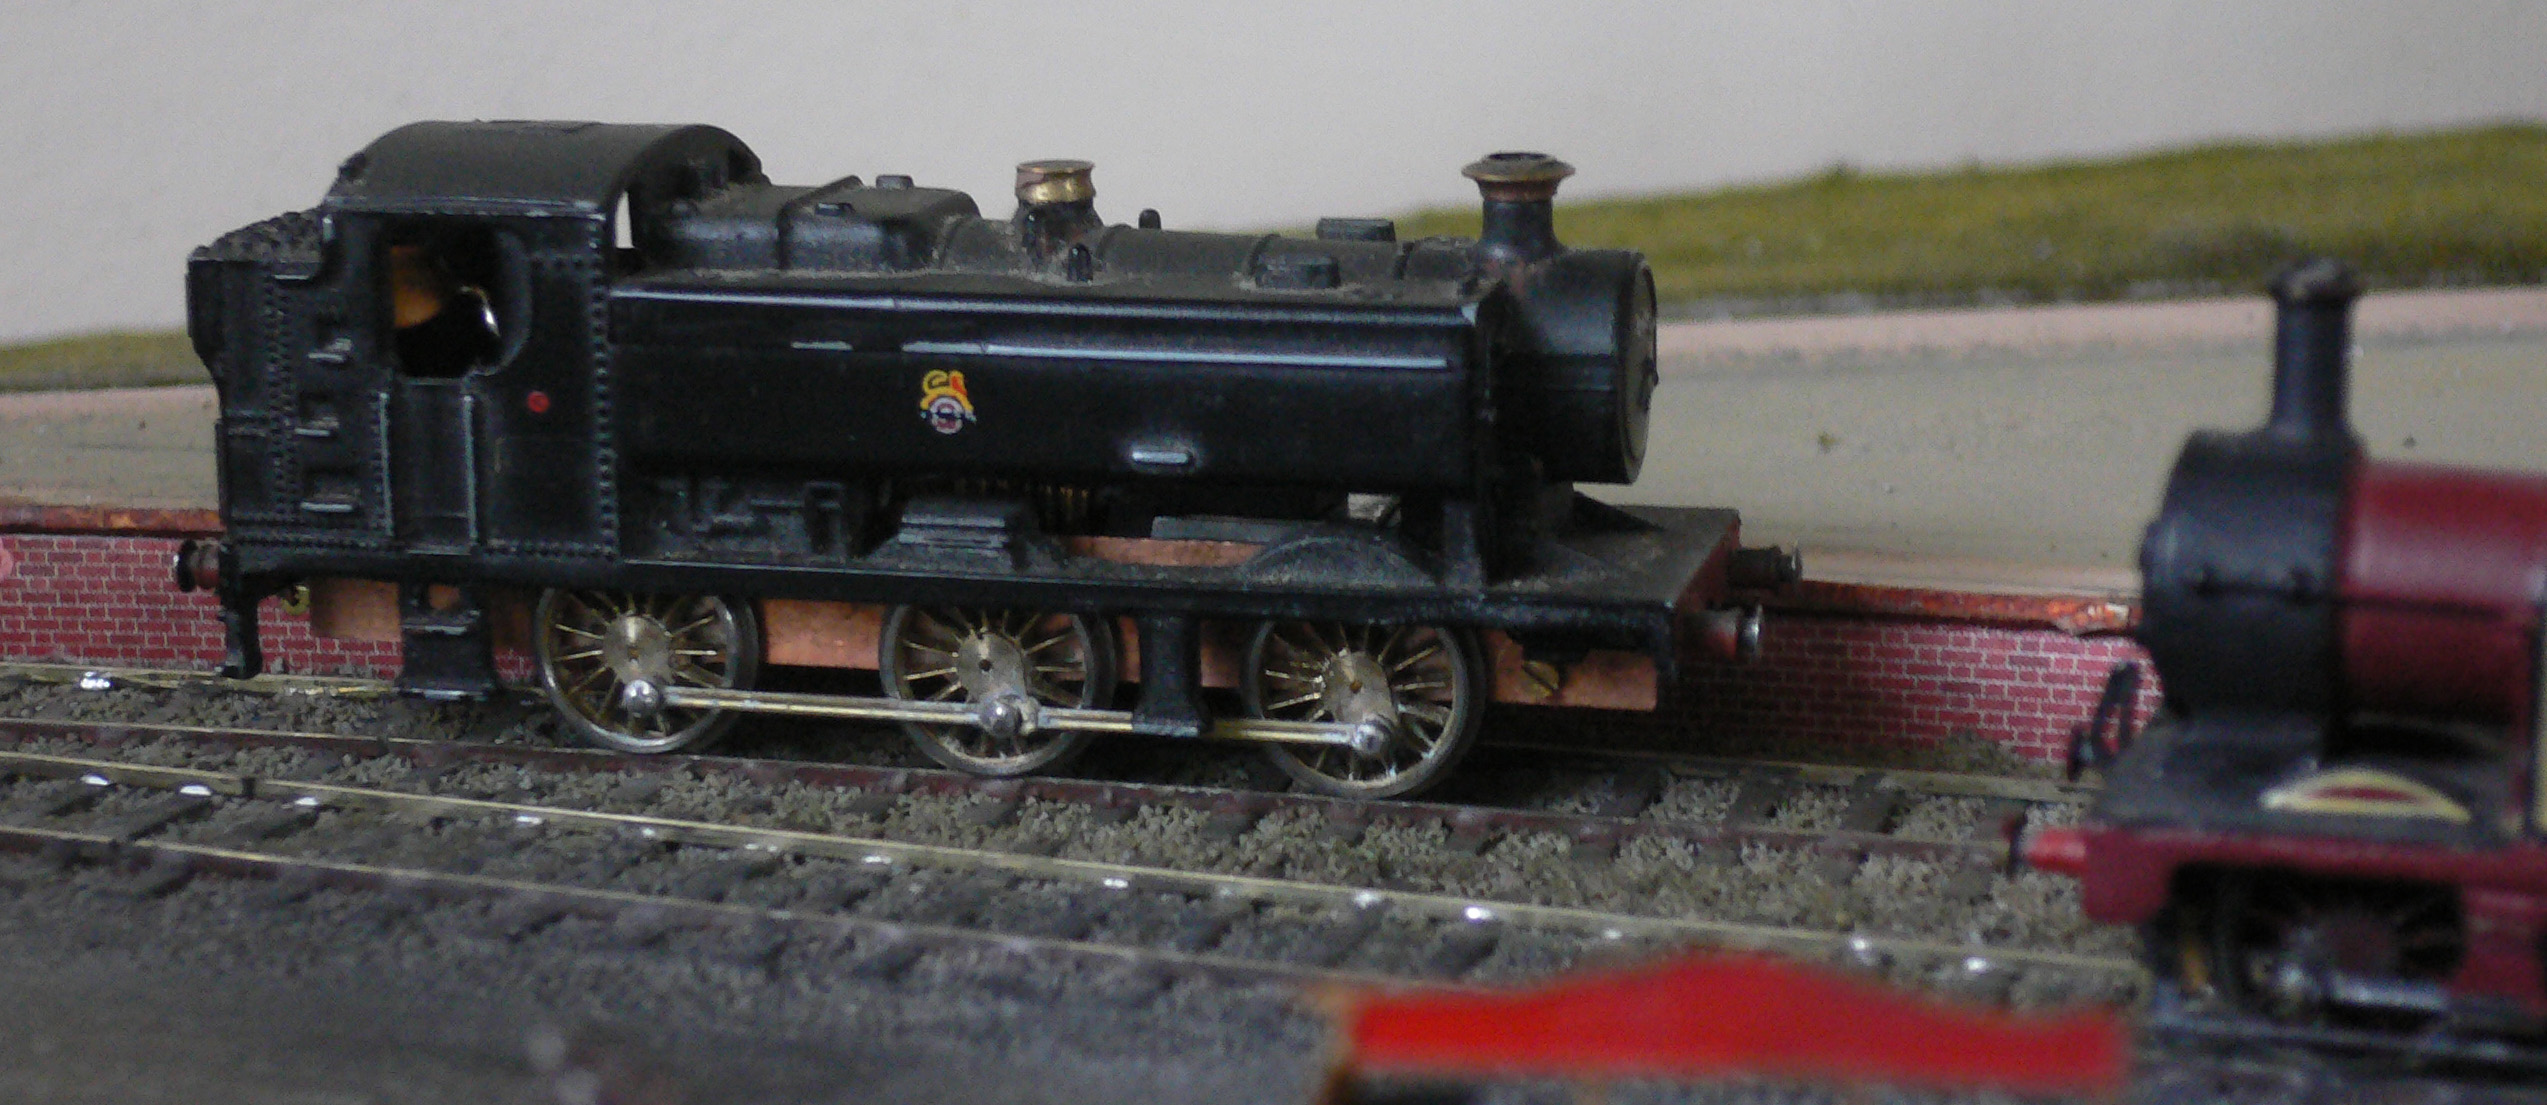
It’s a bit raw at the moment and a lot less forgiving of track imperfections than my Jinty, and its all-metal gears make a hell of a racket at full chat, but the Jinty got better over a few months of use and I’m hoping this one will too. Now it’s back to landscaping the layout, once I’ve got the carbs back on the MG.
PS. If I paint a face on that capacitor, do you think it will fool anyone?
Here are some photos of the small layout that I started work on several years ago as a toe-in-the-water exercise. I’ve very little modelling exerience of any sort, apart from helping my father with his model railway in the 1960s and a bit of simple model-making when I worked in an architect’s office in the 1970s. I retired last year, and finally blew the dust off the layout just before I came to our first meeting.
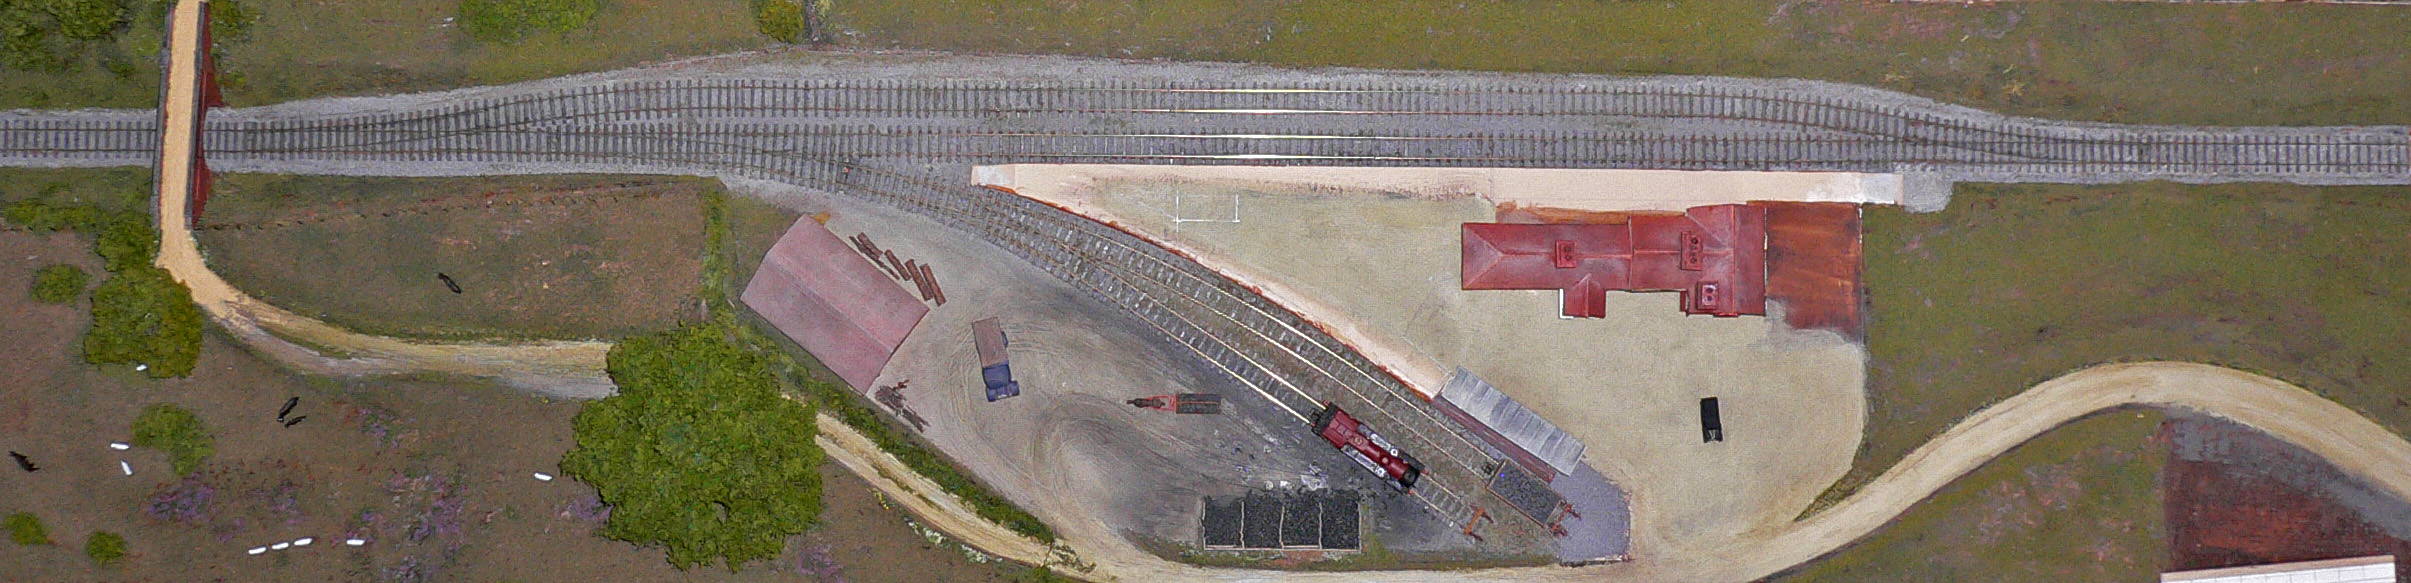
The whole layout is 120x30cm on a rather over-engineered timber, MDF and particle board base which I’m not sure I’d use again. However it does have the advantage that I can dribble solder all over the back of it and bash it with hammers without doing any damage.
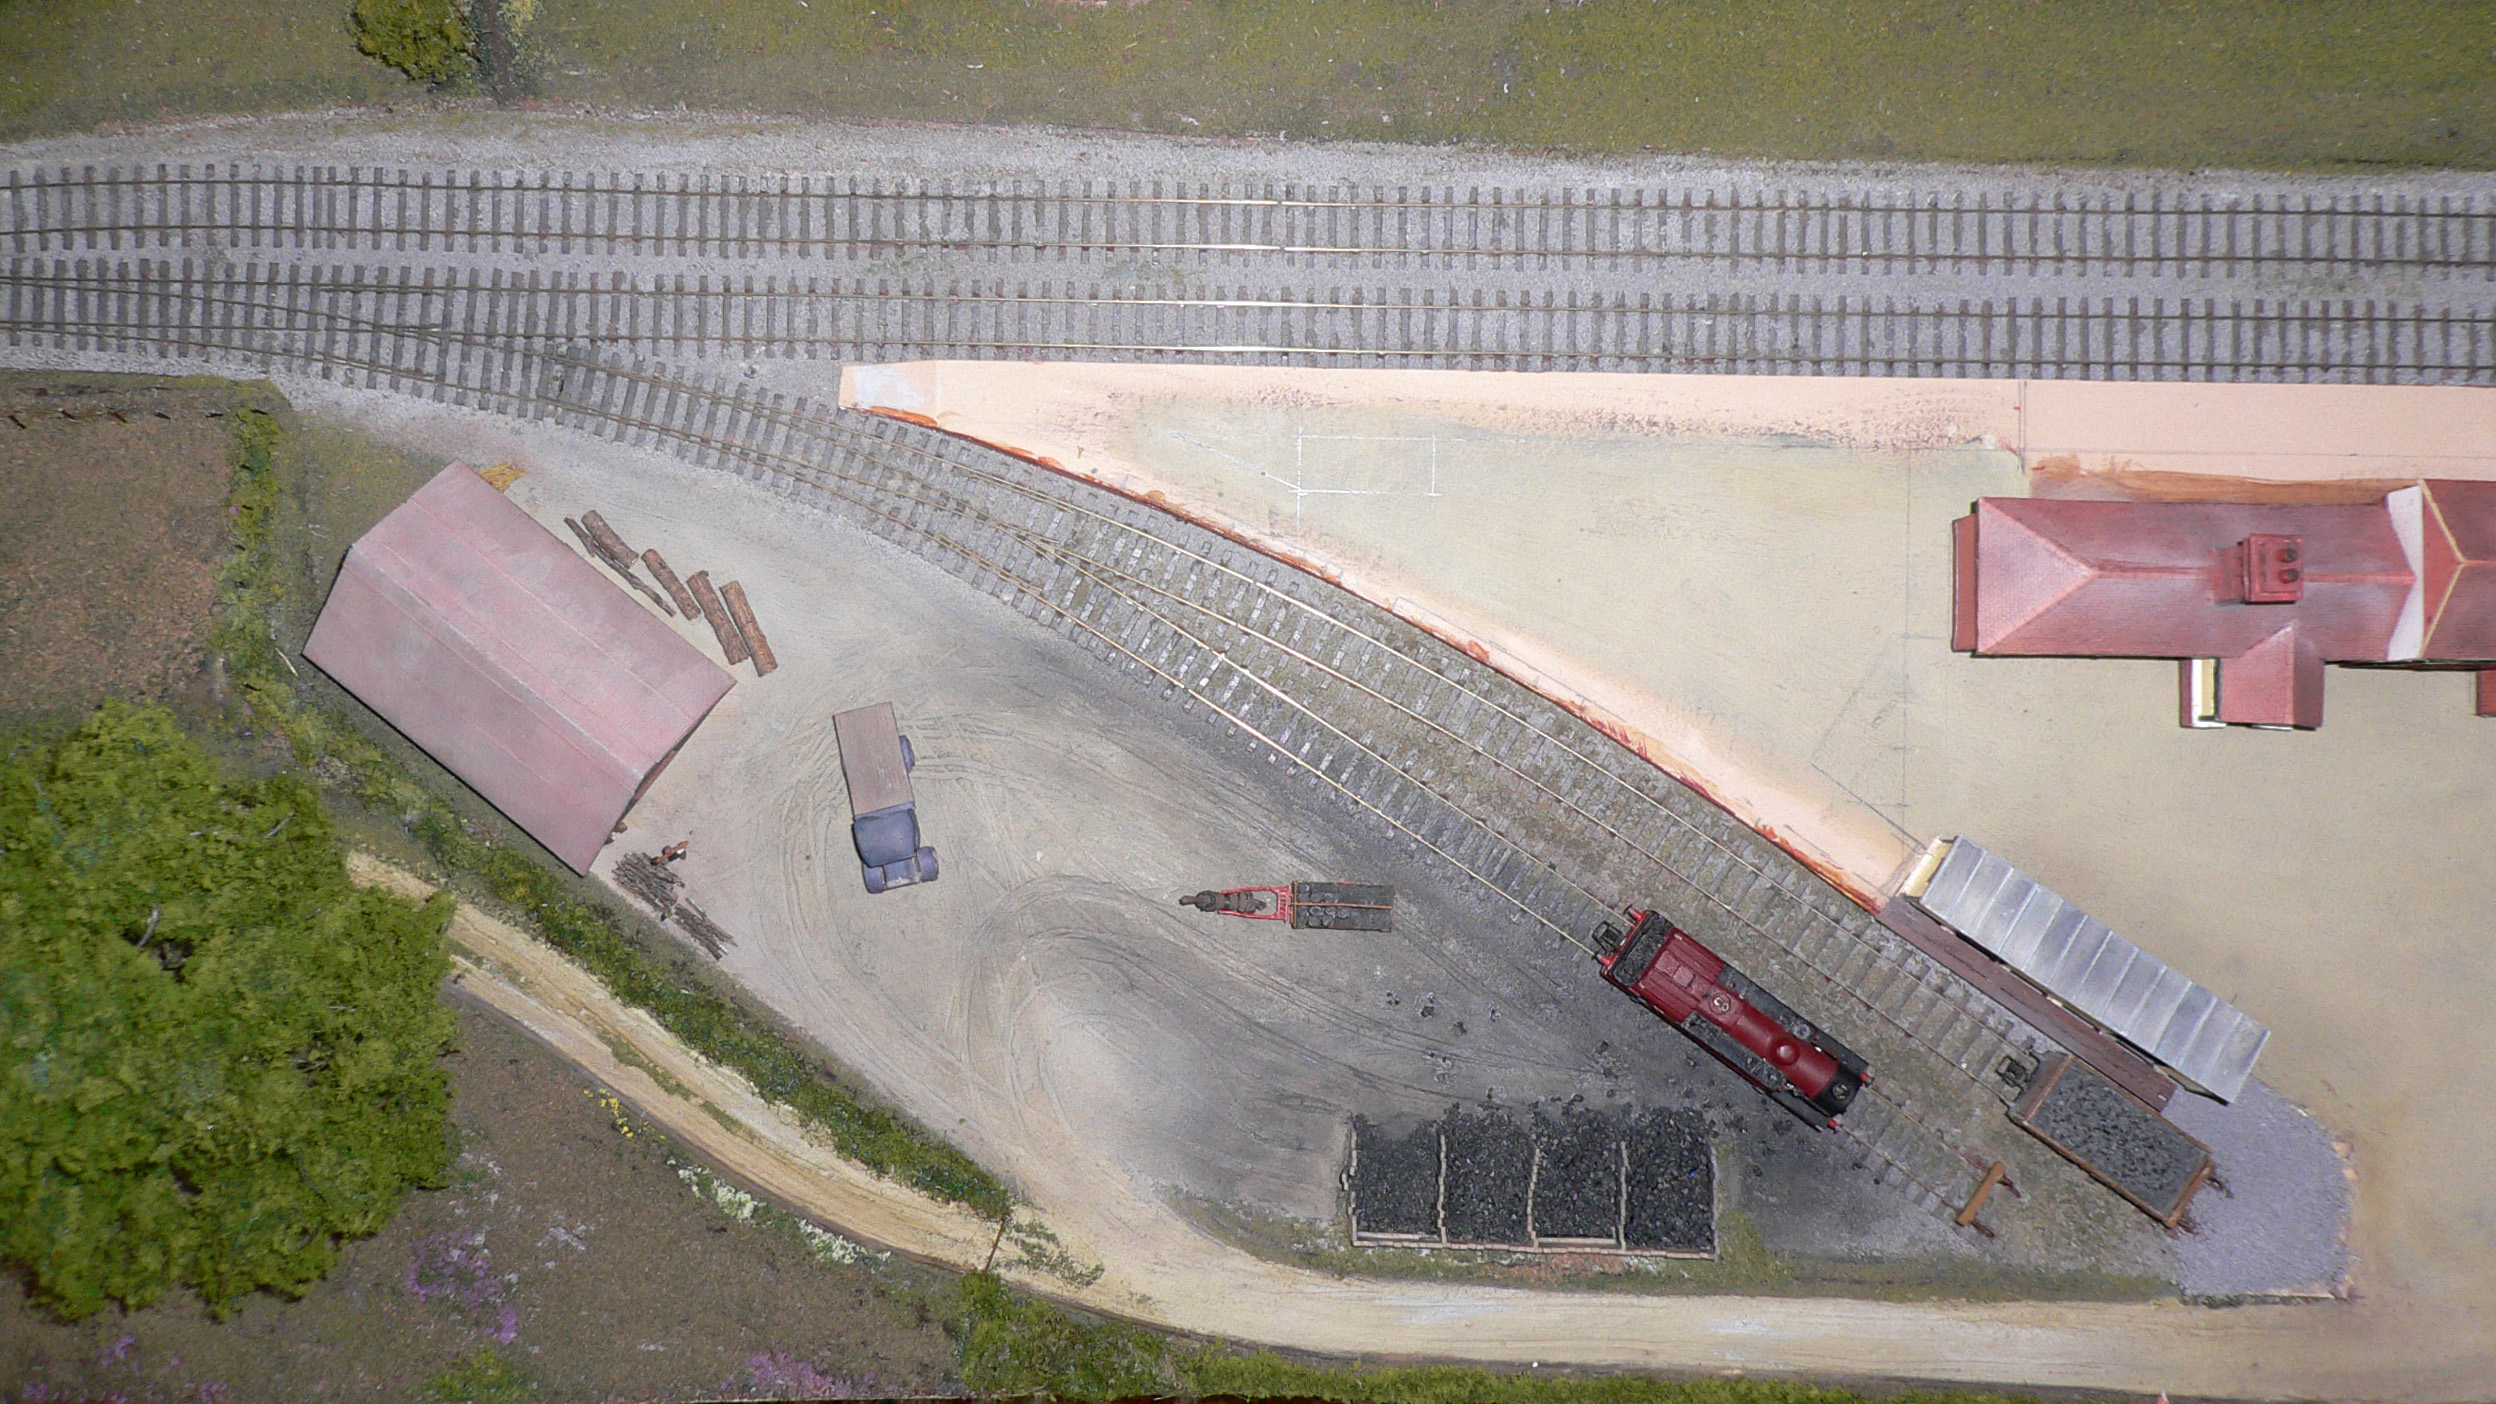
The goods yard area (above) is almost finished. However, there’s a lot still to be done on the whole right-hand end of the layout, especially the area around the station building (below), which is based loosely on Kingscote station on the Bluebell line. It doesn’t look quite this ropey in reality, by the way; flash seems to magnify every little blemish!
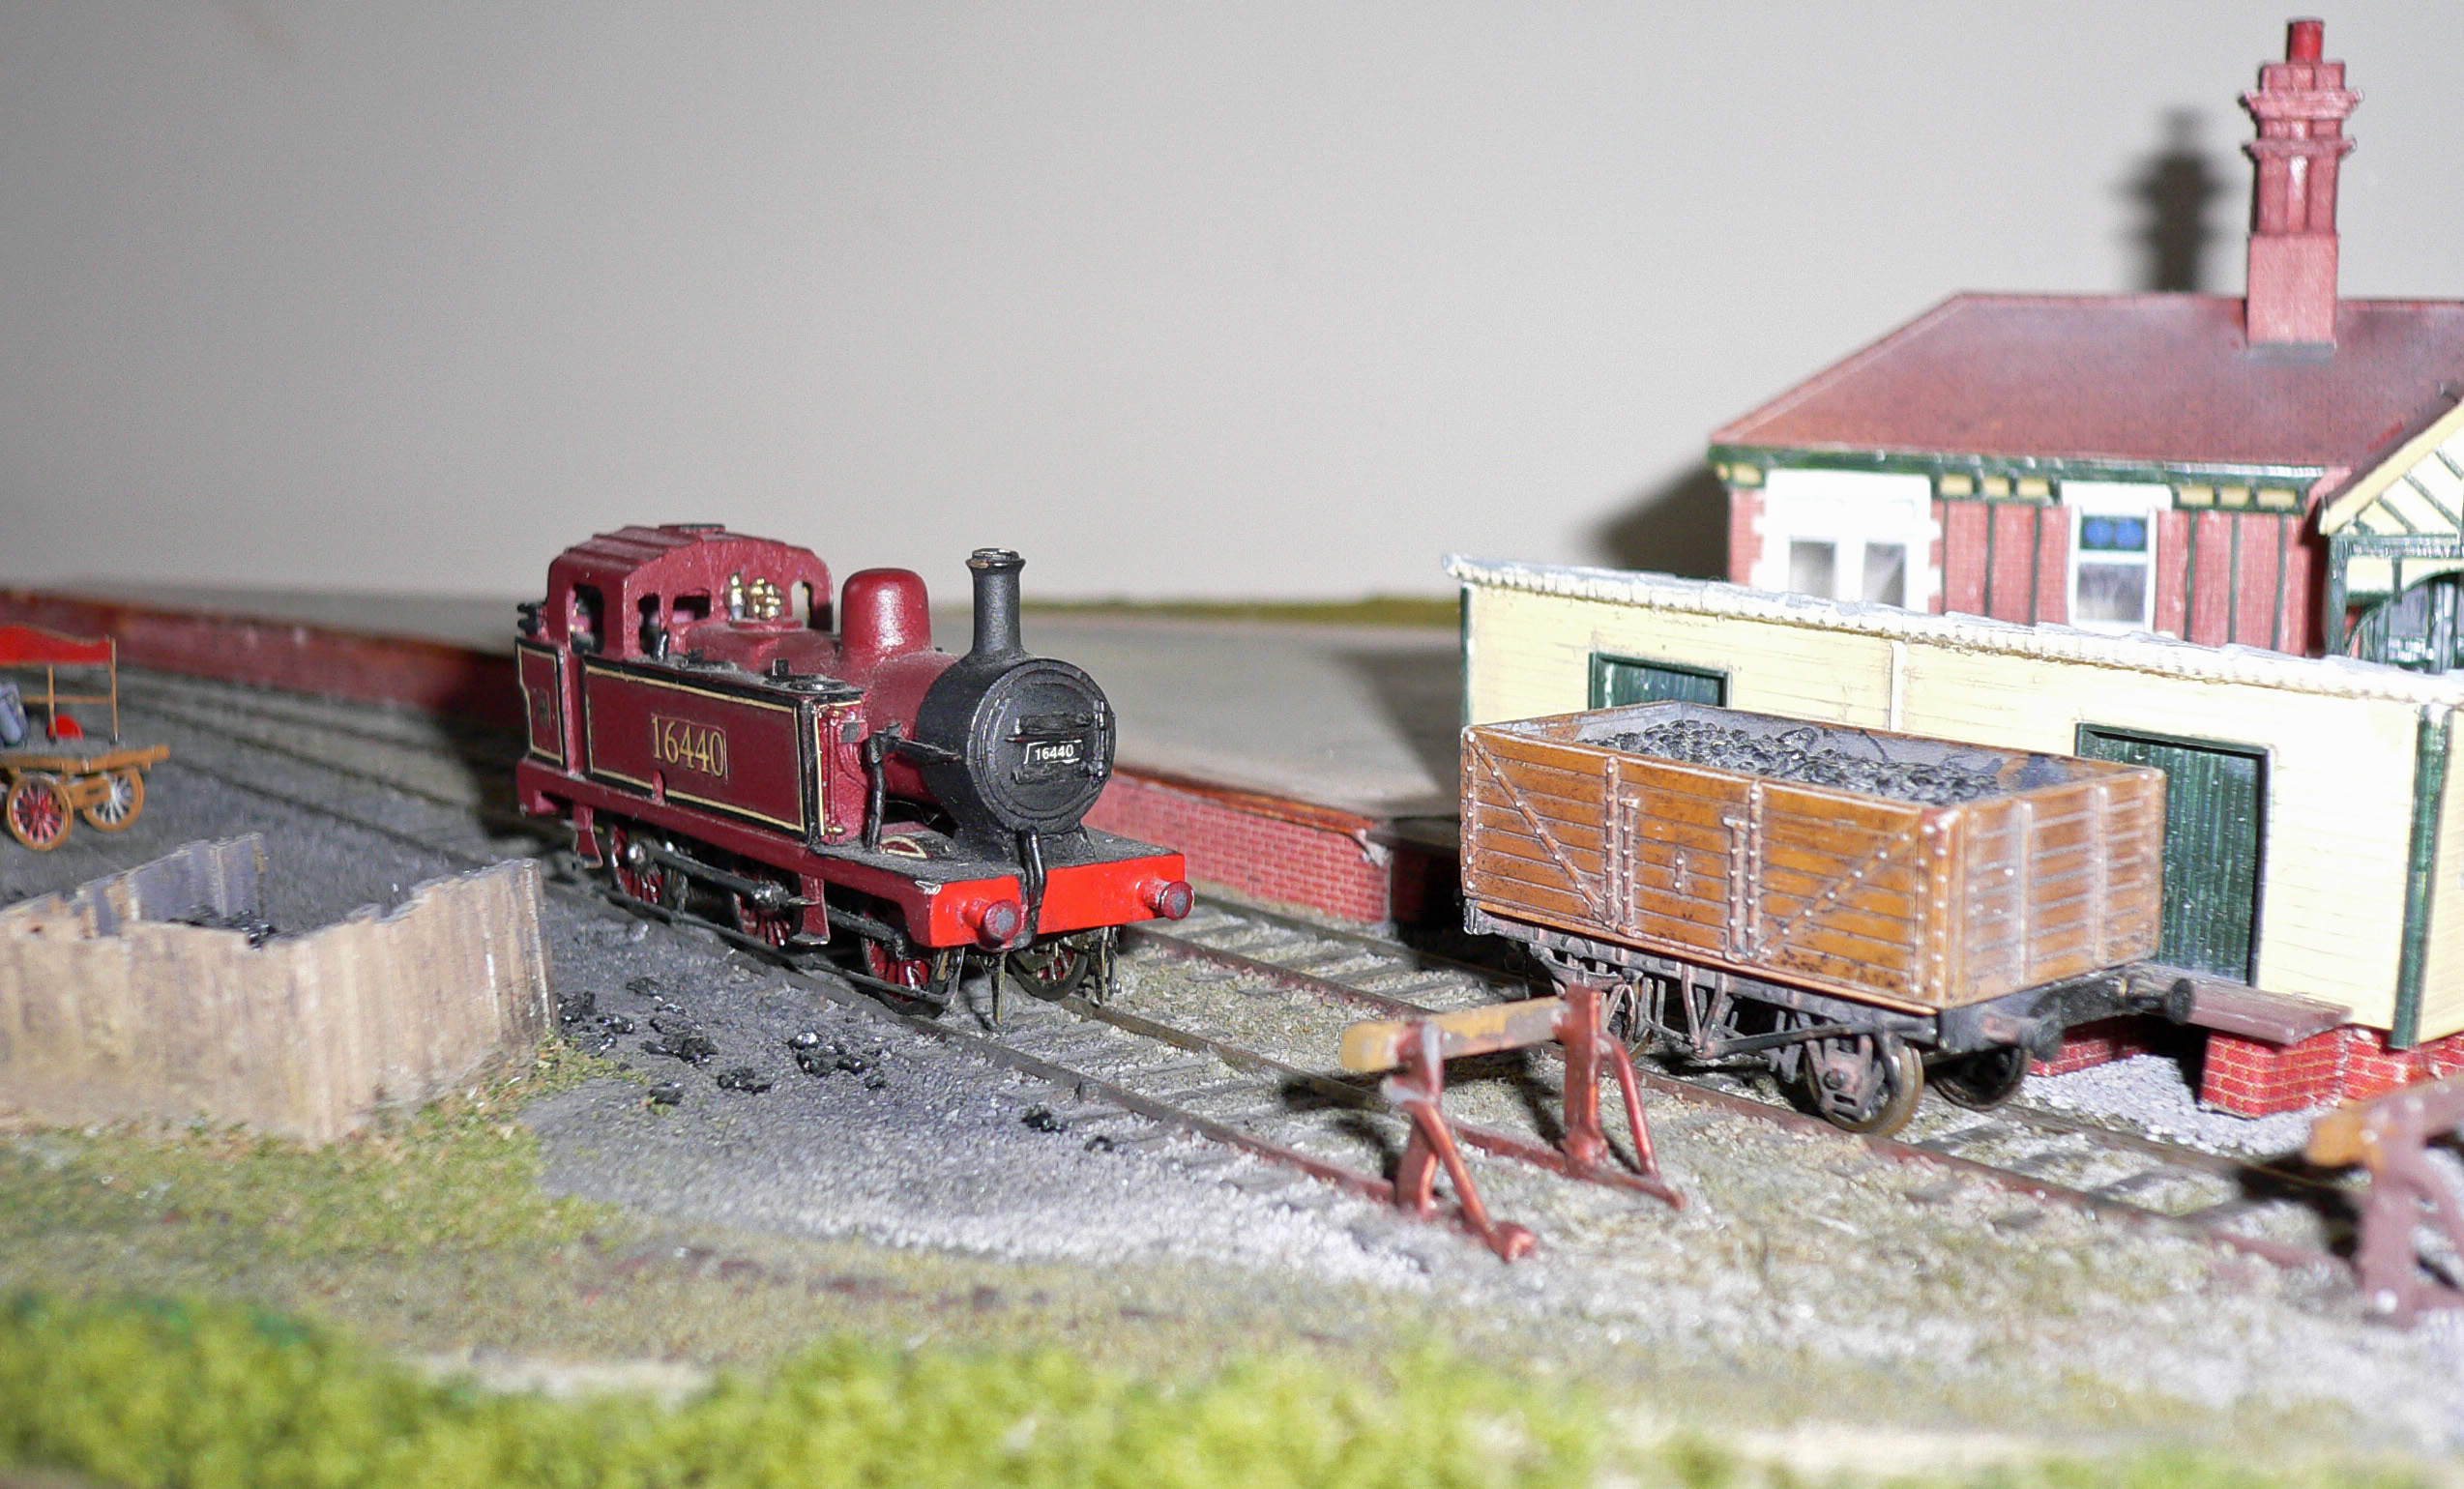
Final picture above is of the Association wagon kit I’ve built, and my first loco – a scratch-built Jinty body on a Bob Jones chassis kit. Next project is to re-convert a Farish 94xx that I did myself right at the beginning, but this time using an Association coversion kit for the 94xx that never actually made it to market, kindly supplied as a one-off by Bill Blackburn. Then I guess I need to finish that station area, and think about scratch-building some LB&SCR carriages and maybe a Terrier loco. By that time I ought to have enough experience to plan a more ambitious layout.