First I must point out that my first 2mm layout will not be an exact model of selham as originally planned, rather it will be a layout inspired by selham. My interest in the branchlines around Midhurst began as a child when passing Petworth station which is now a hotel I noticed pullman cars resting in the grounds. Later on reading “Branchlines around Midhurst” and its predecessor “Branchlines to Midhurst” that my interest in modelling the area was established. Originally I wanted to model Petworth Station as it was the station which I had passed so many times on my way down to chichester. Looking at the stations trackplan I quickly realised that at 2mm scale it would measure approximately 2.5m which I felt was a bit too much for my first stab at 2mm. Having looked at the other stations on the branchline, Selham instantly appealed to me through its remote setting, interesting trackplan, it simply oozed charm. Below is aphotograph of Selham station in 1968 following its closure in 1963.
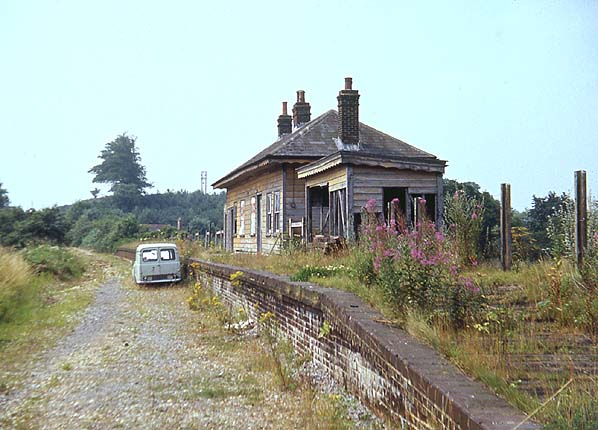
Image coutesey of www.disused-stations.org.uk/
Like Petworth , Selham was of a similar size although on a sweeping curve. It was decided that the model I was to build would be inspired by Selham allowing me to compress elements of the station to fit into a smaller space aswell as being able to eliminate the sweeping curve which would simplify the build.
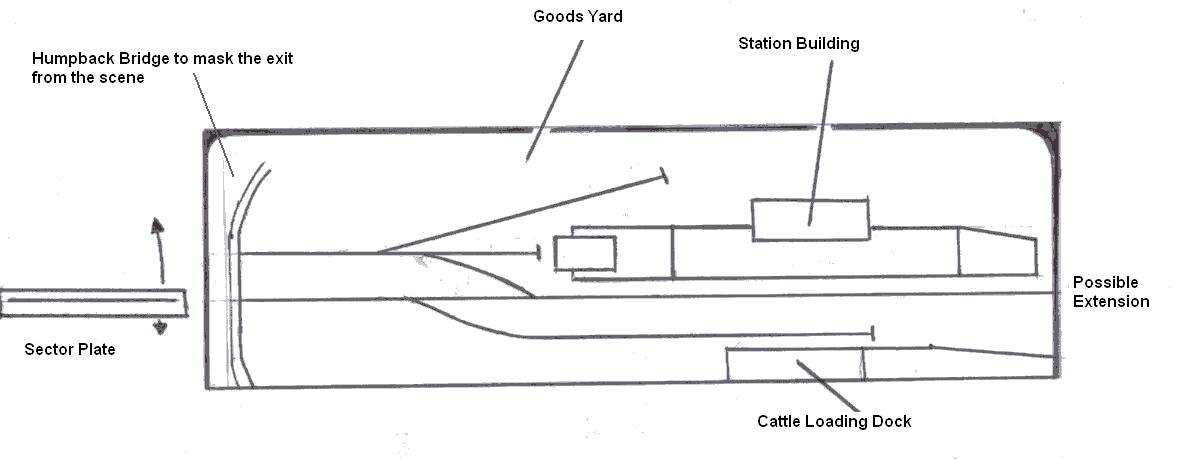
Below is the trackwork progress to date which shows the principal track to be pretty much finished. So now its on to the baseboard which I intent ot be styrofoam with plywood sides.
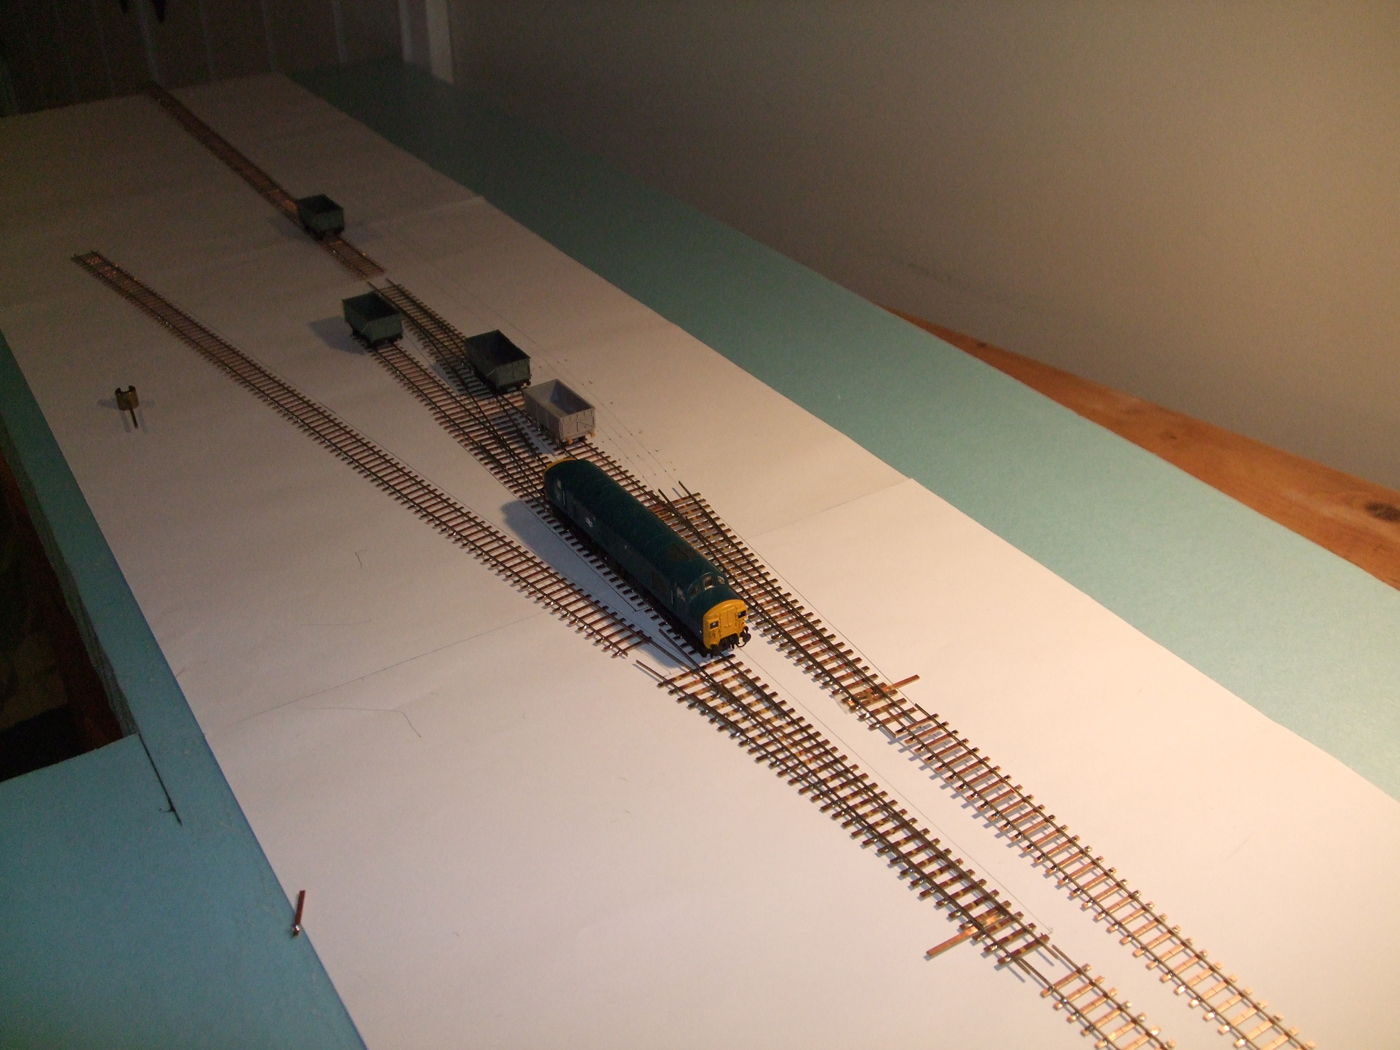
Motive power will initially be excellent farish class 37 and a class 04 with a 3F jinty to be built once I have got the layout up and running. Eventually I intend to converted a dapol M7 as something more indigenous to the area.