I recently built one of the ingenious turnout operating units developed as part of the Easitrac project. Whilst designed for use with Easitrac it will work equally well with turnouts constructed using other methods.
Although the design is relatively simple, the construction method is not immediately obvious and it took a few questions on the 2mm Virtual Area Group and a chat with one of the Easitrac consortium before I properly understood how it was supposed to go together.
I filmed the construction process and the video can be seen below (just press the play button). Nigel Cliffe has also prepared a wonderful 3D drawing showing the assembly sequence which you can view here.
Some notes on the video:
1. The two bits of rod shown are replacements for those that came with the kit which were too large to fit the holes in the small discs. Only one is in fact needed. Mine are longer than the originals as I cut them down to size later (it makes for easier handling).
2. There are two actuating arms, one with one straight arm, the other with two arms at right angles. These are optional and you can choose whichever best suits your needs.
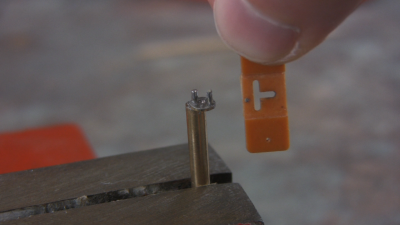
3. The top plate has a "T" slot in it and you need to place the spigot of the smaller threaded rod in the horizontal slot with the rod you soldered on previously in the vertical slot. This creates a cam that provides the horizontal movement (see photo below).
If you've seen the video you will have noticed that the top plate has a slight vertical wobble when moving horizontally. I subsequently took the top plate apart and noticed that the discs are slightly dished. It may be that flattening both would have been sufficient but I felt that things could be improved by having a larger lower disc which would restrict the top plate from moving vertically. I cut a piece of nickel silver strip the same size as the top plate, used one of the discs to drill holes at the correct distance, then cut and filed away the part that protruded to the rear of the top plate at each extreme to leave an almost triangular shape. I soldered one of the flattened discs on top to retain it all and it now glides back and forth smoothly.
I hope the video makes the construction sequence reasonably clear.
I have recently built an all plastic Easitrac turnout and this unit has been earmarked to operate it. I may detail the installation of the unit in another post if there is any interest. I will show the modifications I made to the top plate in this video also.


